

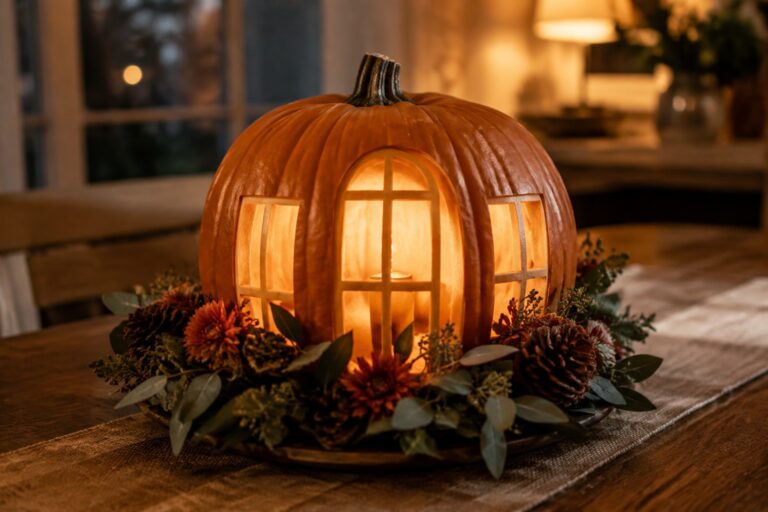
Carving pumpkins gives me an easy way to mark the house for Halloween without rearranging furniture or buying much else.
Most people stick with the same round faces year after year, so the result blends into the background once the neighborhood fills up with decorations.
I like to test patterns that use negative space or unexpected cuts because those stand out even when the light is low.
The pumpkins can sit on a porch step, a windowsill, or a dining table and still read as intentional rather than leftover fall decor.
A single strong design often works better than a whole row of average ones.
Carve A House Scene Into A Pumpkin
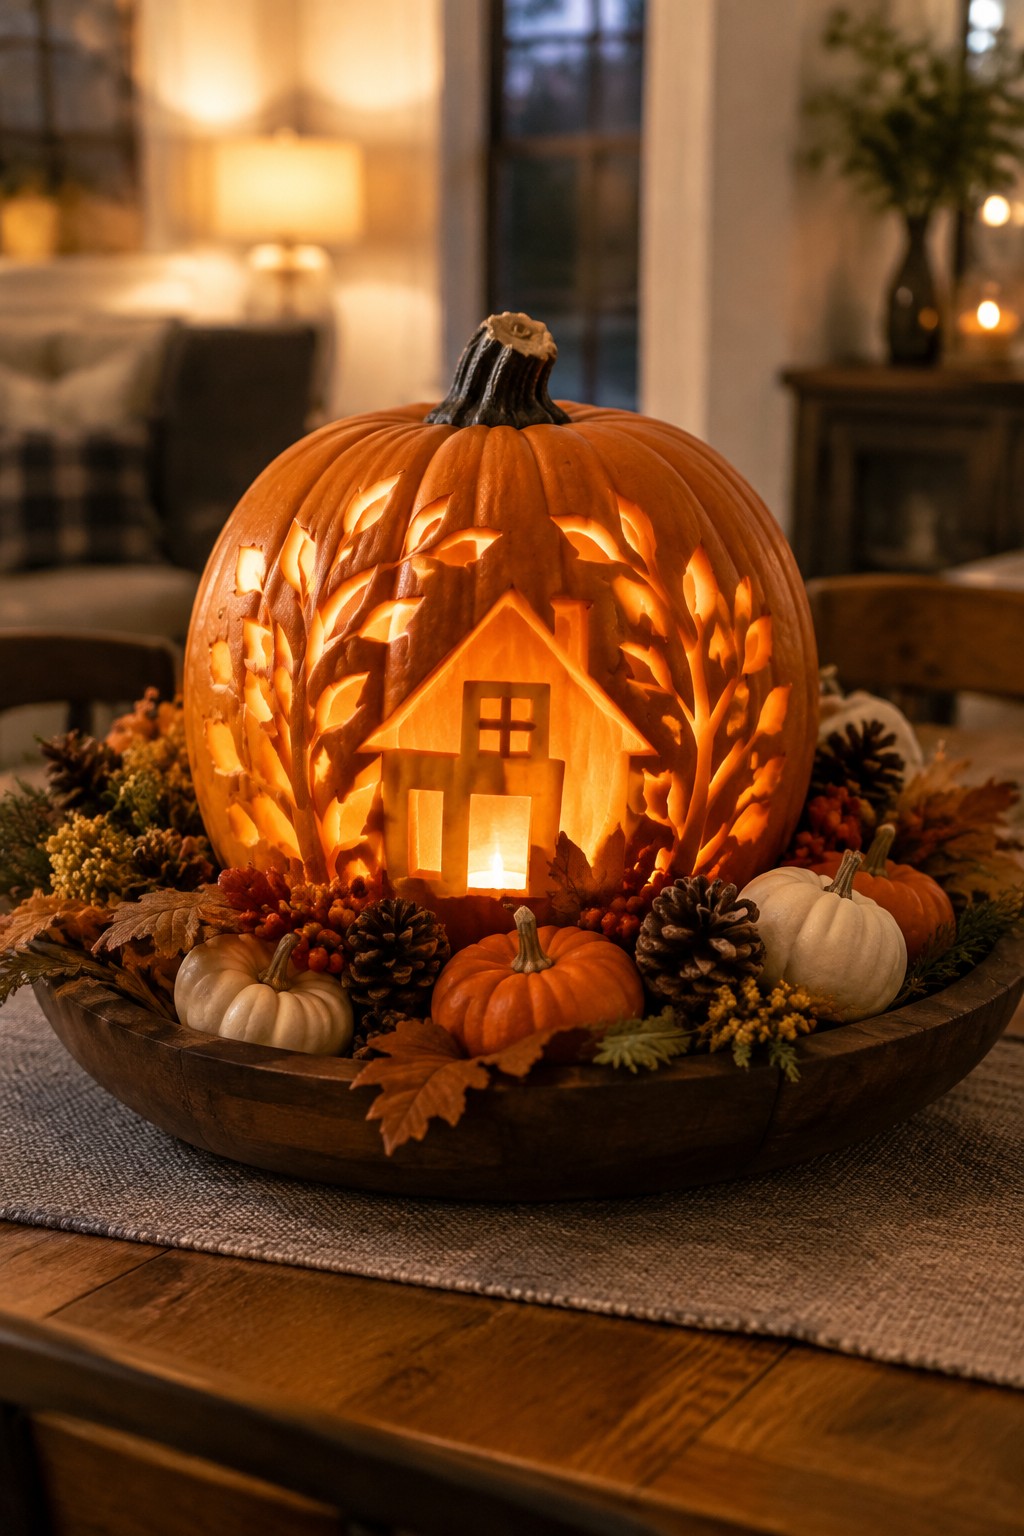
A large pumpkin carved with a house and trees makes a strong focal point because the light shines through the cutouts and creates a warm scene instead of a standard face. The design feels more like a little landscape than a typical jack o lantern.
Set the carved pumpkin in a wide wooden bowl and add a few smaller gourds and pinecones around the base. This works best on a dining table or sideboard where the glow can be seen from across the room.
Carve A Pumpkin Into A Haunted House
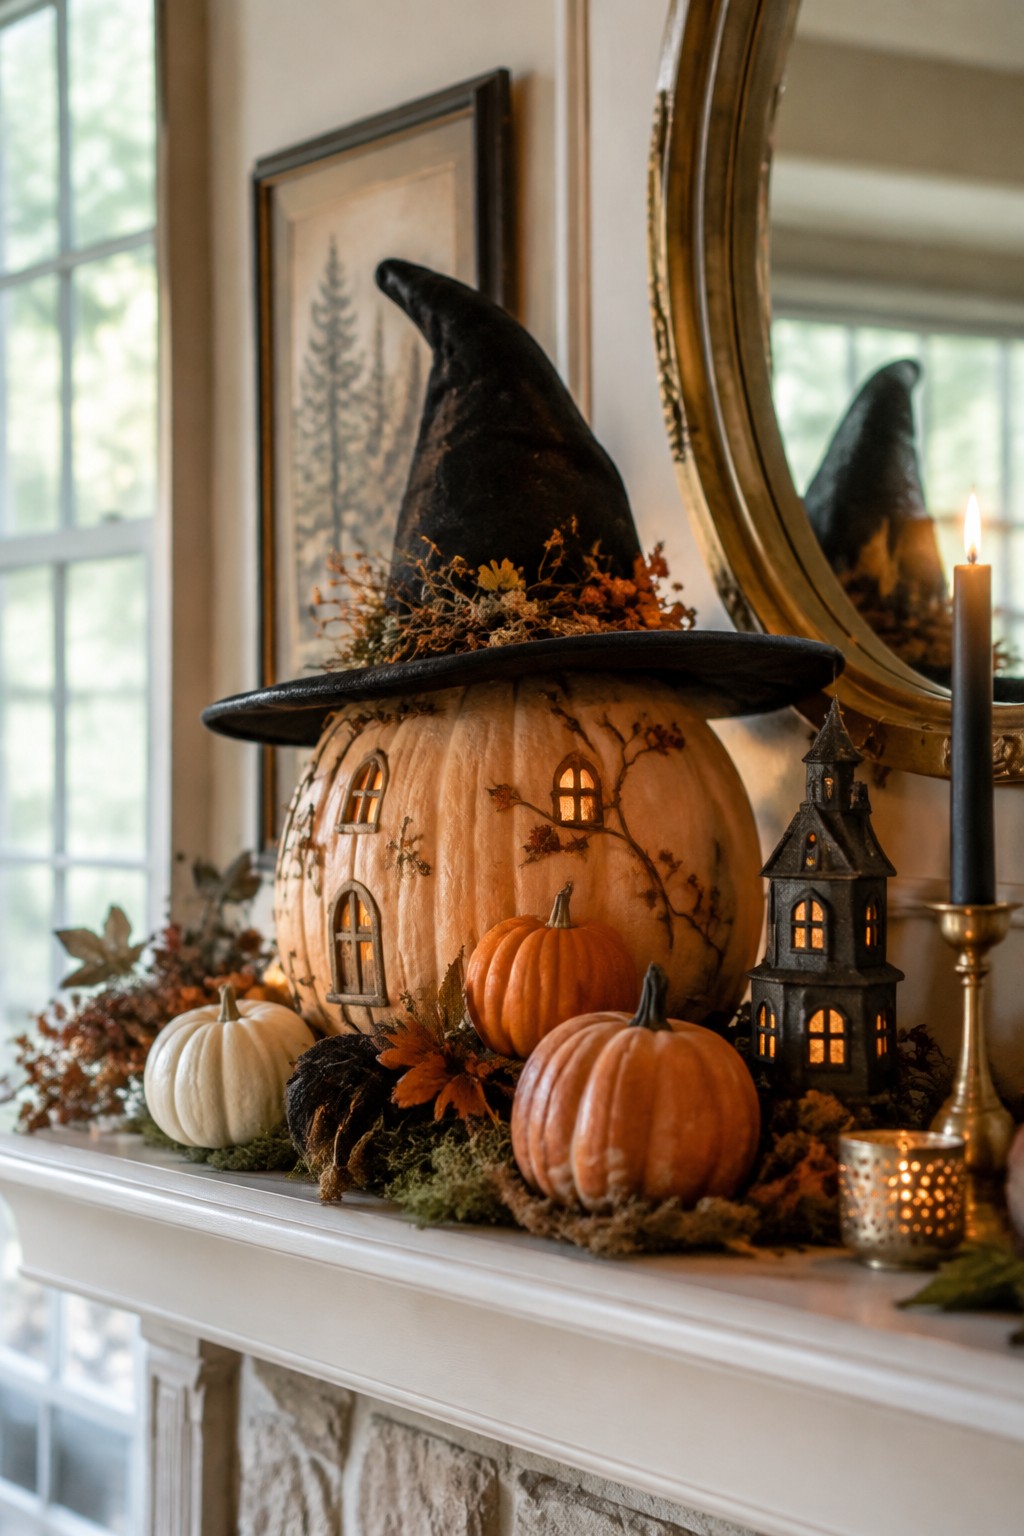
A large pumpkin carved with multiple glowing windows and climbing vines makes a strong focal point for a mantel. The witch hat on top adds a clear Halloween touch that turns the whole setup into a miniature scene instead of just another pumpkin display.
Place the carved pumpkin in the center of your mantel and add a few smaller uncarved pumpkins and a small lighted house nearby. Keep the rest of the surface simple so the carved details stay easy to notice from across the room.
Carve A Crescent Moon Into Your Pumpkin
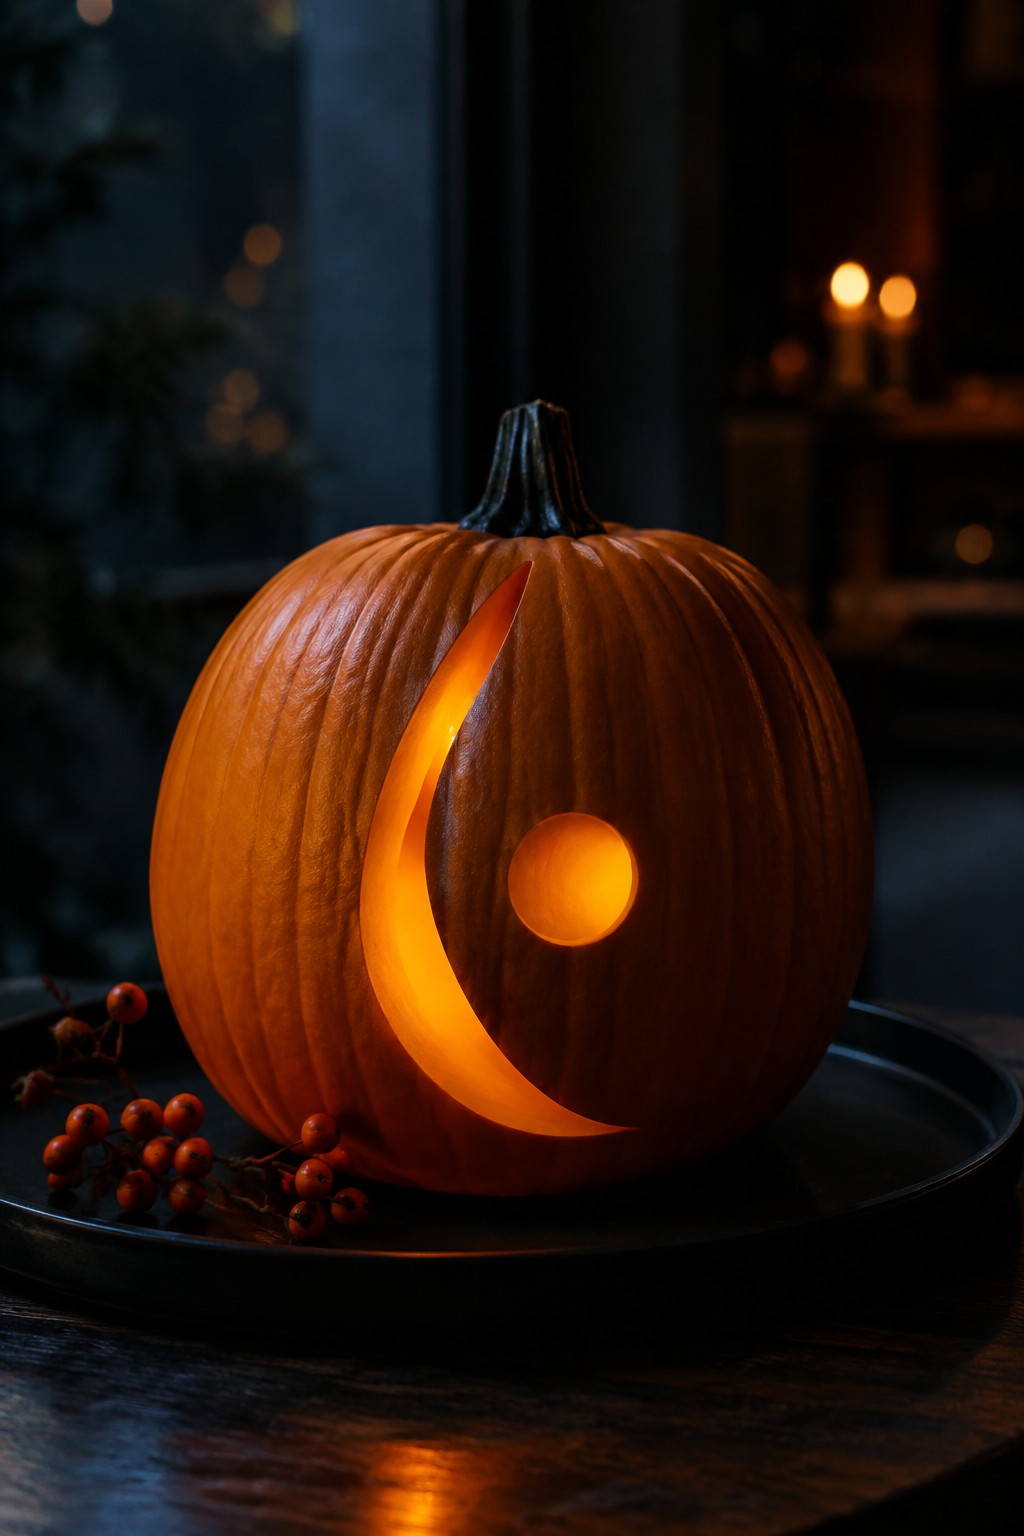
A moon shape cut into the pumpkin creates a clean and striking look that stands out from the usual faces. The glowing curve and small circle let the light do most of the work and keep the design simple yet memorable.
Try this on a single pumpkin placed on a tray or table where the light can show through clearly. All you need is a steady hand for the curves and a small LED light inside to keep it glowing safely through the evening.
Arrange Pumpkins On The Front Steps
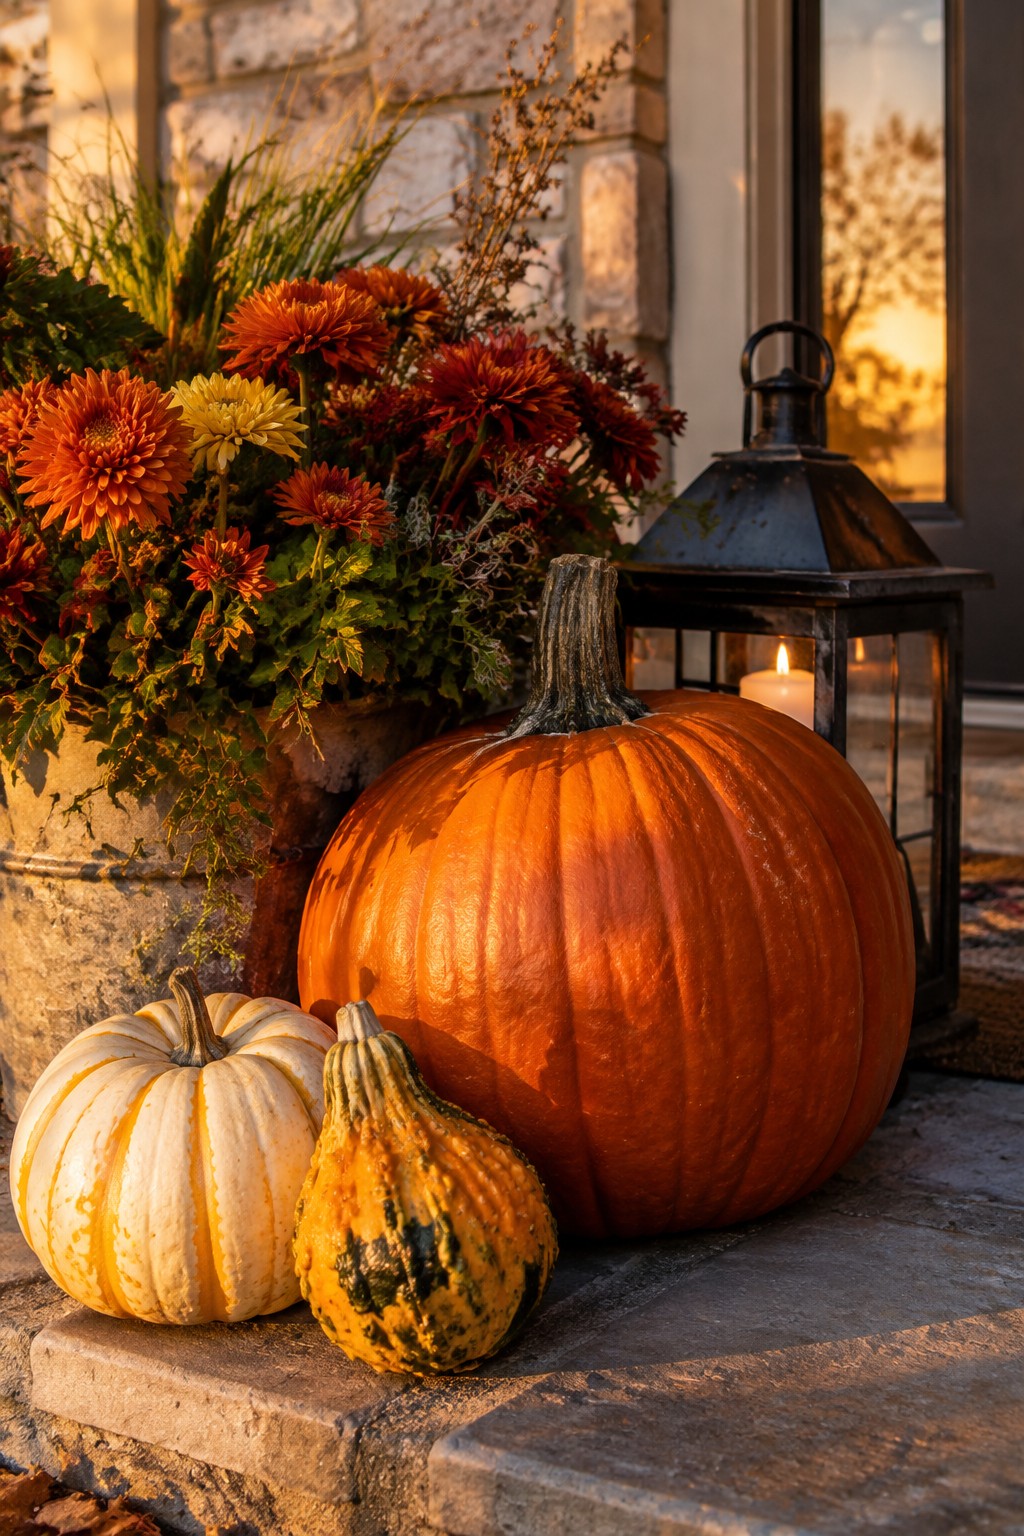
A simple mix of pumpkins placed together on the steps makes a strong base for carved displays. The contrast between a large orange pumpkin and smaller ones in different shades draws the eye without needing extra props. This setup works well because the steps already give the pumpkins height and focus.
Try grouping three to five pumpkins of varying sizes right by the door. Carve a few with simple faces or patterns and leave one or two whole so the carvings stand out. Keep the rest of the area light so the pumpkins remain the main feature.
Carve Stars And Moons Into Your Pumpkins
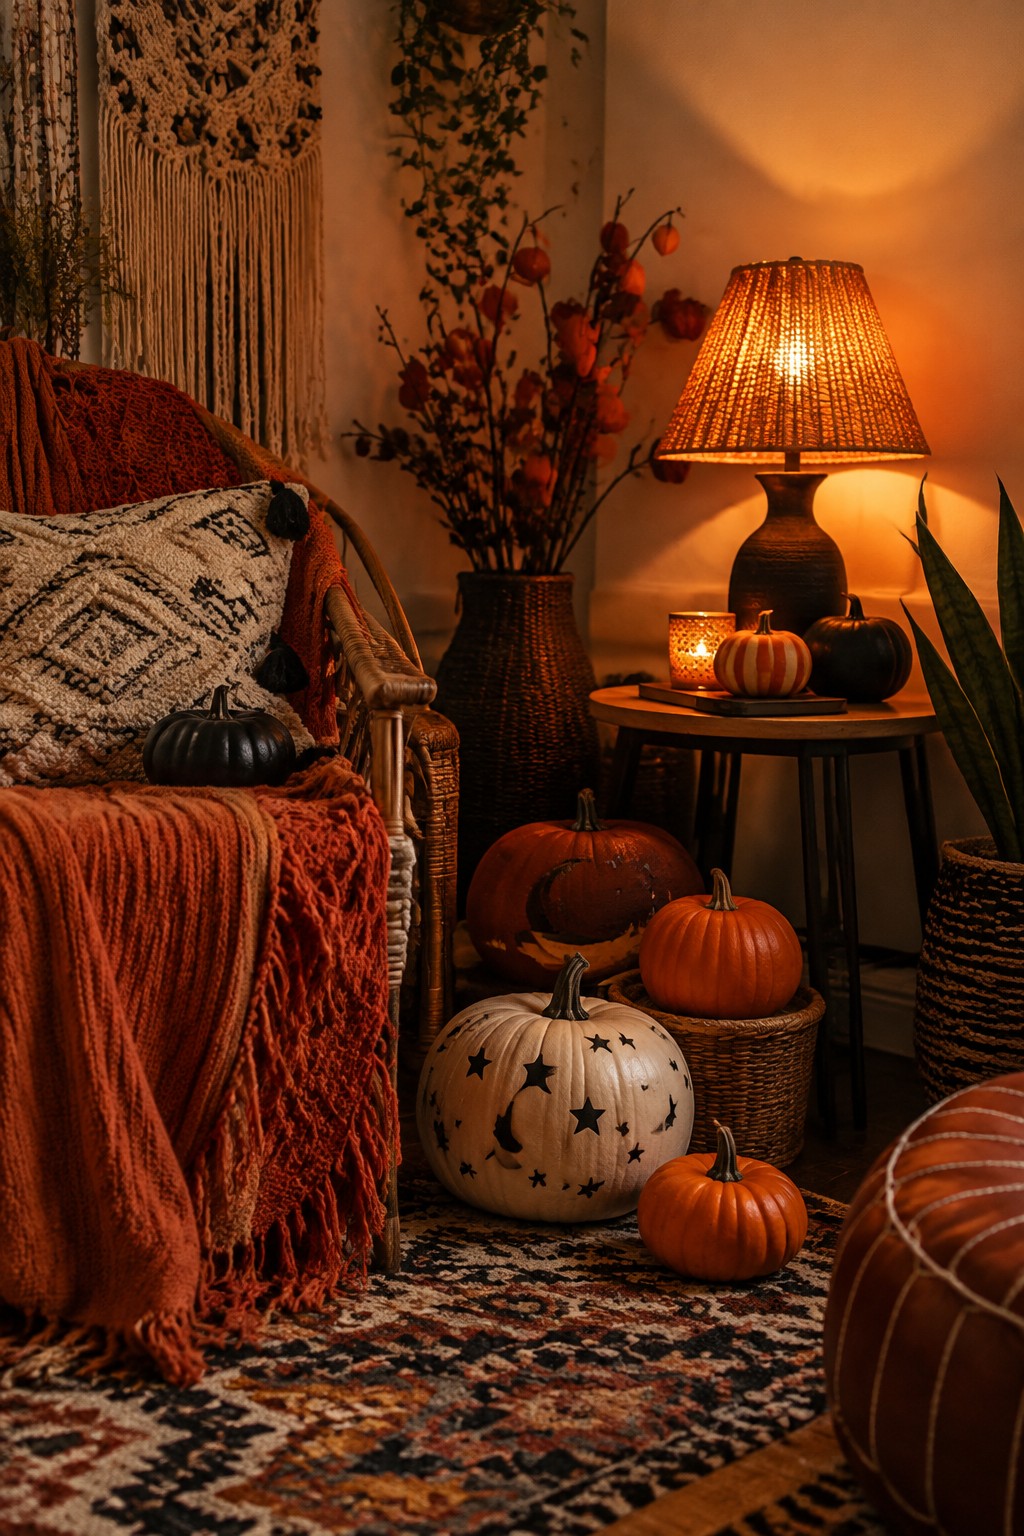
Carving simple celestial shapes like stars and moons gives pumpkins a clean, graphic look that still reads as Halloween. The white pumpkin in this setup stands out because the dark cutouts create contrast without needing lots of extra decor around it.
Place a few carved pumpkins at different heights on the floor or in baskets, then mix in a couple of plain or minimally painted ones to keep the group balanced. This works well in a living room corner or near a seating area where people can see the patterns up close.
Carve A Scenic Village Into One Large Pumpkin
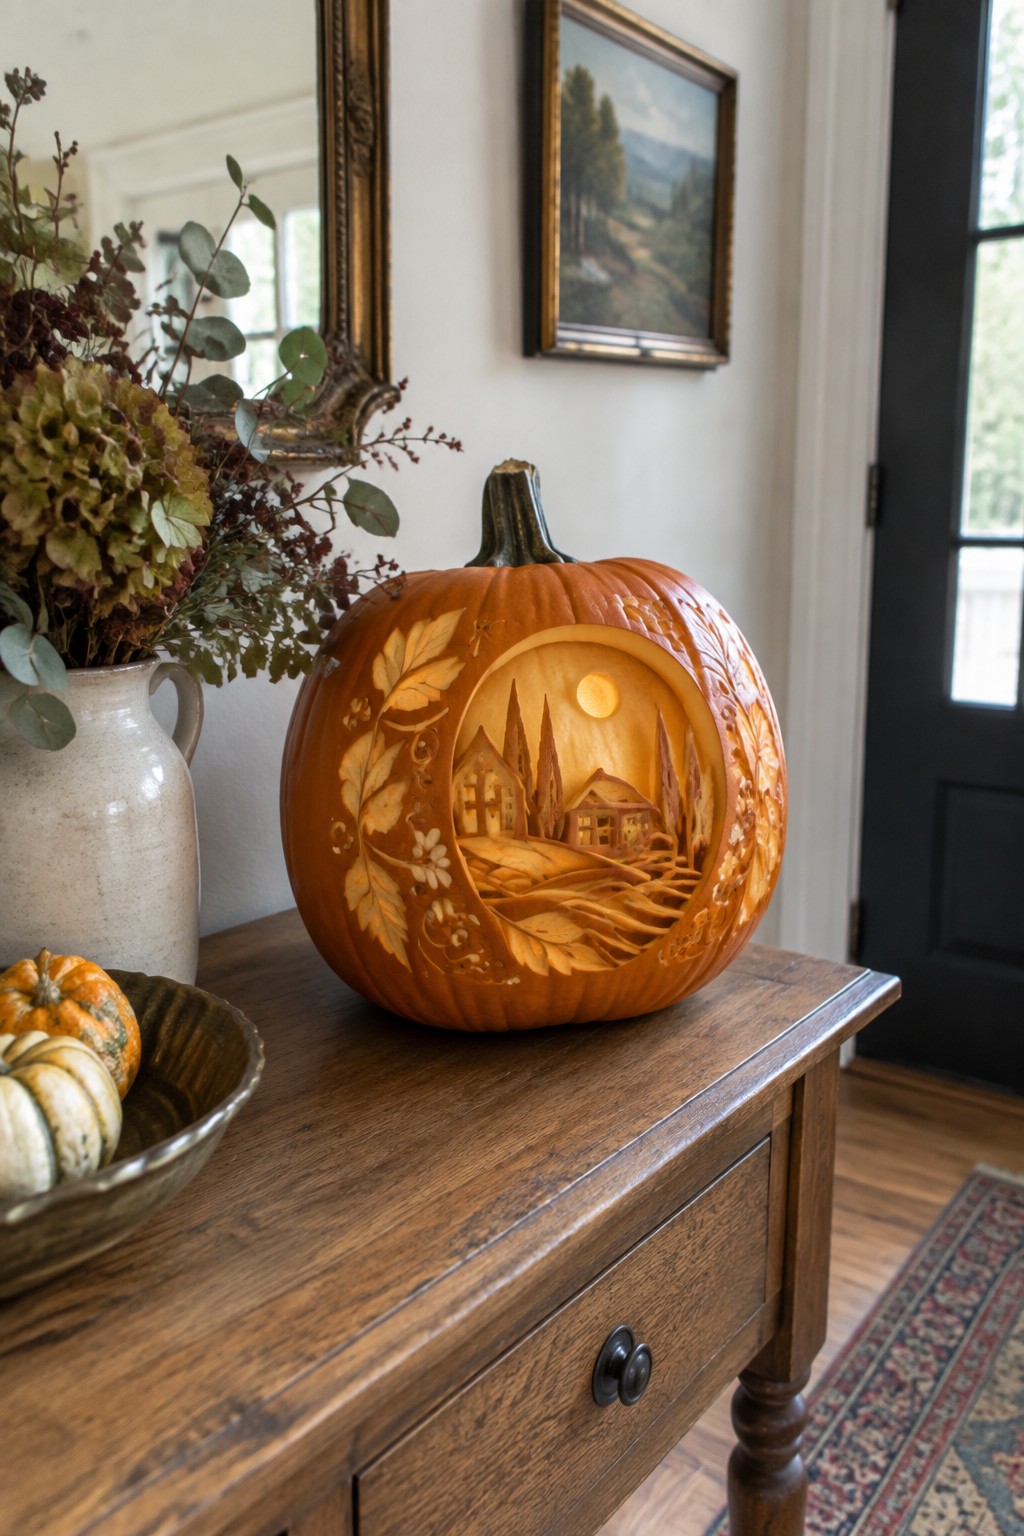
A single pumpkin with a detailed village scene cut into it creates a strong focal point without needing extra pieces. The circular opening acts like a window, showing layered houses, trees, and a small moon that glows when lit from inside. This approach turns an ordinary pumpkin into the main decoration.
Set the carved pumpkin on a console table near the entry so the light shows through clearly. One well-lit pumpkin is usually enough, so keep surrounding items simple and let the carving do the work.
Carve A Pumpkin Into A Floral Centerpiece
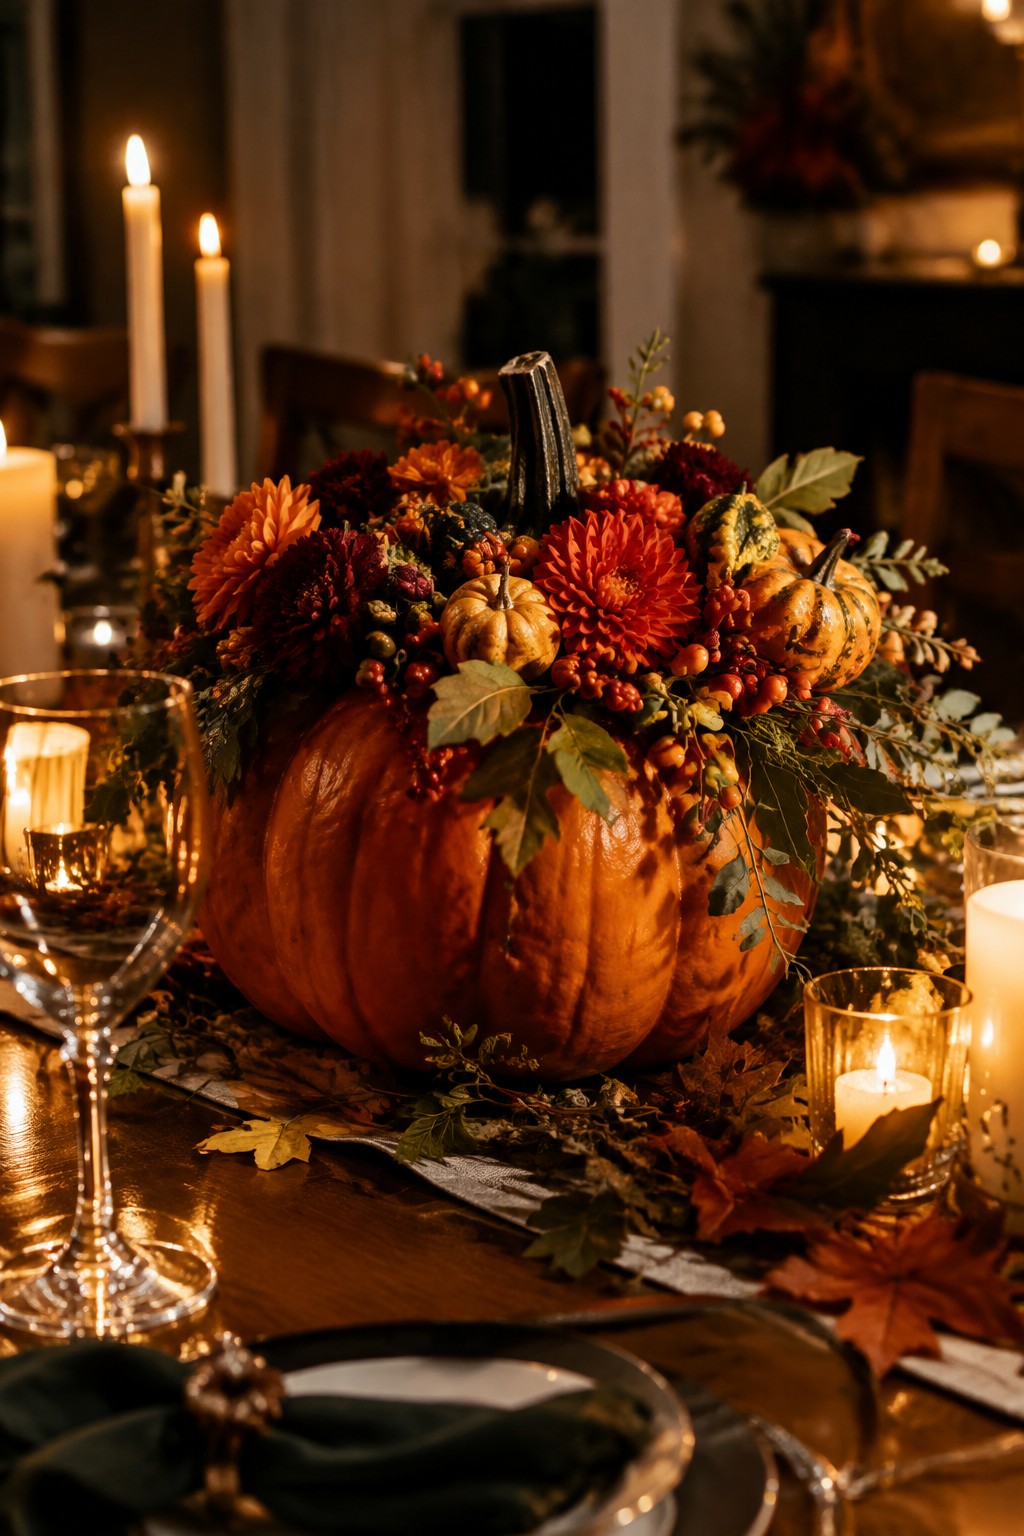
Hollowing out a large pumpkin and filling it with flowers, berries, and smaller gourds turns it into a striking table centerpiece. This approach keeps the focus on the pumpkin itself while adding height and color through the arrangement inside.
Place it in the middle of a dining table with a few candles and scattered leaves around the base. One big pumpkin does most of the work, so you do not need many extra pieces to make the setup feel complete.
Carve Pumpkins With Vertical Slits
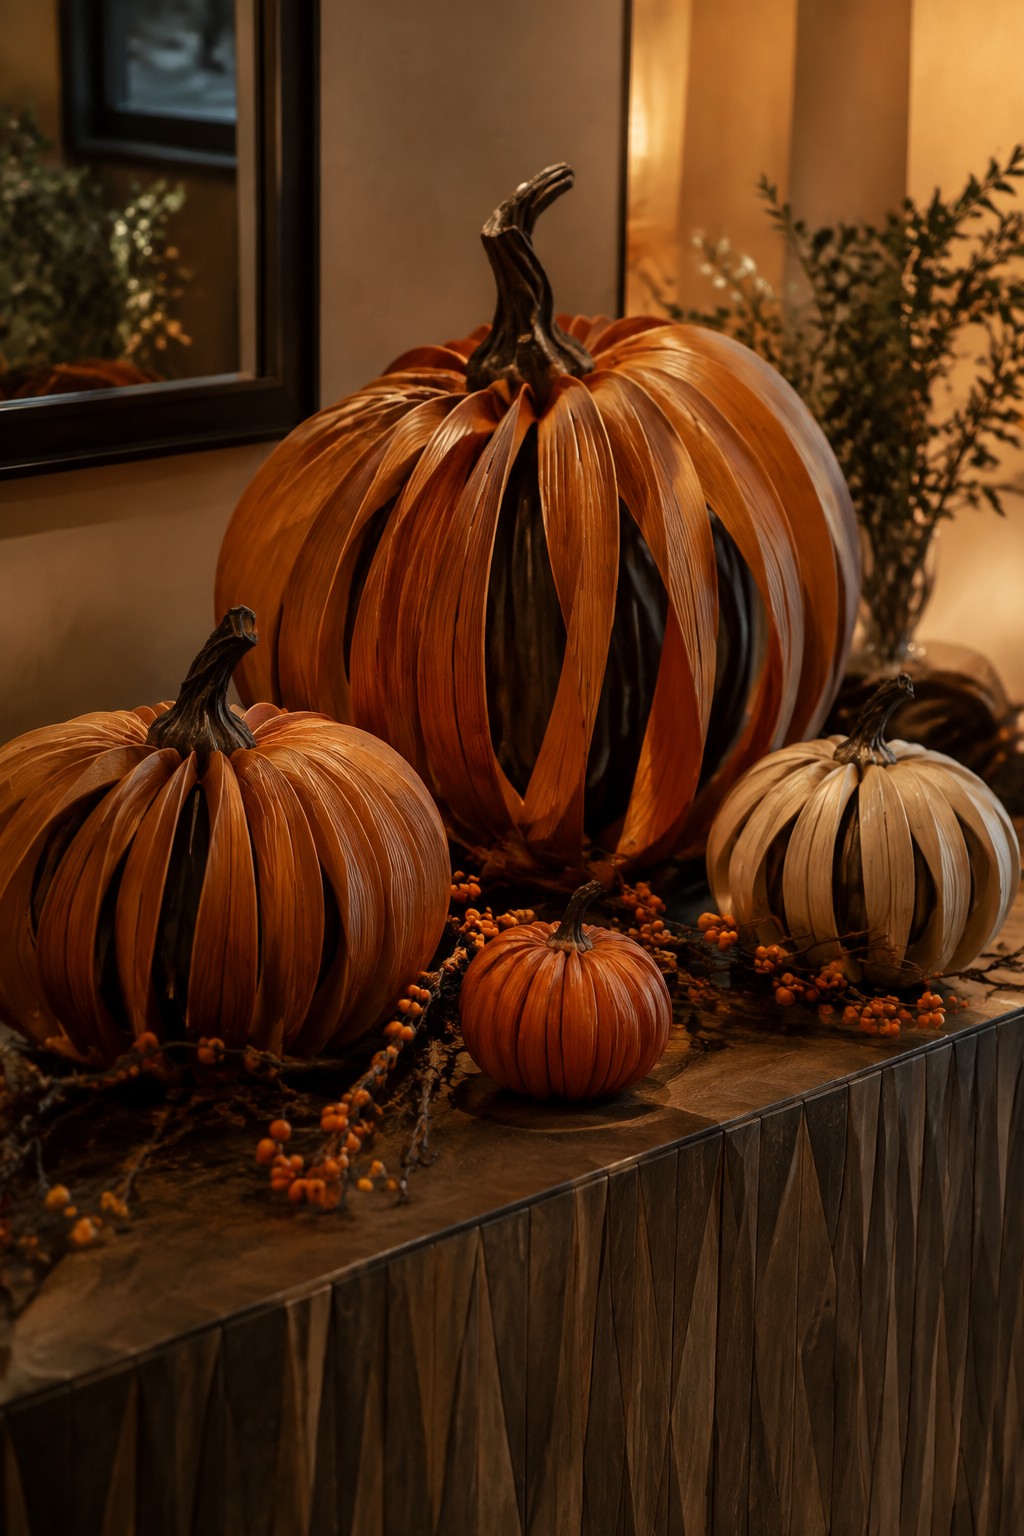
This carving style turns ordinary pumpkins into something more striking by cutting long vertical strips that let light and shadow play across the surface. The result feels textured and modern without needing fancy tools or intricate faces.
Place a few of these carved pumpkins together on a console or side table and add a simple berry garland around the base. The look works well in any room where you want the pumpkins to stand out as the main seasonal accent.
Group Carved Pumpkins On A Kitchen Tray
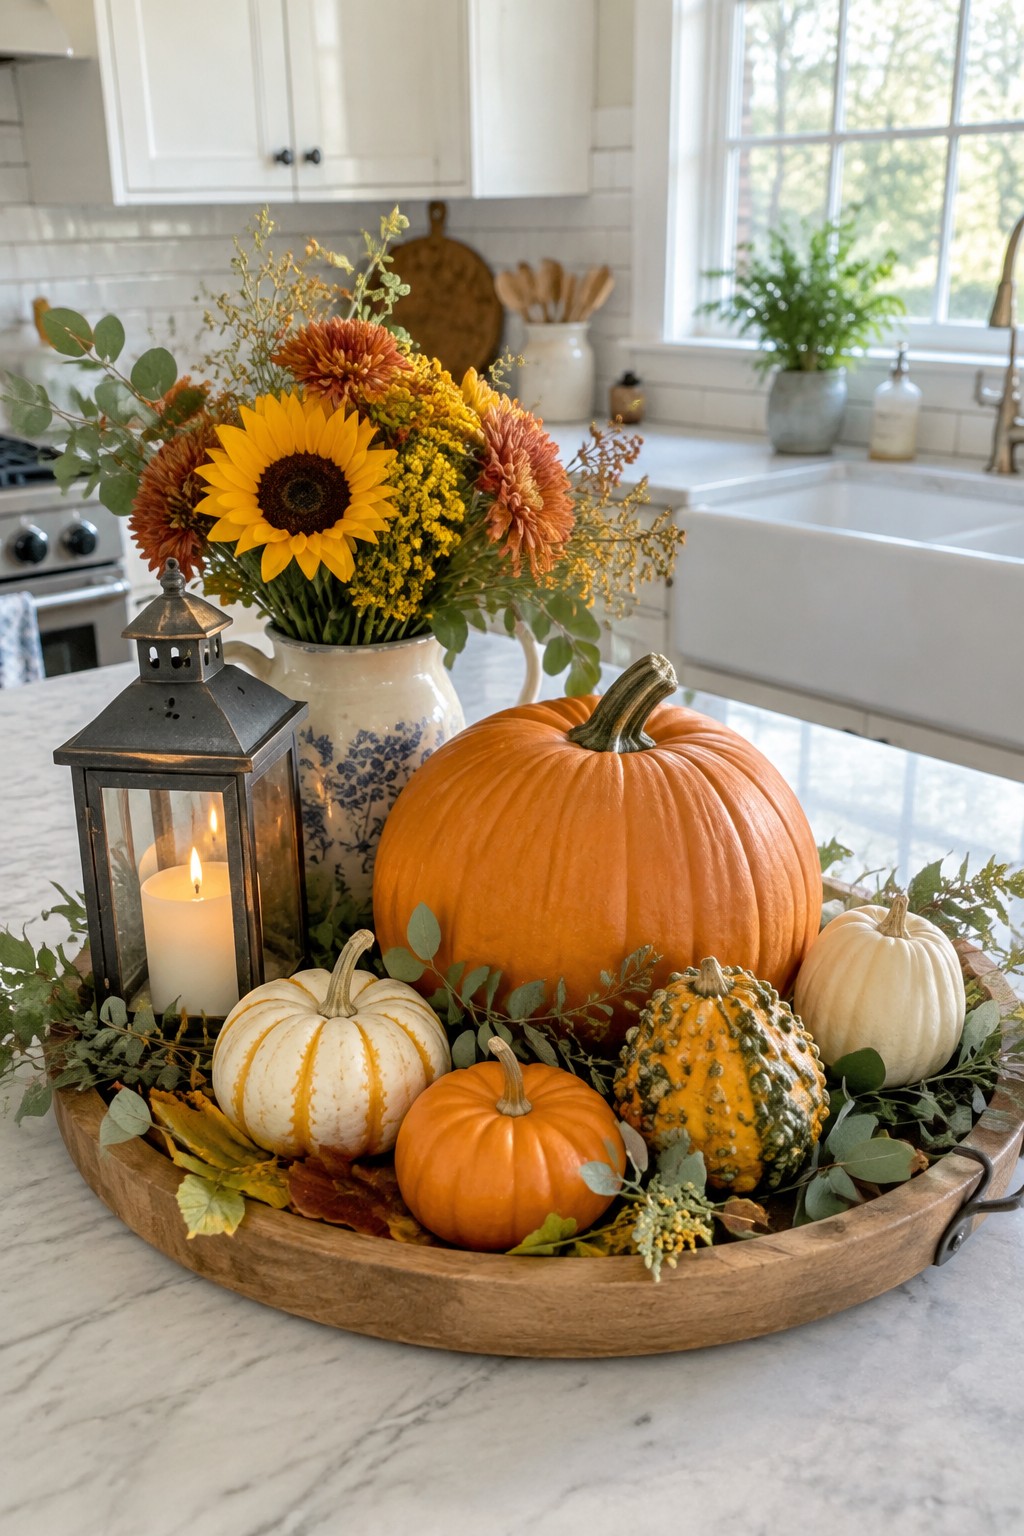
A wooden tray lets you gather several pumpkins in one spot without spreading them across the whole counter. The mix of sizes and colors creates a simple focal point that works in a kitchen where space is limited.
Carve a few of the smaller pumpkins with basic shapes or patterns and leave one or two uncarved for contrast. Keep the rest of the surface clear so the tray stays the main feature.
Arrange Pumpkins Down The Staircase
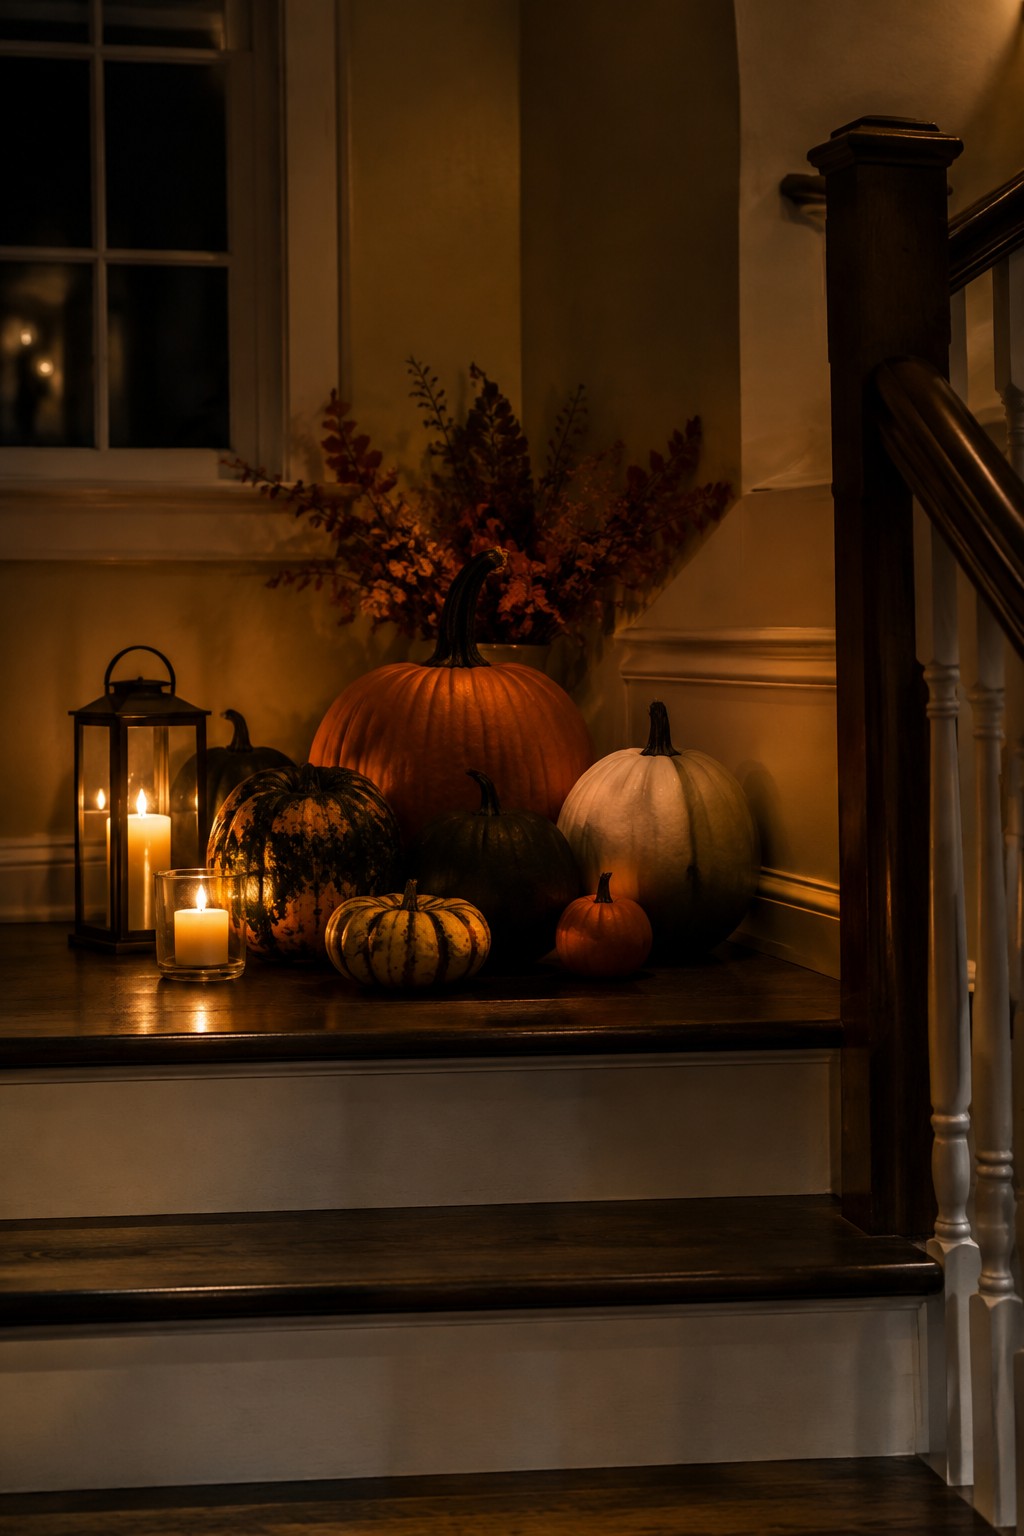
Placing a mix of pumpkins along the steps turns a plain staircase into a clear Halloween focal point. The variety in size and color keeps the display interesting without needing extra props or complicated setups.
Start with a few larger pumpkins near the middle or bottom step and work in smaller ones as you move up. Add a candle or two nearby if you want extra light at night. This works well in any entry or hallway and stays easy to remove once the season ends.
Group Pumpkins By Shape And Color
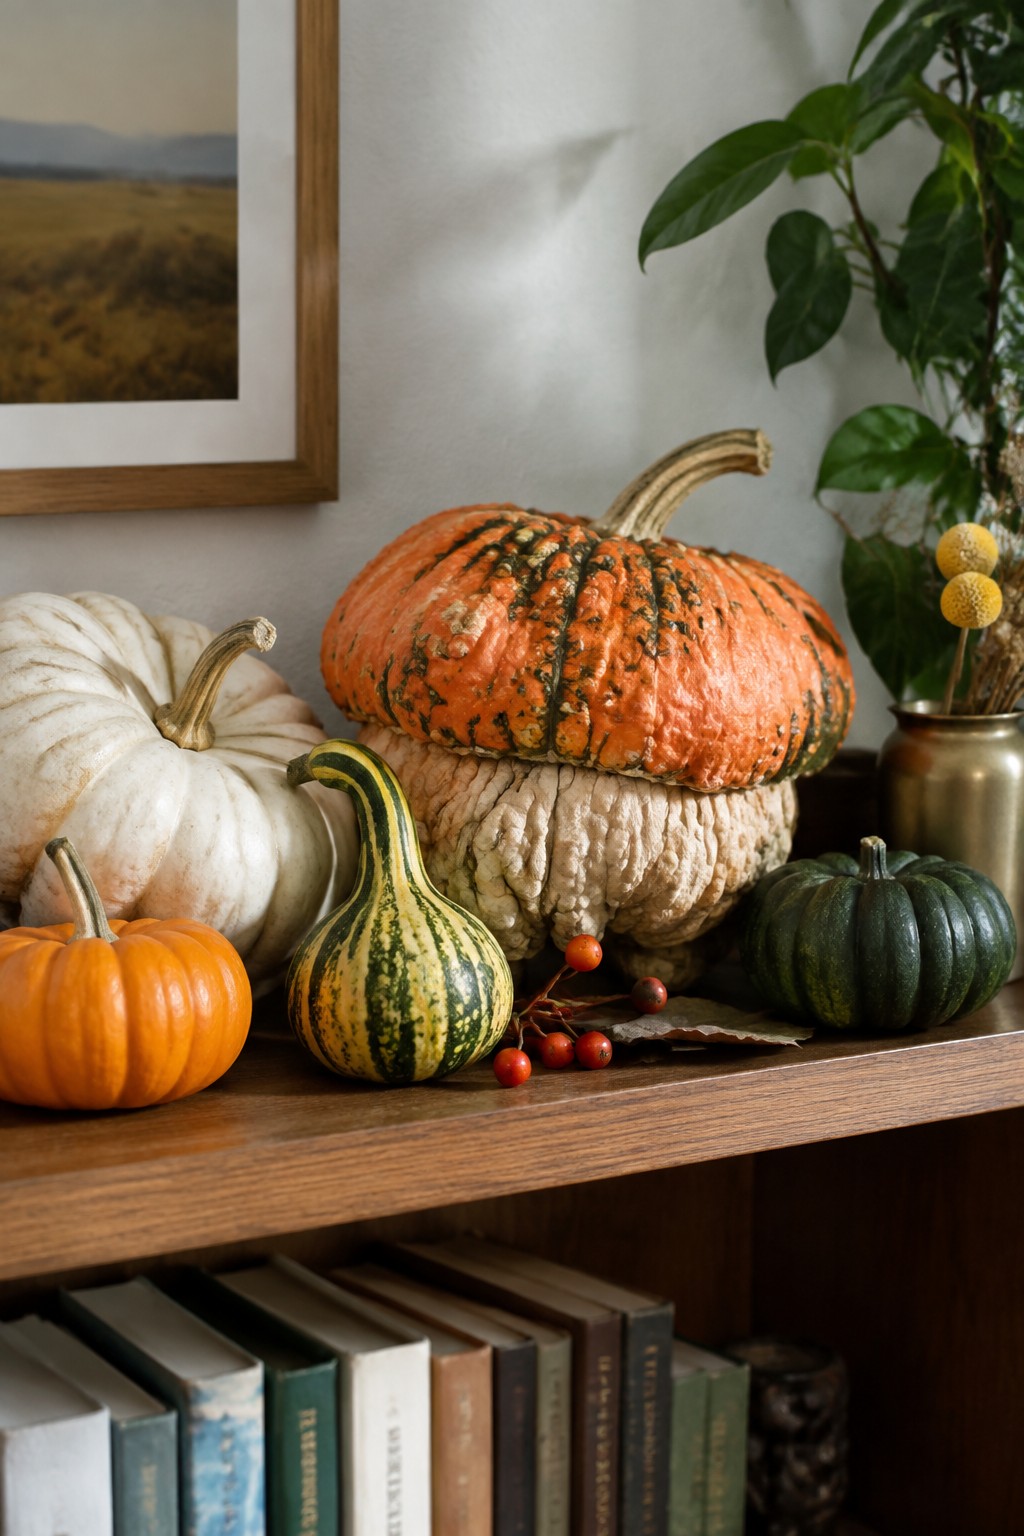
Mixing pumpkins of different sizes, colors, and textures on one surface creates a simple but striking display. The variety stands out more than a row of matching ones would, and it gives each pumpkin room to show its own form without extra decorations.
Place the largest pumpkins at the back and work smaller ones forward so the whole group stays balanced. This works well on a mantel, console, or open shelf and needs only the pumpkins themselves.
Group Carved Pumpkins On A Small Table
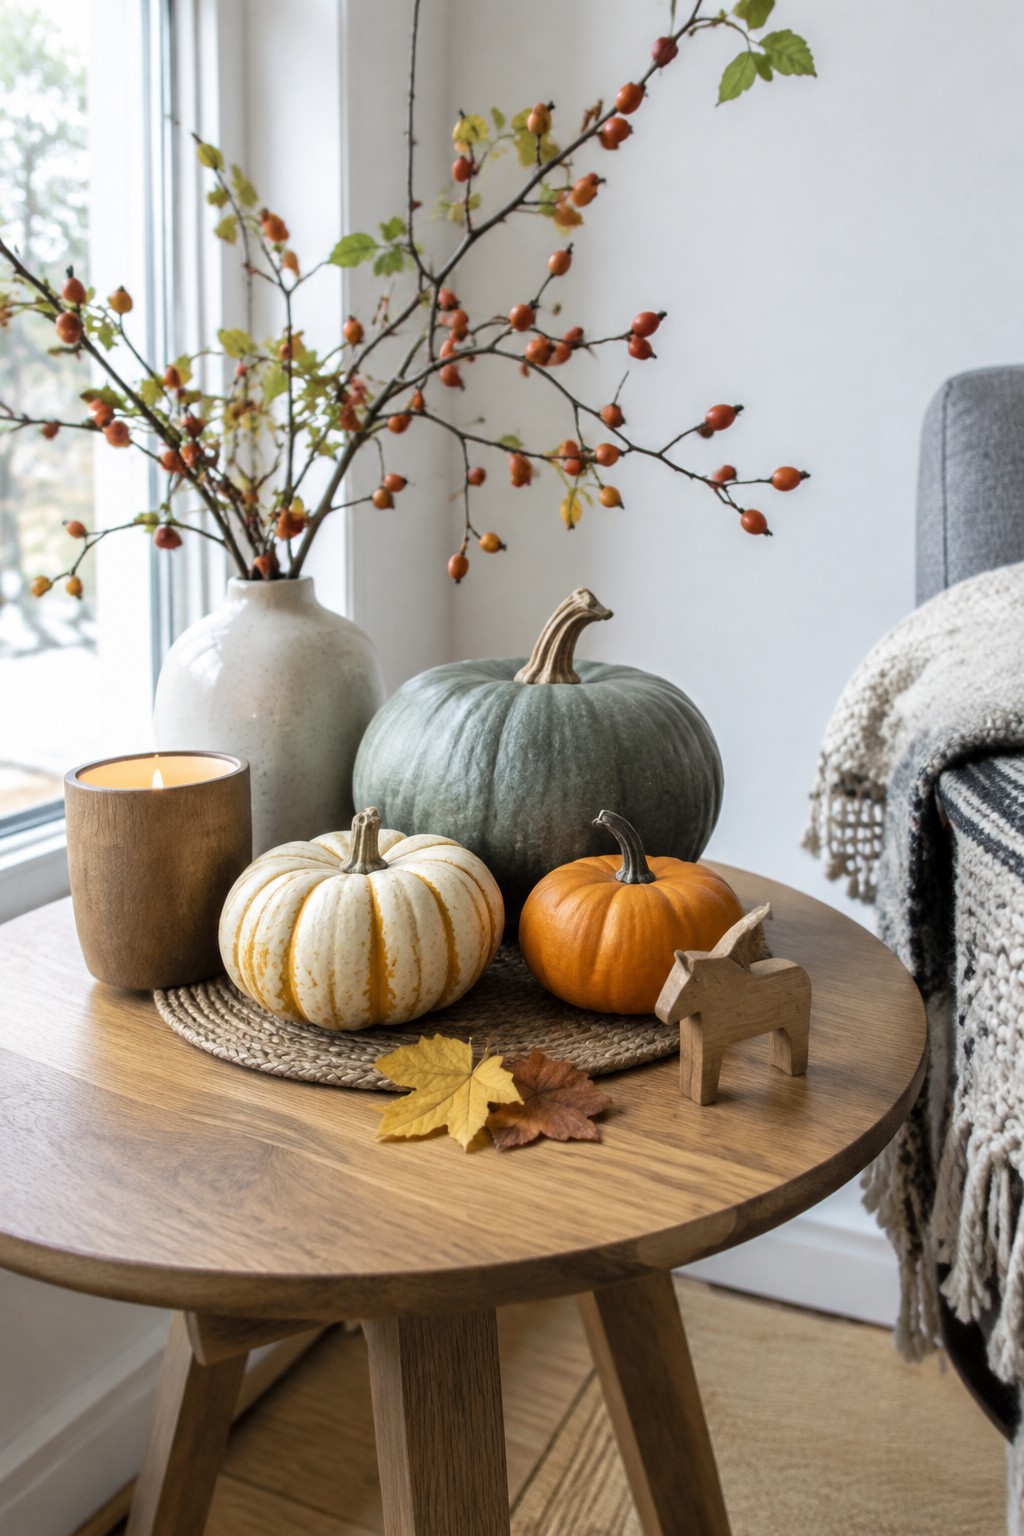
Placing several pumpkins of different colors together on a table creates a clean focal point that works in almost any room. The mix of white, orange, and green pumpkins stands out without extra props, and carving simple designs into each one makes the grouping feel more finished.
This setup works best on a round side table or coffee table where the pumpkins can sit at different heights. Keep the rest of the surface mostly empty and add just one or two supporting items like a candle or a woven mat so the carved pumpkins remain the main feature.
Group Carved Pumpkins On A Console
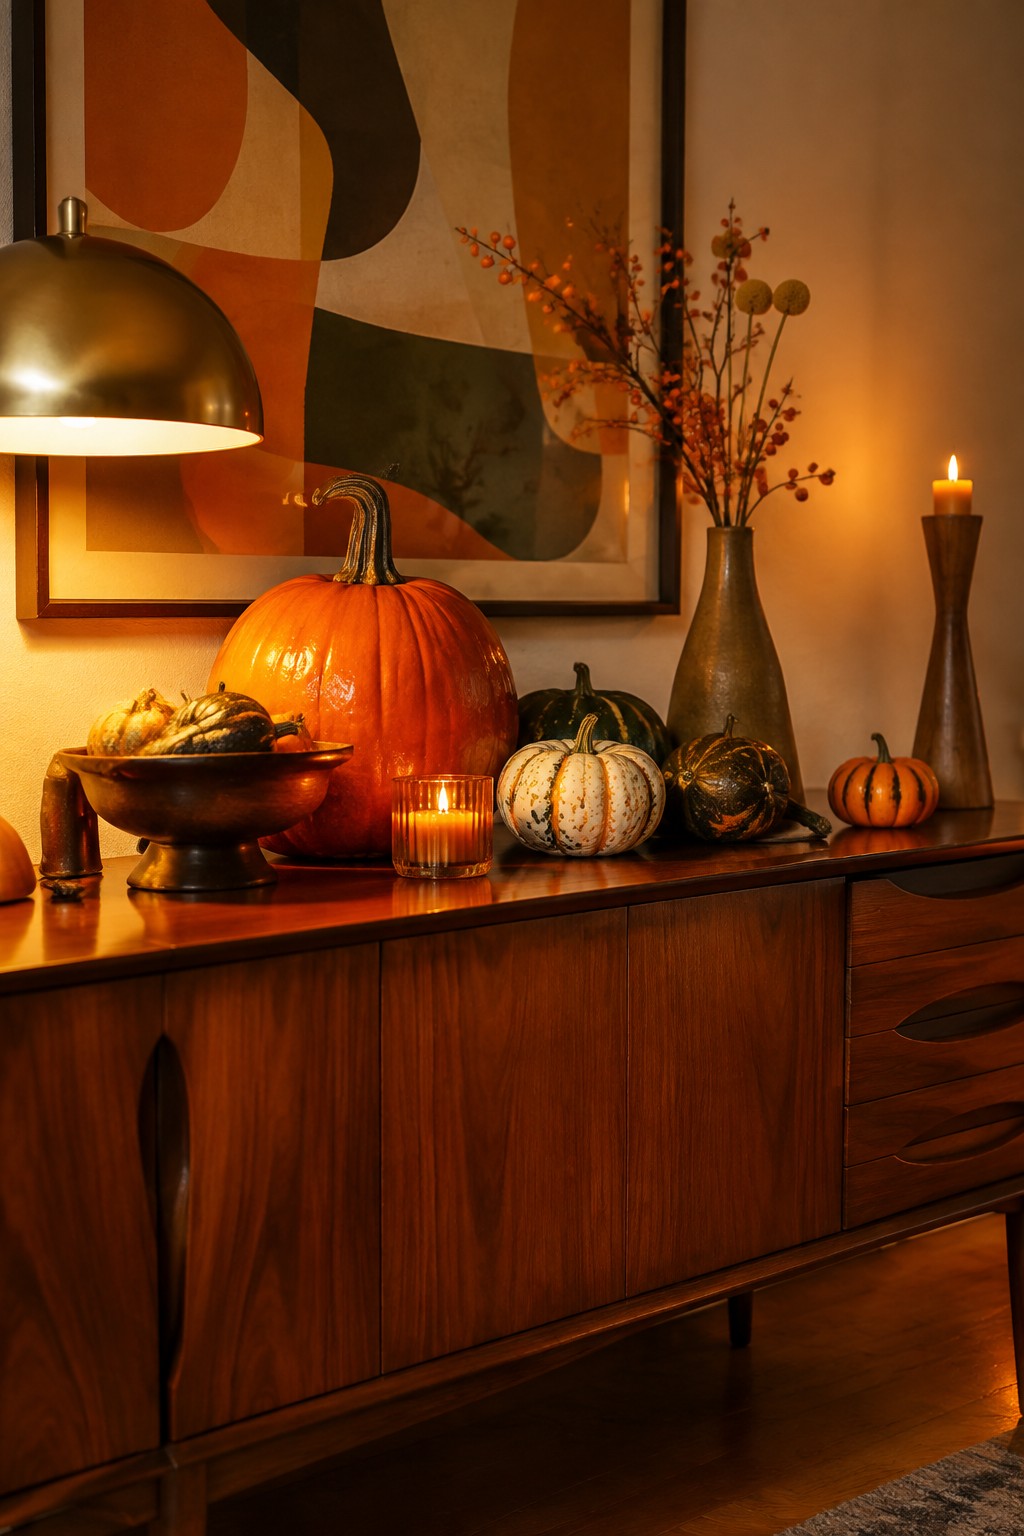
A simple way to show off carved pumpkins is to line them up along a console or sideboard instead of spreading them around the whole room. The mix of sizes and surface patterns keeps the display interesting without needing extra props. A couple of small candles tucked between the pumpkins adds just enough light to highlight the carving details at night.
This works well in an entry or living area where people walk past often. Start with one large carved pumpkin as the center point, then add smaller ones with different textures or etchings on either side. Keep the rest of the surface fairly clear so the carved work stays the focus.
Style A Metallic Pumpkin Centerpiece
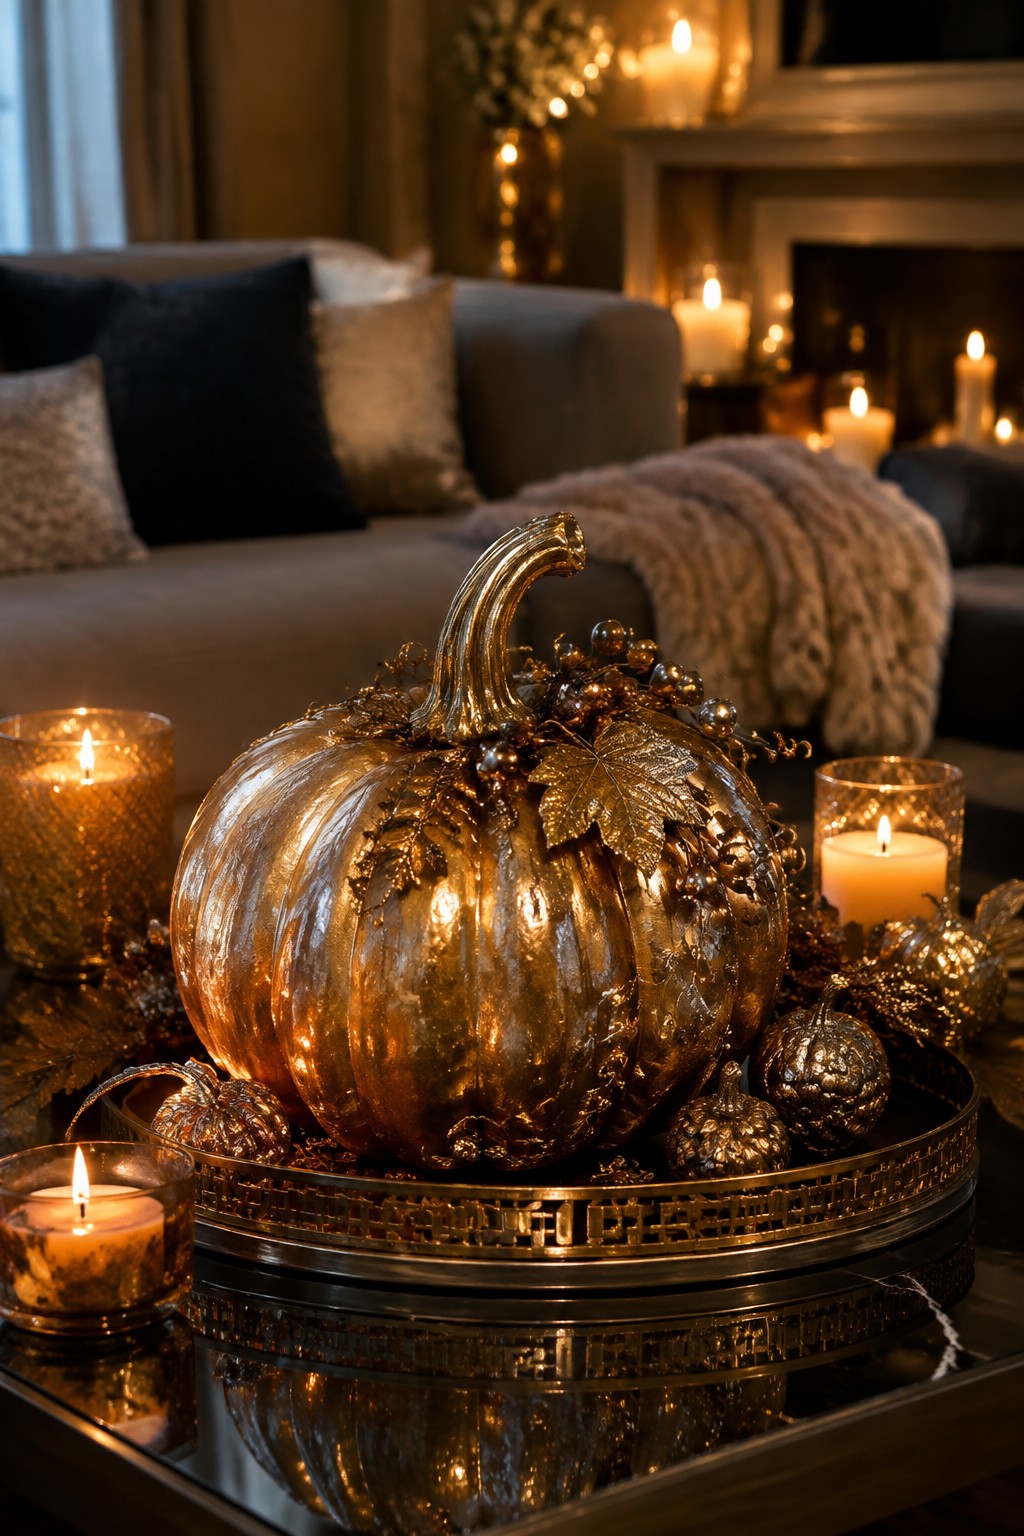
A large metallic pumpkin makes an easy focal point when placed on a decorative tray. The gold finish catches the light from surrounding candles and gives the display a polished look without needing many extra pieces. Smaller pumpkins around the base help fill the tray and keep the arrangement balanced.
Try this on a coffee table or console where guests will notice it right away. Start with one oversized pumpkin, add a few smaller ones in the same finish, and tuck in a couple of votive candles. Keep the rest of the surface clear so the tray stays the main feature.
Stack Carved Pumpkins On A Porch Swing
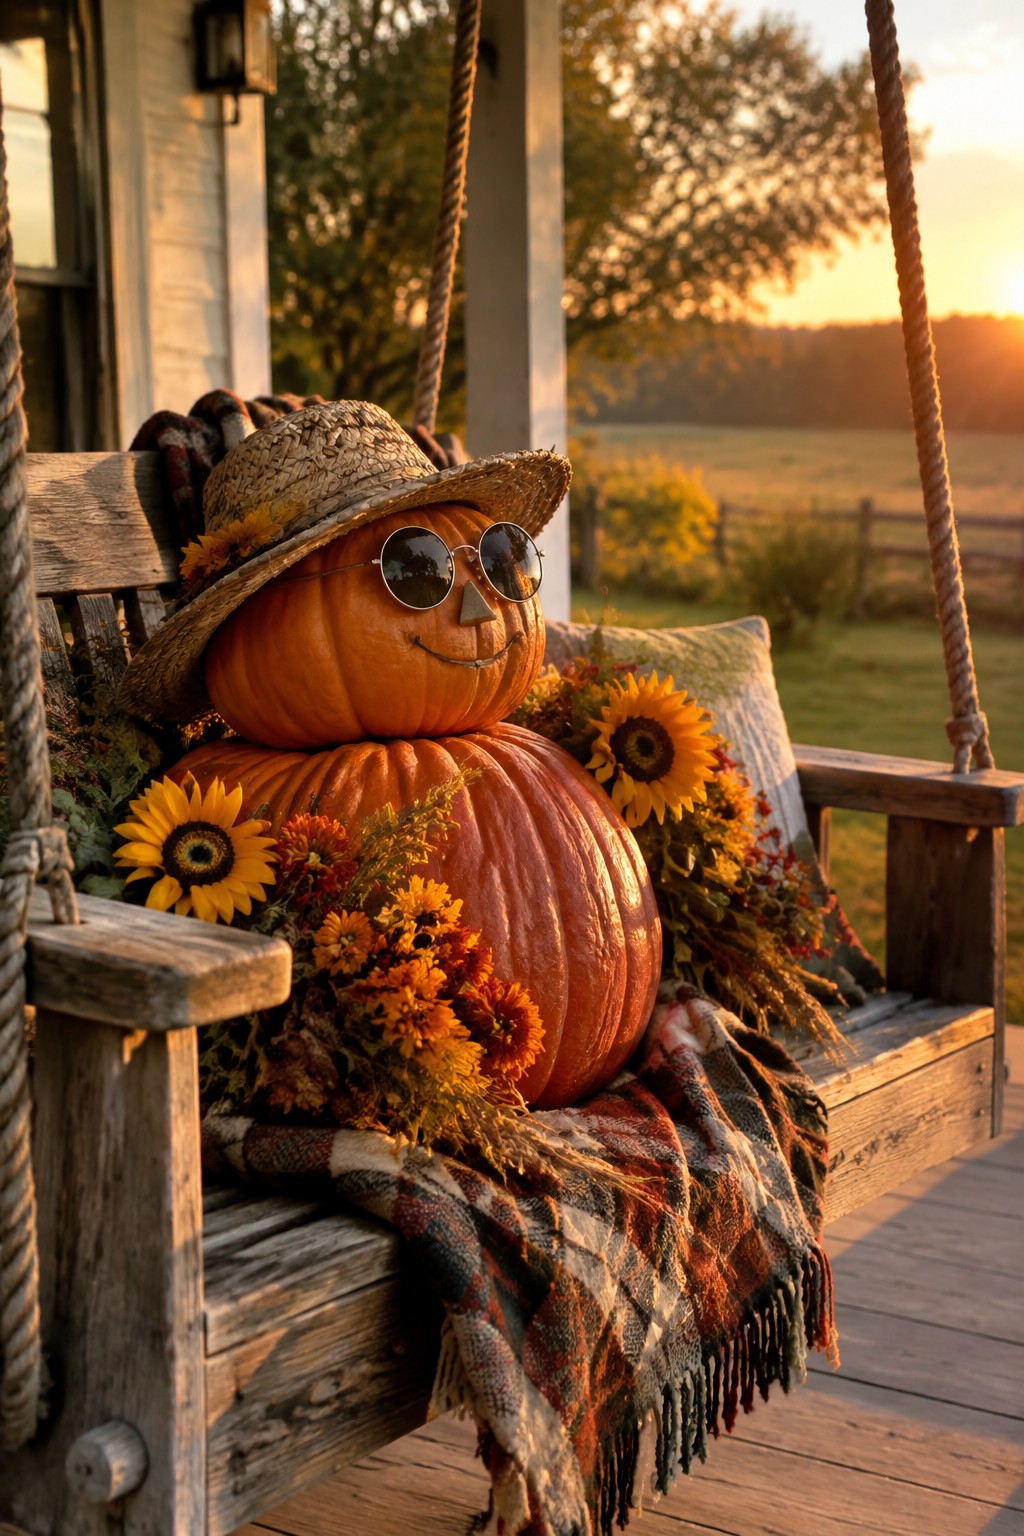
A simple stack of two pumpkins turns into a fun porch display when the top one gets a carved face and a few accessories. The straw hat and sunglasses give it personality without much effort, and the whole thing sits right on the swing so it feels like part of the seating area.
Set this up by placing a large pumpkin on the seat first, then balancing a smaller one on top. Add a basic carved smile or triangle features to the upper pumpkin and finish with one or two small items like a hat. It works best on a swing or bench where the stack stays visible from the yard.
Group Carved Pumpkins On A Nightstand
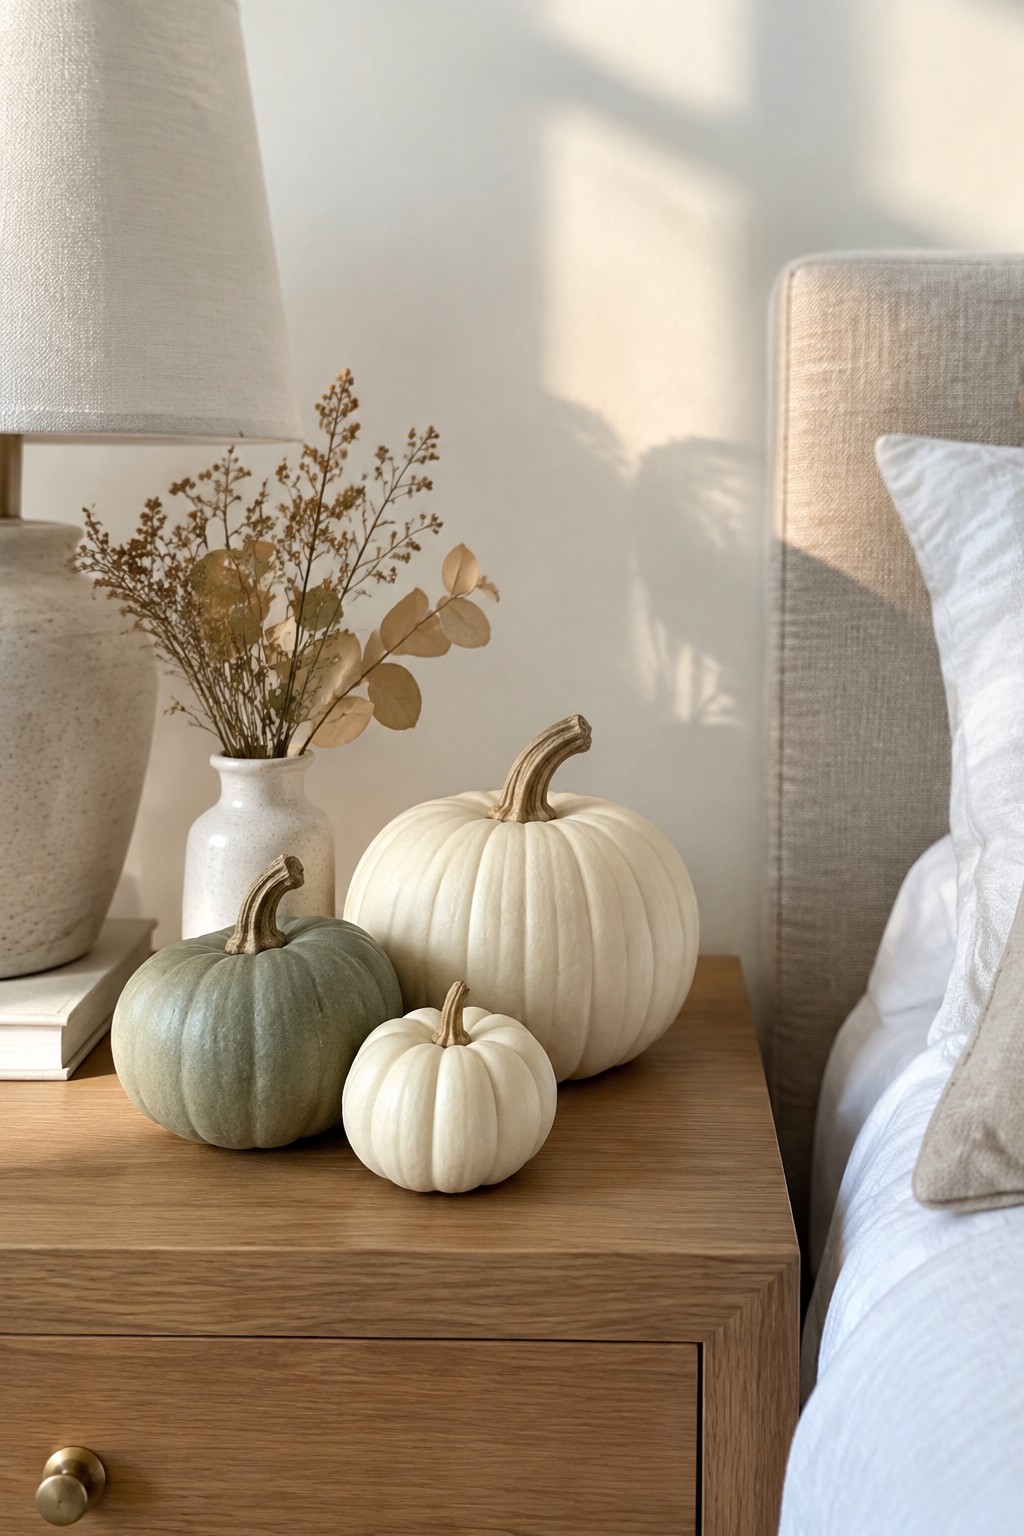
Carving a few pumpkins and setting them together on a nightstand gives the bedroom a simple Halloween touch without much effort. White pumpkins work especially well here because the carved details stand out cleanly against the pale surface.
Keep the group to three or four pumpkins in different sizes and stick with basic cuts like a classic face or a few small shapes. The rest of the table can stay mostly empty so the carved pieces stay the focus.
Group Pumpkins In A Large Urn
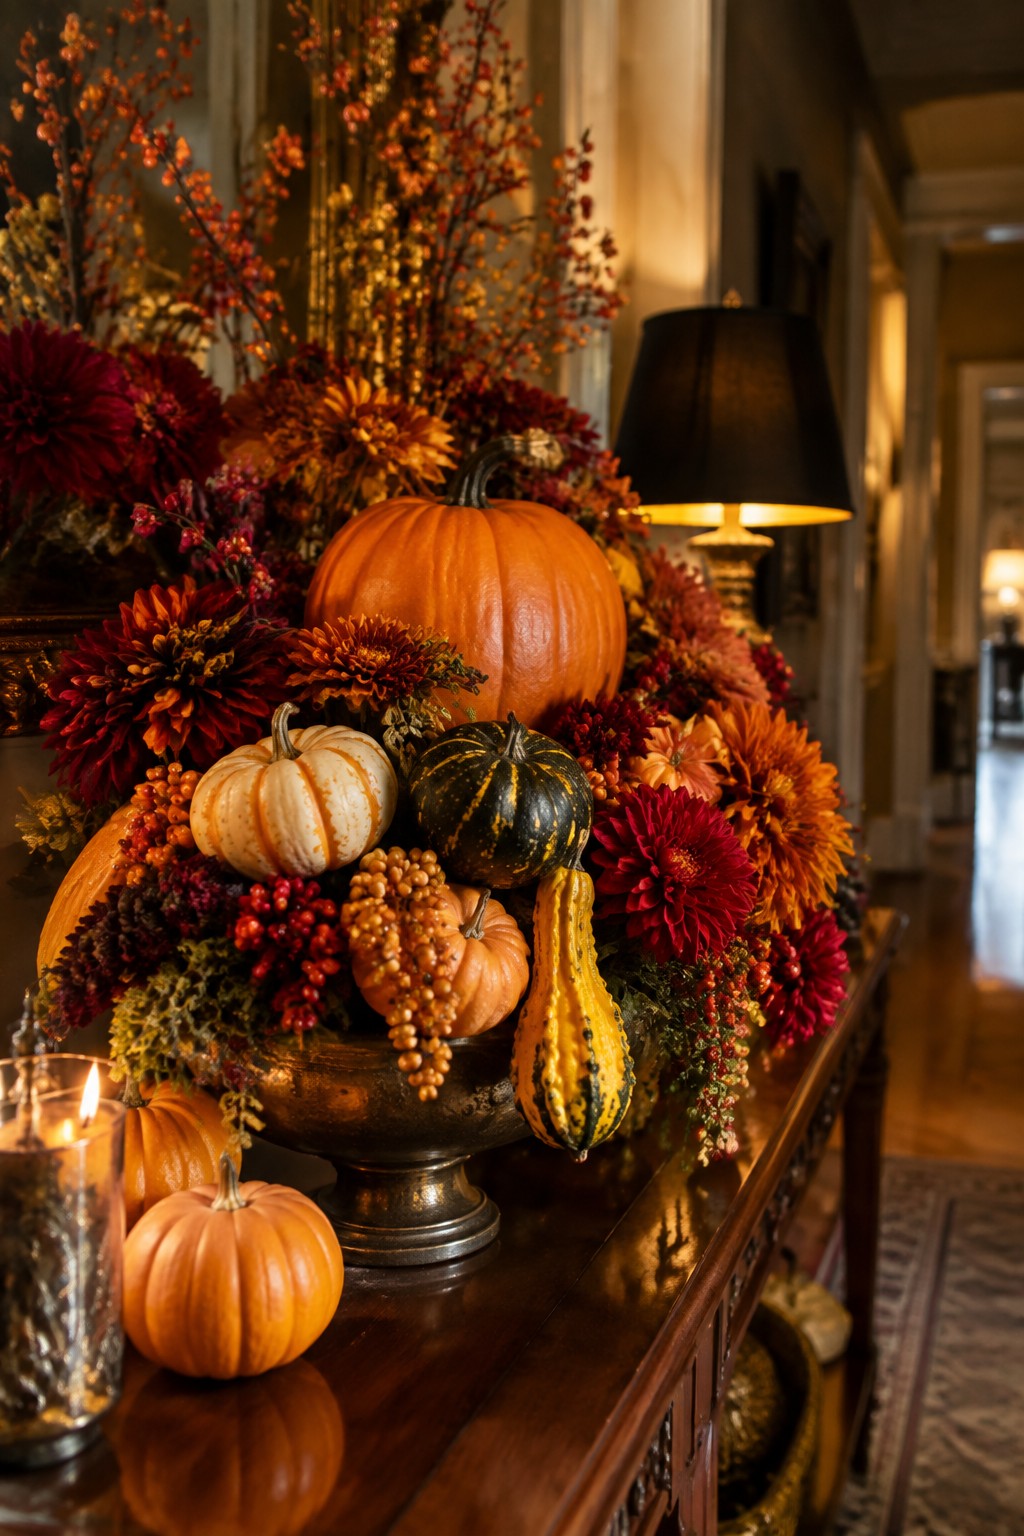
A big urn filled with mixed pumpkins and gourds makes a simple but strong focal point on a console table. The variety in shape, color, and size keeps the display interesting without needing extra pieces scattered around the rest of the space.
Place the urn near the front door or along a hallway wall where people walk by often. Use five to eight pumpkins of different types, letting a few trail slightly over the edge, and keep the surrounding surface clear so the arrangement stays the main feature.
Carve Matching Smiling Faces For A Bench Display
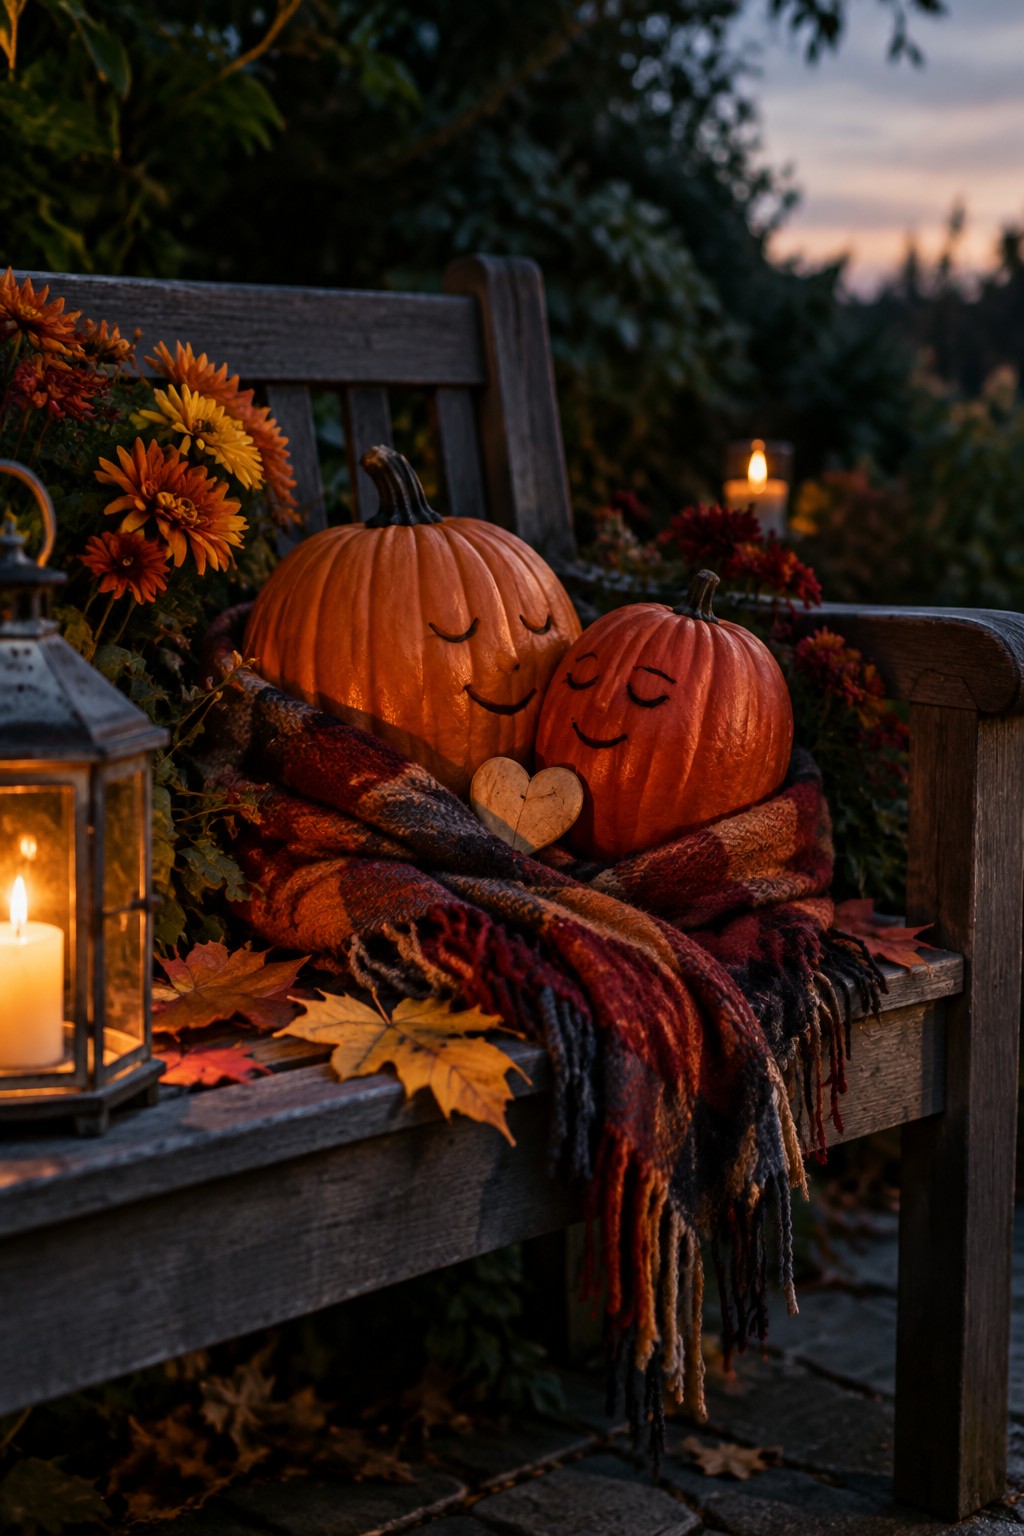
Two pumpkins carved with simple closed-eye smiles make a charming pair when placed side by side on a bench. The matching expressions give the display a friendly, cohesive look that feels approachable rather than spooky. Wrapping them loosely in a plaid throw adds a cozy touch that highlights the carved faces without extra props.
This idea works well on a porch bench or any outdoor seating area. You only need two similar-sized pumpkins, a basic carving tool, and one piece of fabric to pull the scene together. Keep the rest of the area simple so the carved faces stay the main focus.
Frequently Asked Questions
Q: How do I keep my carved pumpkins from rotting before the big night? A: Wipe the inside clean and dry after scooping. Then coat all the cut edges with a light layer of petroleum jelly to hold in moisture. Set the pumpkins in a cool spot away from direct sun.
Q: What if the design calls for super thin details and my knife feels too clumsy? A: Trace the pattern first with a dry erase marker so you can wipe mistakes. Switch to a small paring knife for the fine lines and work slowly in short strokes. It takes a bit longer but gives cleaner results.
Q: Can I use these ideas on fake pumpkins instead of real ones? A: Fake ones hold up for weeks and let you practice tricky cuts without waste. Just skip the scooping step and go straight to carving. They look great on a porch once lit from inside.
