

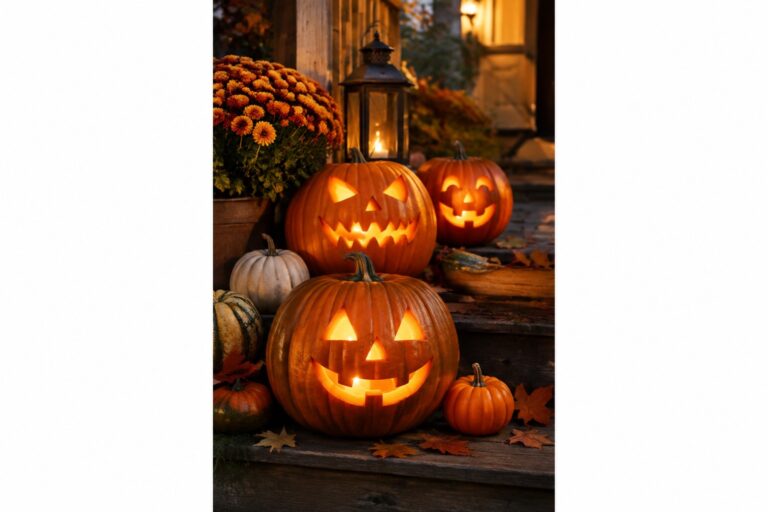
Jack o’ lanterns give me a chance to create a clear focal point for Halloween without filling every corner of the house.
I like choosing designs that draw attention right away, whether they sit on a front step or line a windowsill inside.
Working with the shape and surface of each pumpkin lets the ideas feel more personal than buying ready-made pieces.
Some of the best versions use light in simple ways that still read from a distance.
That approach keeps the rest of the space usable while the pumpkins carry the seasonal look.
Group Jack O Lanterns On The Porch Steps
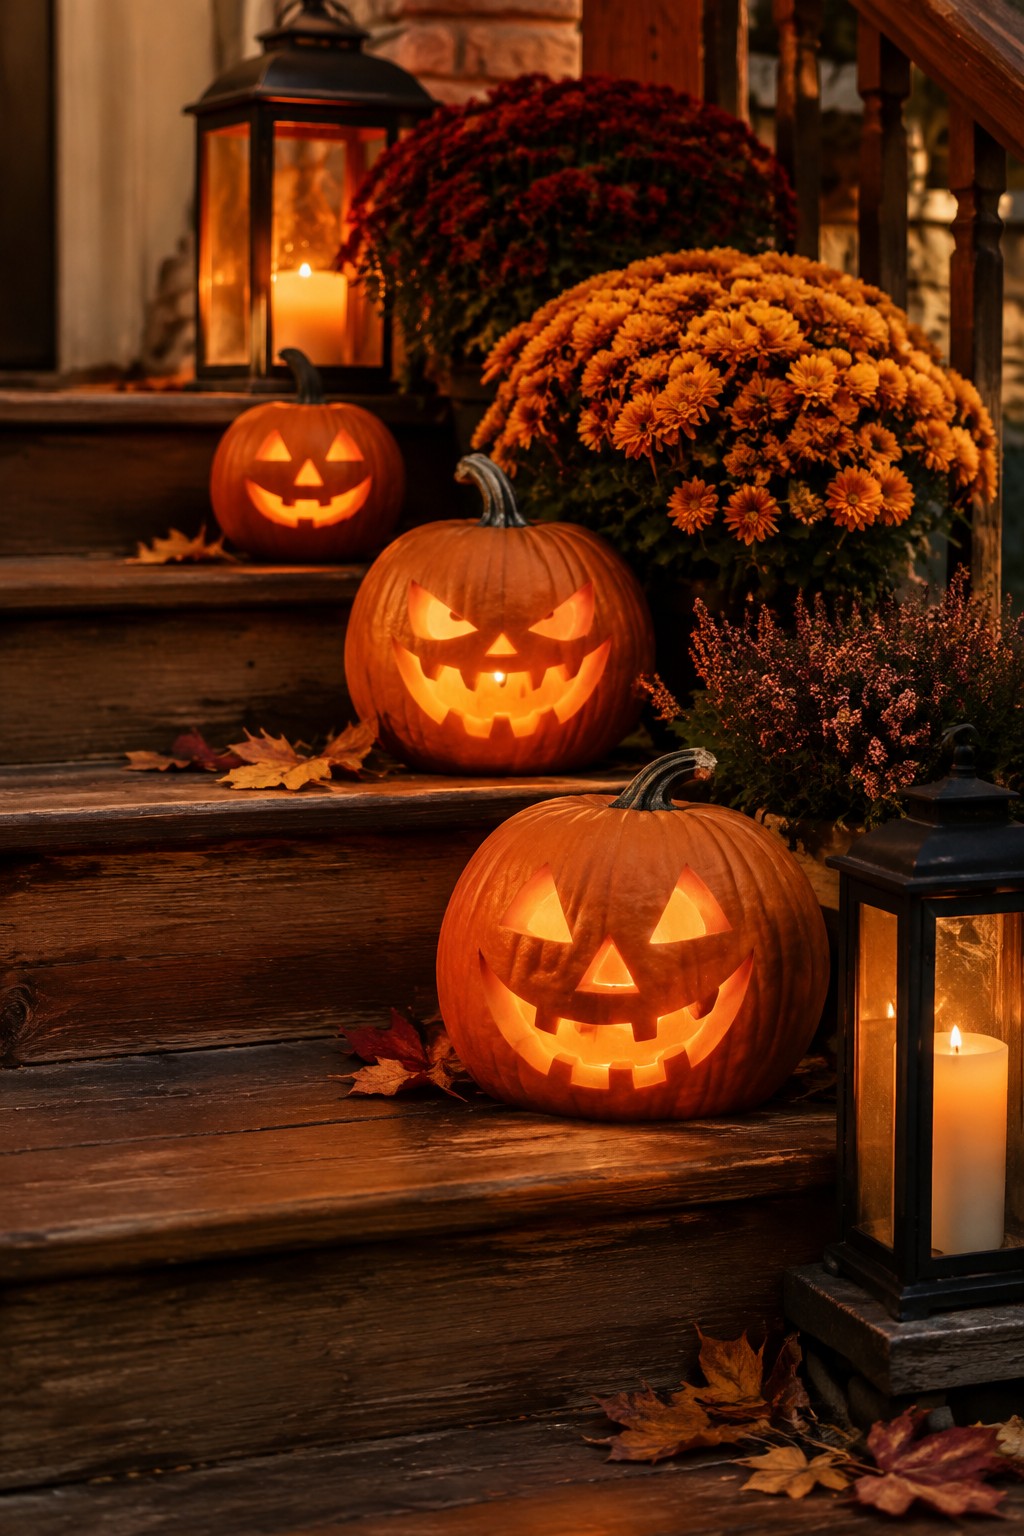
Carving several pumpkins and lining them up on the steps gives the porch a clear Halloween focus. The lit faces stand out against the wood and create a simple path of light that feels welcoming without needing extra props.
Use three or four pumpkins with different expressions so the display does not look too uniform. Keep the rest of the area light with just a lantern or two and a few scattered leaves so the carved pumpkins remain the main feature.
Carve Spiral Cuts Into A Large Pumpkin
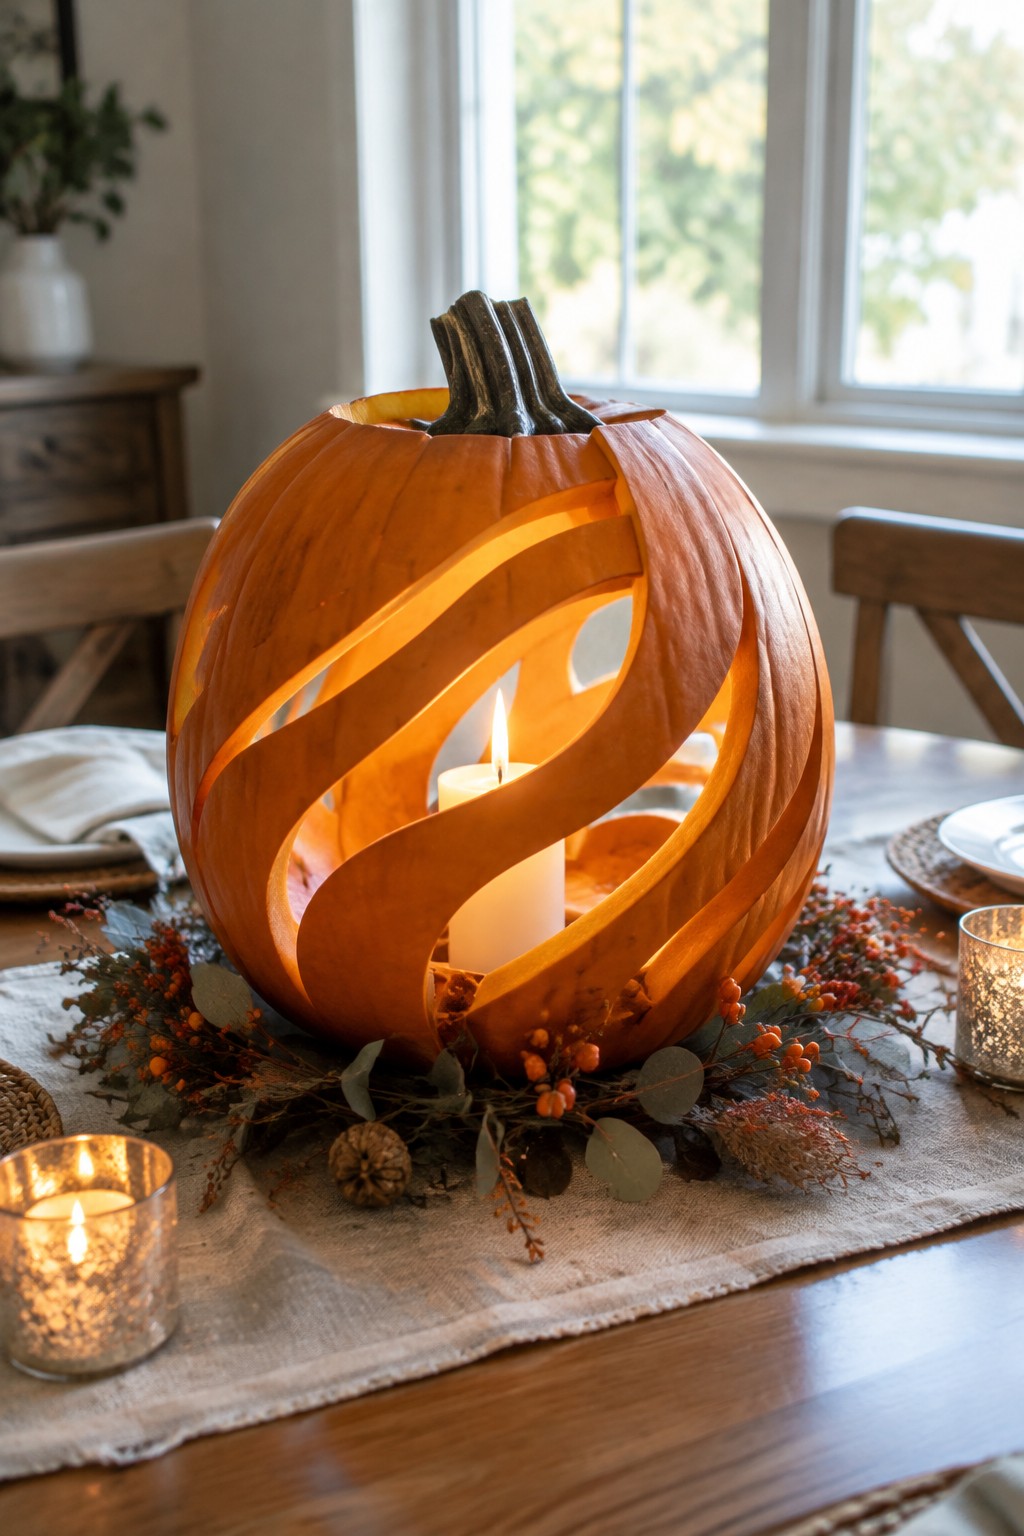
A pumpkin with wide spiral cuts makes a strong table centerpiece because the openings let the inner light spread across the surface without needing extra decorations. The simple pattern stands out on its own and works well in a dining room where the table already has a runner and a few candles.
Place the carved pumpkin in the middle of the table and add only a small amount of foliage or berries around the base so the carving stays the focus. One or two smaller candles nearby are enough to keep the look balanced instead of crowded.
Group Jack O Lanterns With Different Carvings
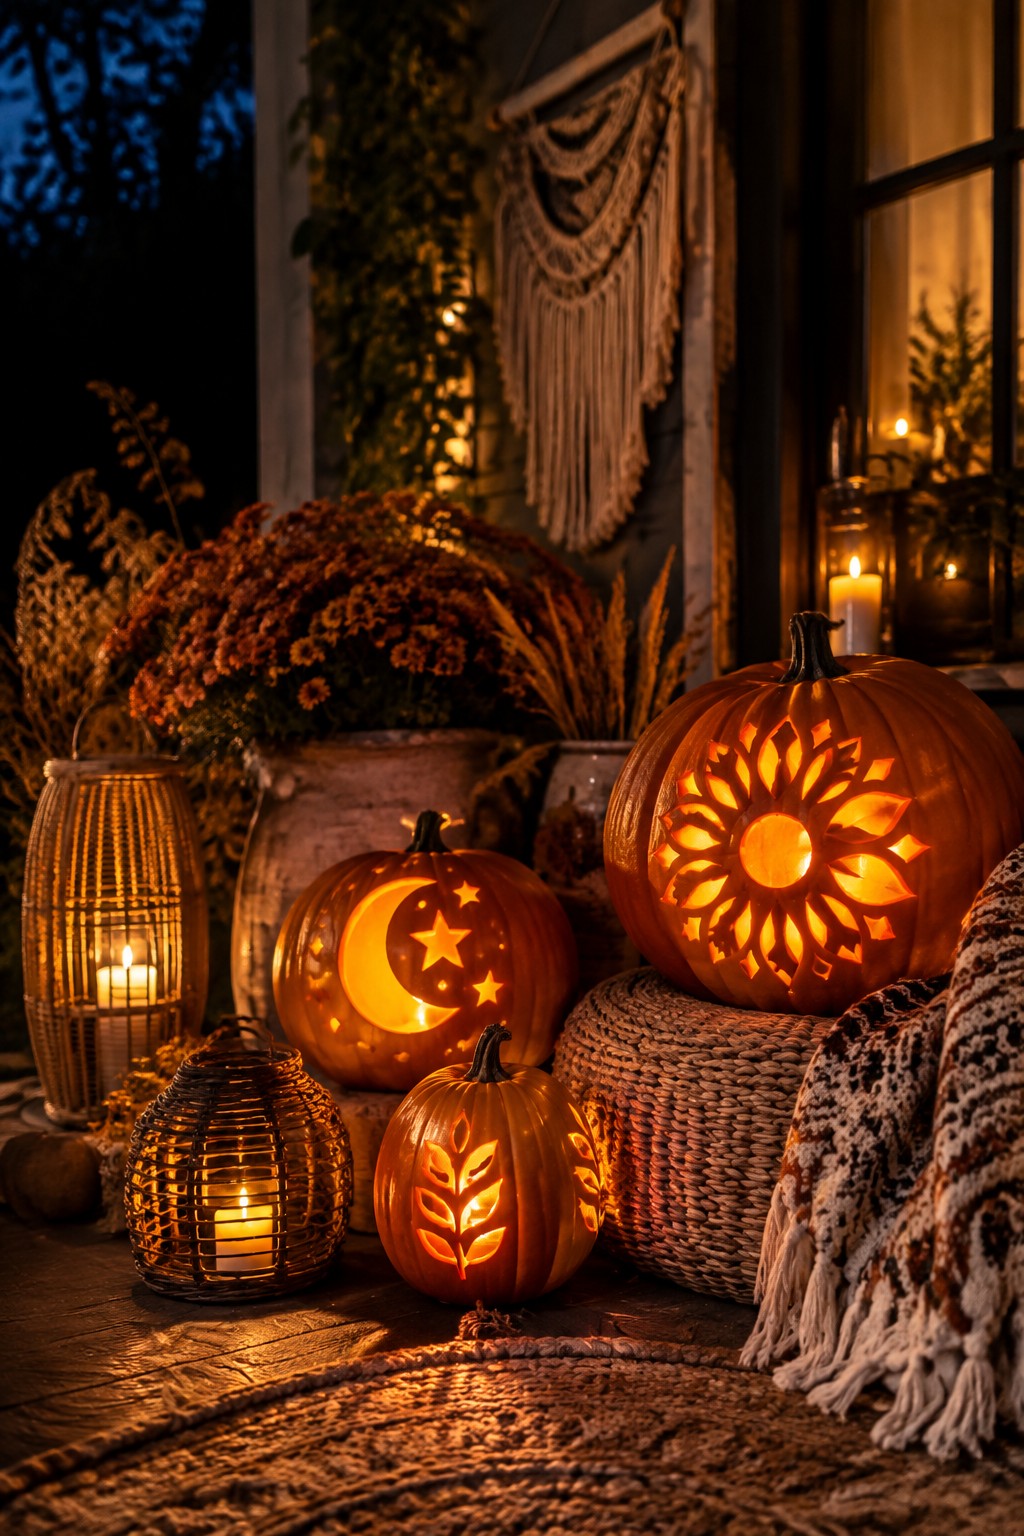
Placing several carved pumpkins together lets each design stand out while still feeling like one display. The mix of a crescent moon with stars, a bold sunflower pattern, and a simple leaf motif shows how small changes in carving can keep the whole setup interesting without needing extra pieces.
This works best near an entry or on a porch where people walk by at night. Use three to five pumpkins of different sizes, light them from inside with battery candles, and keep the rest of the area simple so the carvings stay the main focus.
Carve One Large Pumpkin For The Mantel
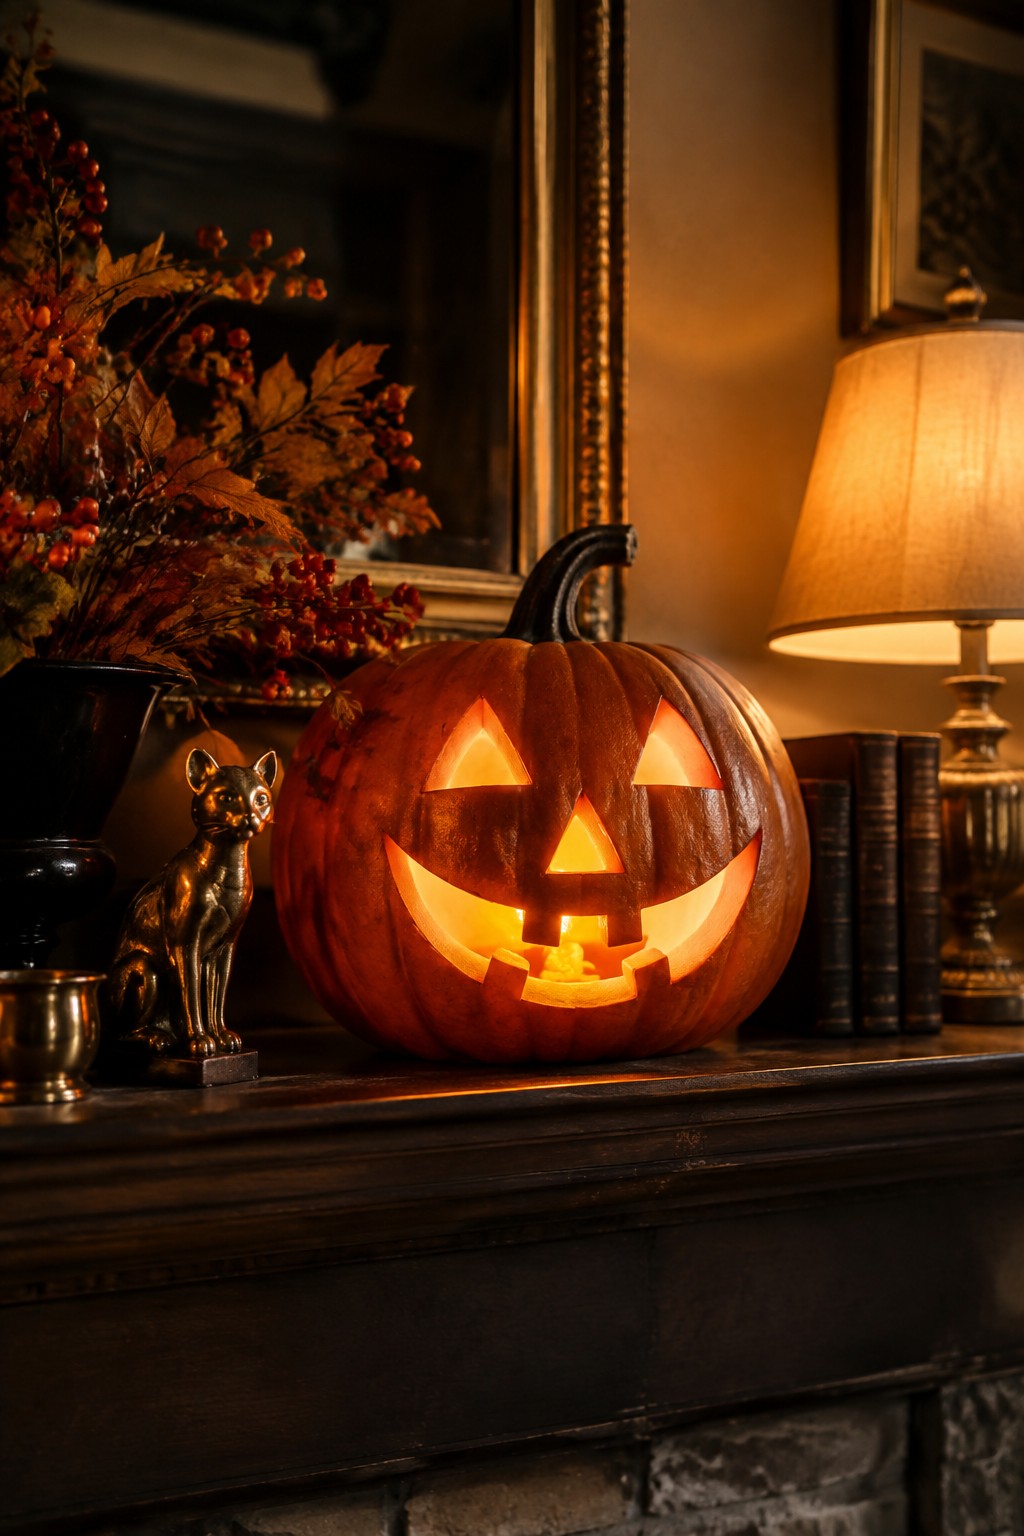
A single large carved pumpkin works well as the main piece on a mantel because the glowing face becomes the clear focus. The simple triangle eyes and wide grin stand out without extra layers of decor, and the warm light from inside gives it presence even in a smaller space.
Place the pumpkin in the center of the mantel and keep any other items minimal. A small metal cat or a few branches on one side is enough to support it without competing. This setup works on most mantels and takes only one pumpkin to create the effect.
Group Jack O Lanterns On The Steps
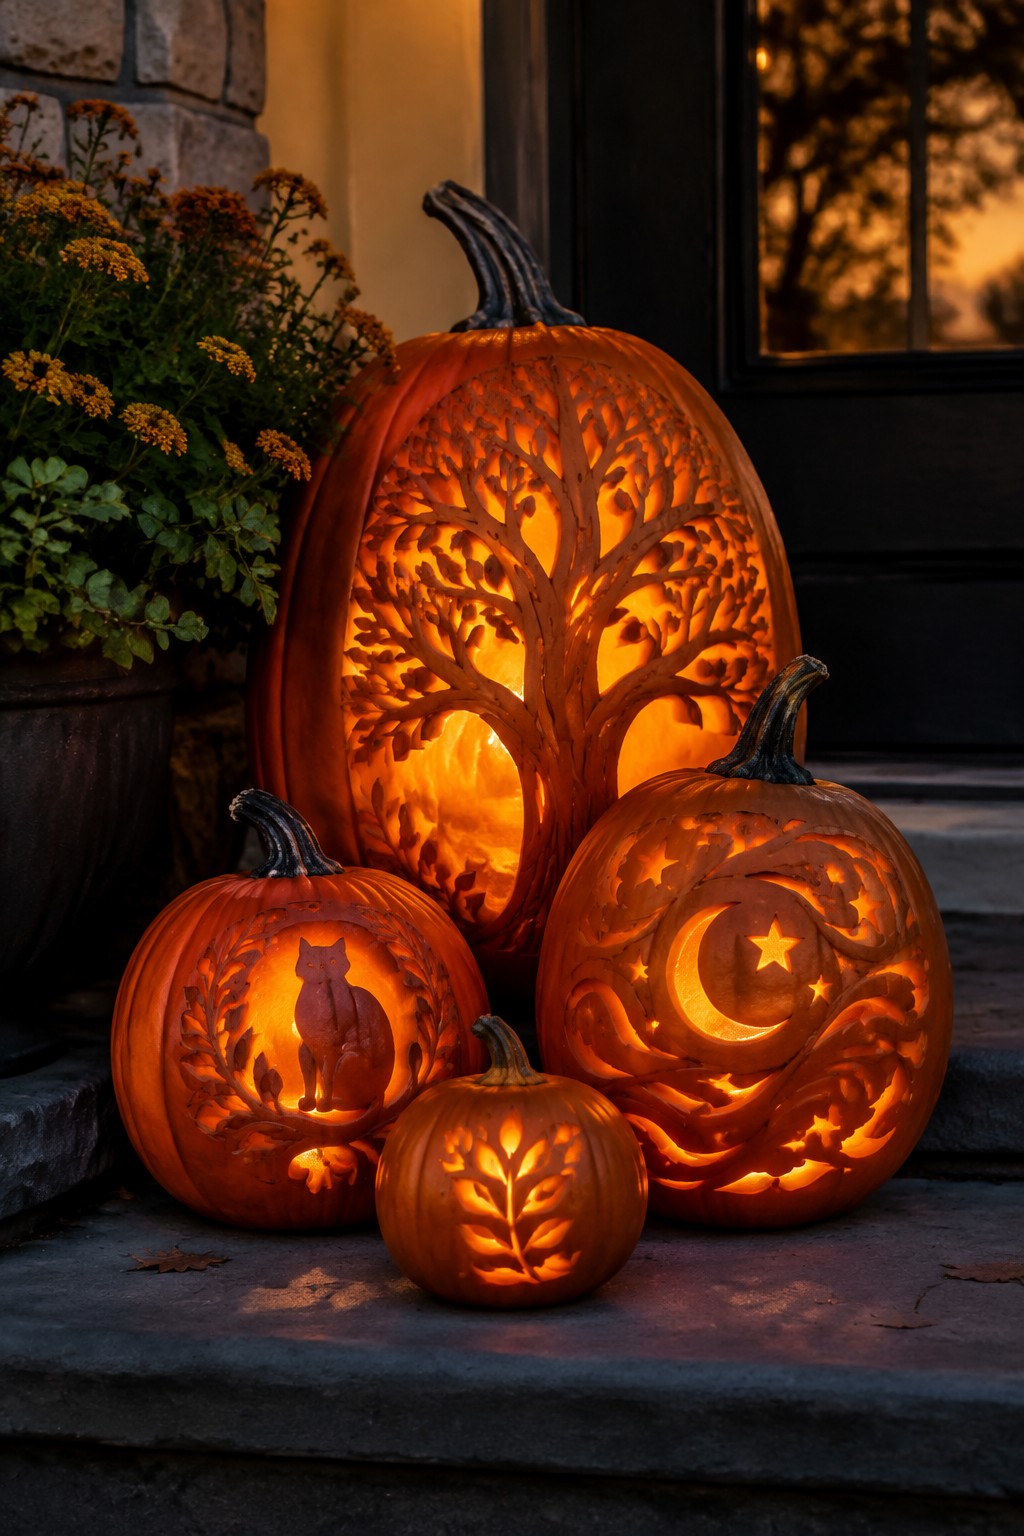
Placing several carved pumpkins together on the front steps creates a strong focal point that feels intentional without much extra effort. The variety in the designs stands out right away, especially when each one has a clear motif like a tree, a cat silhouette, or a crescent moon.
Set the largest pumpkins at the back and work smaller ones forward so every carving stays visible. Battery candles inside keep the look bright after dark, and the whole arrangement takes only a few minutes to set up or store away once the holiday passes.
Put A Lit Jack O Lantern On The Coffee Table
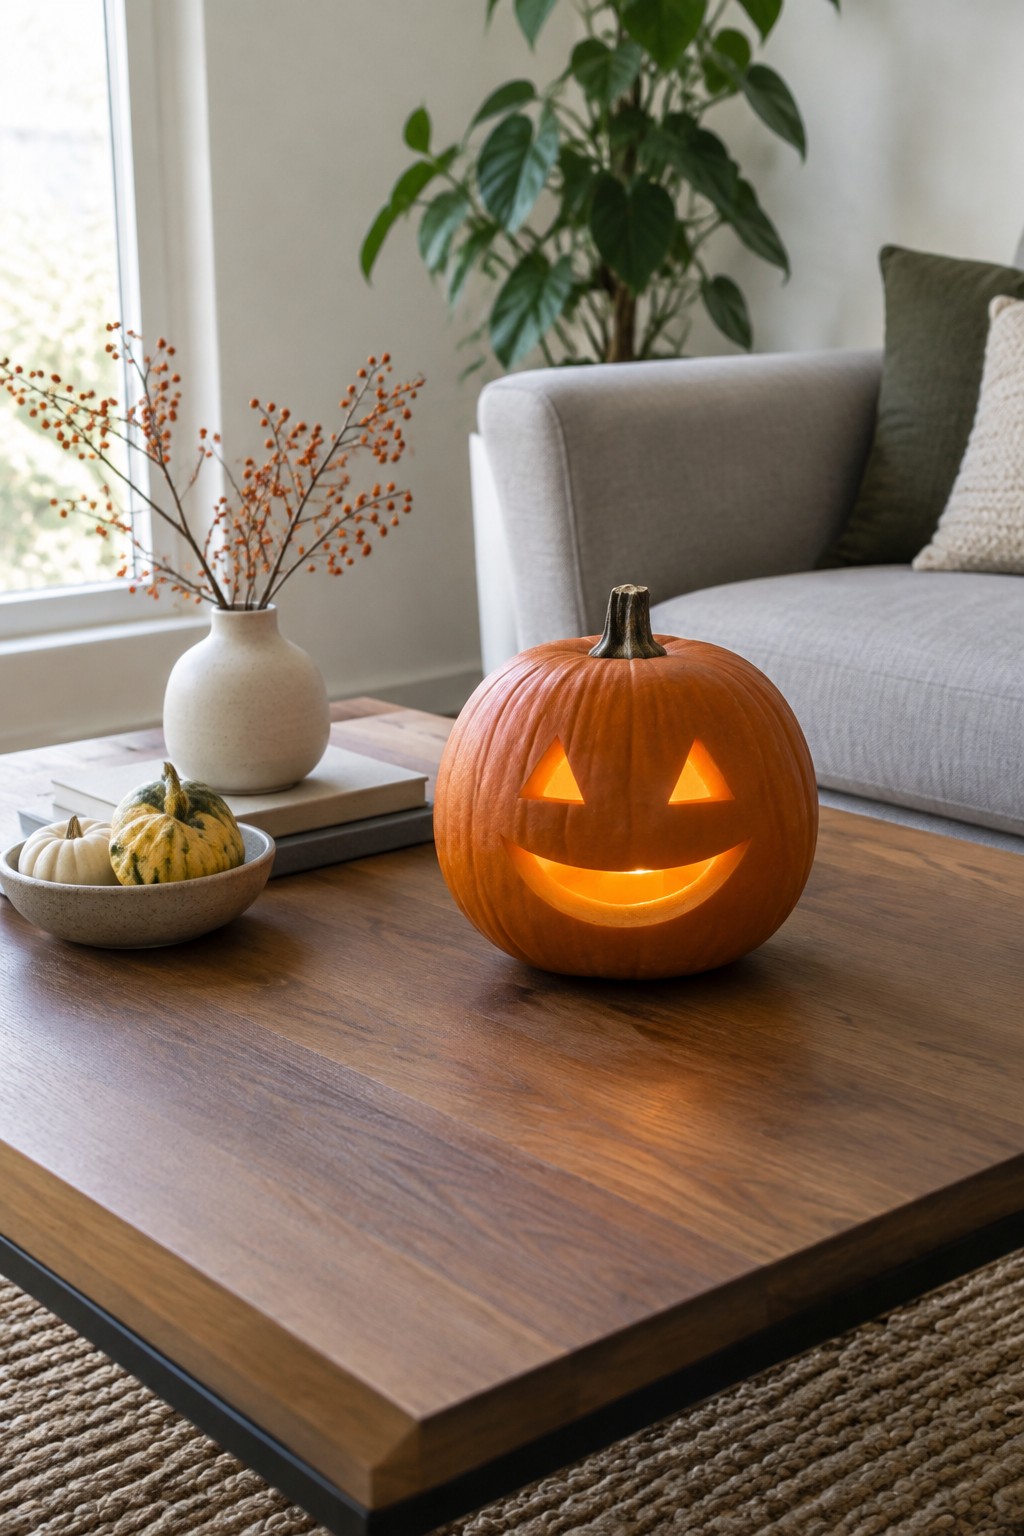
A single carved pumpkin with a warm glow makes an easy focal point in the living room. It stands out without needing much else around it, and the simple face keeps the look friendly rather than overwhelming.
Set the pumpkin on a low table where it can be seen from the main seating area. Add just a couple of small uncarved pumpkins nearby if you want a bit more interest, but keep the rest of the surface clear so the lit jack o lantern stays the main feature.
Group Jack O Lanterns Around The Fireplace
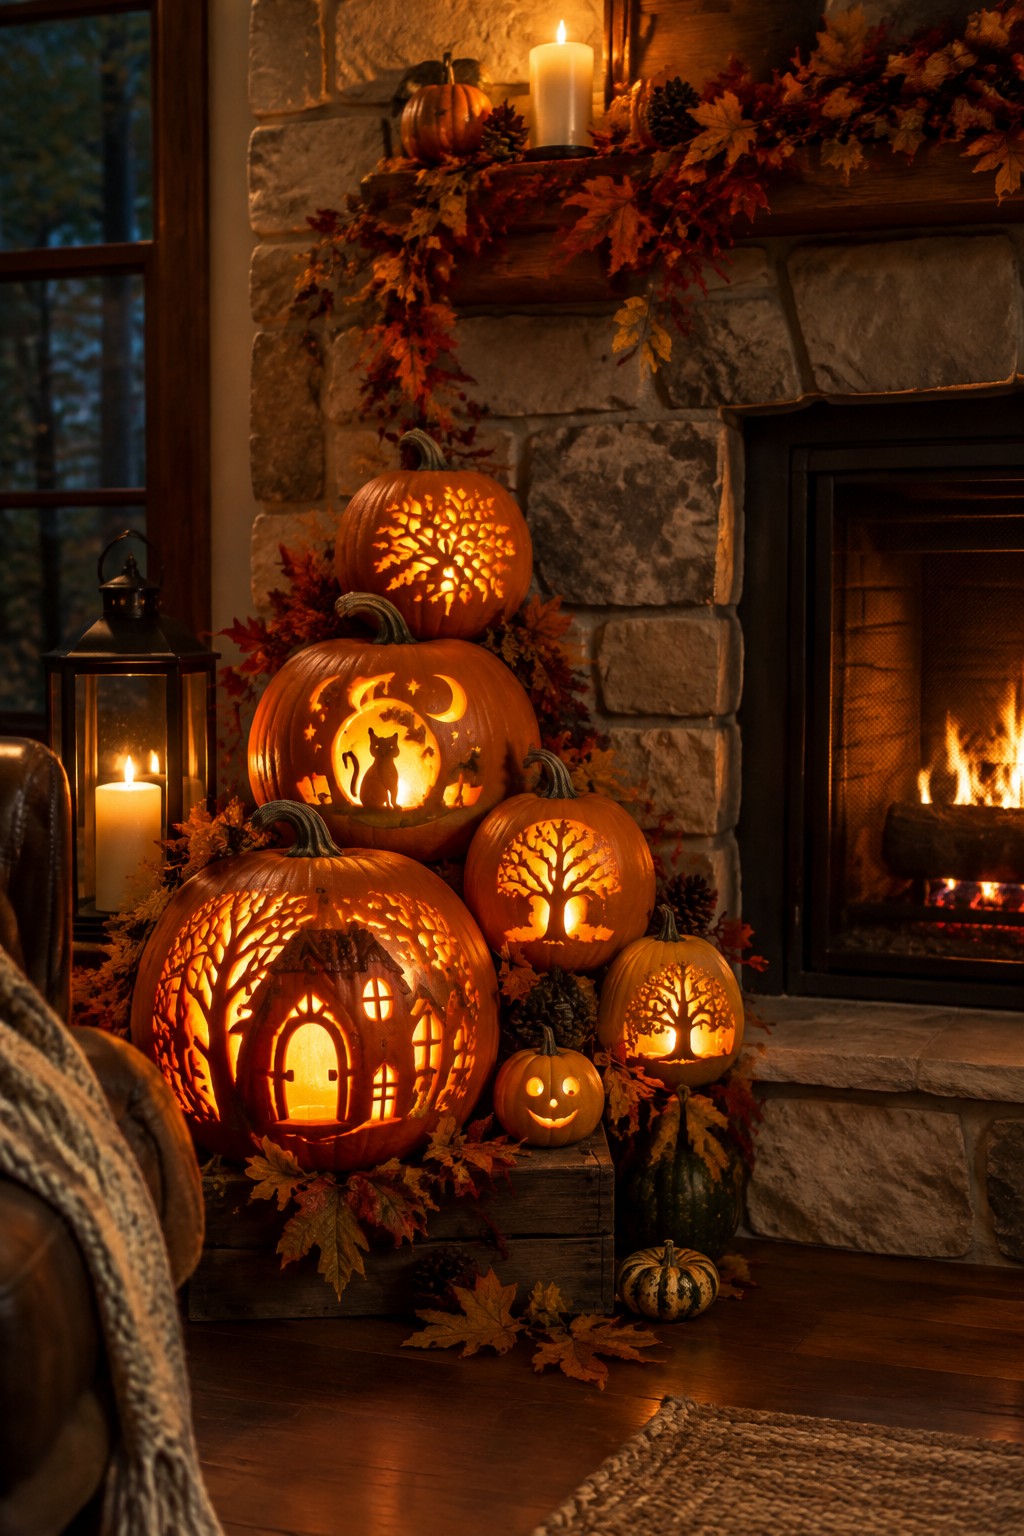
A simple way to make a strong Halloween statement is to gather several carved pumpkins in one spot and let the different designs play off each other. The mix of tree silhouettes, a cat under the moon, and a little haunted house creates interest without needing extra props or complicated setups. Placing them on the hearth keeps the display contained and lets the glowing carvings become the main focus.
This idea works best indoors near a fireplace or large empty corner where the pumpkins can sit at different heights. Use a wooden crate or a couple of low stools to create levels, then add only a few leaves or small gourds so the carved faces stay easy to see. Battery candles inside each pumpkin keep the look safe and let you move the whole group around if you want the display somewhere else later.
Group Jack O Lanterns Along The Staircase
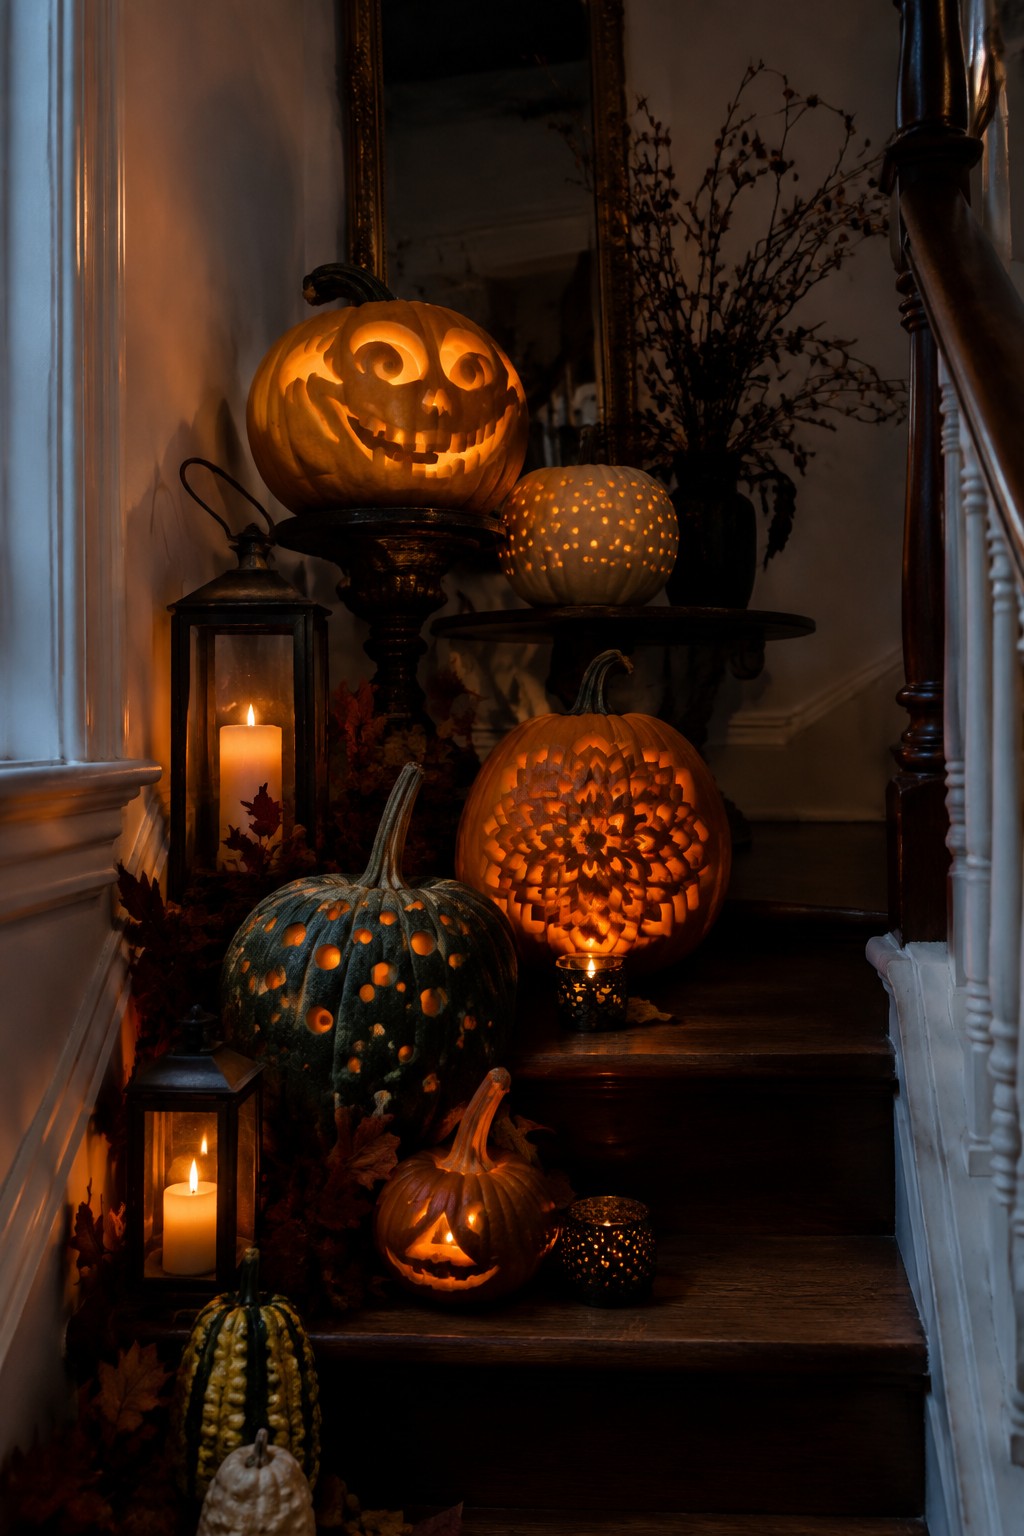
Placing a mix of carved pumpkins on the stairs creates a strong focal point that feels festive without taking over the whole house. Different carving styles and sizes keep the display interesting while the warm light from inside each one makes the setup stand out at night.
Start with three or four pumpkins in varying heights and place them on different steps so the eye travels upward. Mix simple faces with more detailed patterns and add a couple of small battery candles nearby for extra glow. This works especially well in narrow hallways or entry stairs where people already walk past.
Group Jack O Lanterns On The Porch Steps
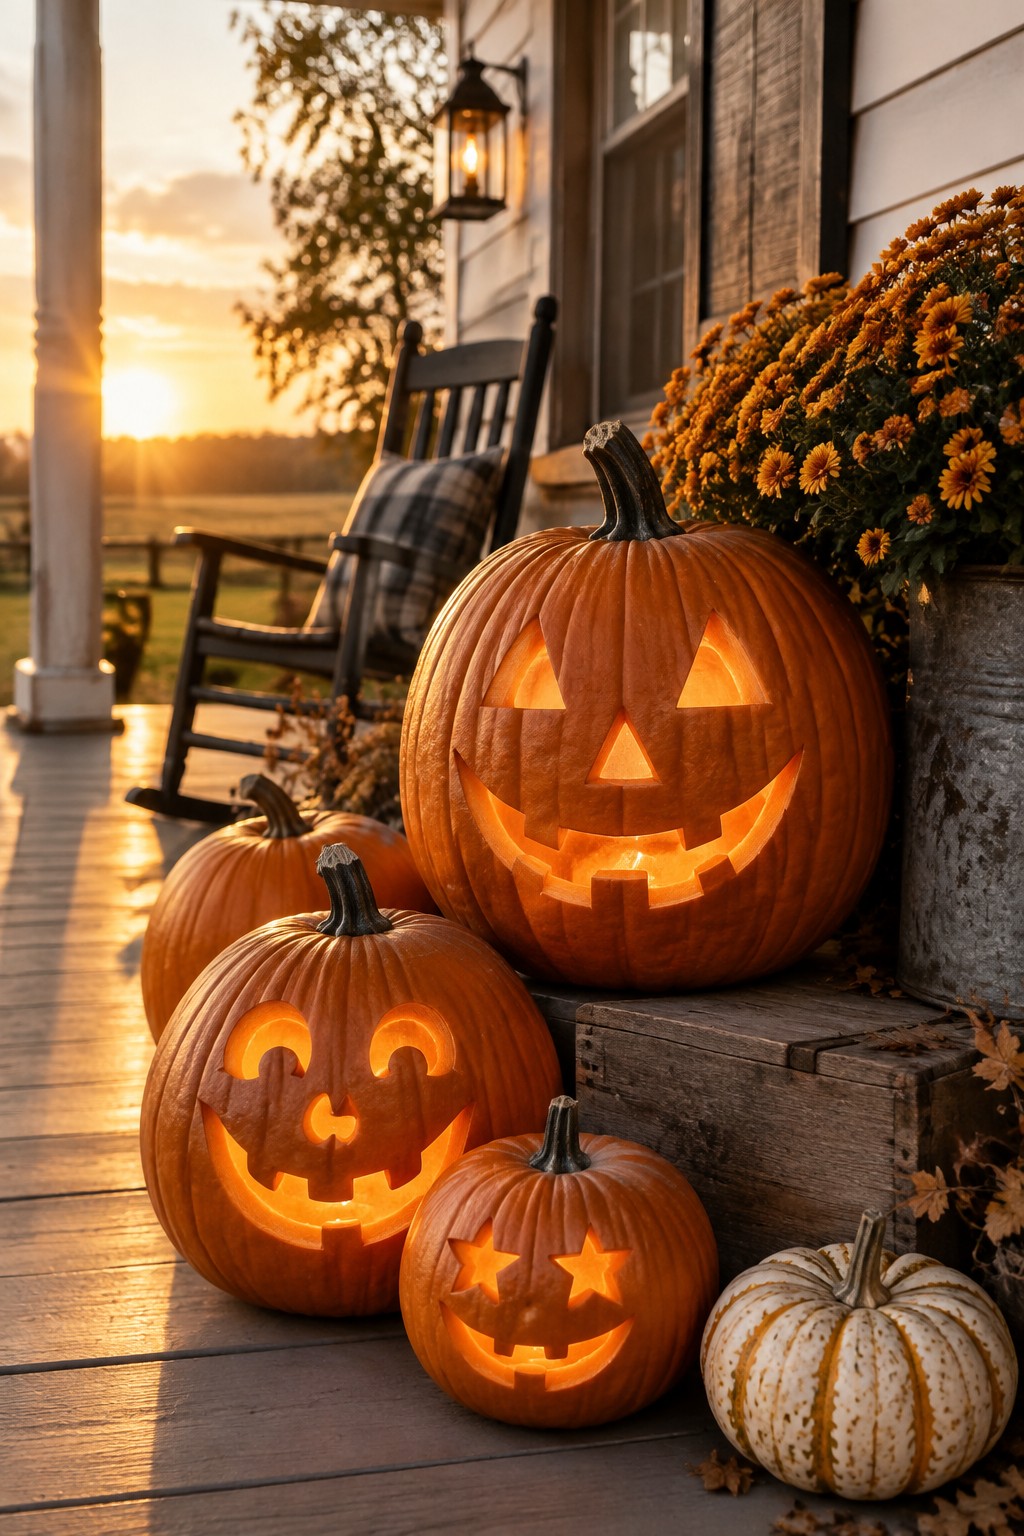
Carving several pumpkins and placing them together on the porch steps creates a strong focal point that reads as Halloween right away. The mix of face styles, from wide grins to star eyes, makes the group feel more interesting than a single pumpkin would on its own.
This idea works well on any front porch or entry landing. Use three to five pumpkins in different sizes, light them from within with battery candles, and set them on a low crate or directly on the steps so the faces show clearly from the walkway.
Group Jack O Lanterns On A Console
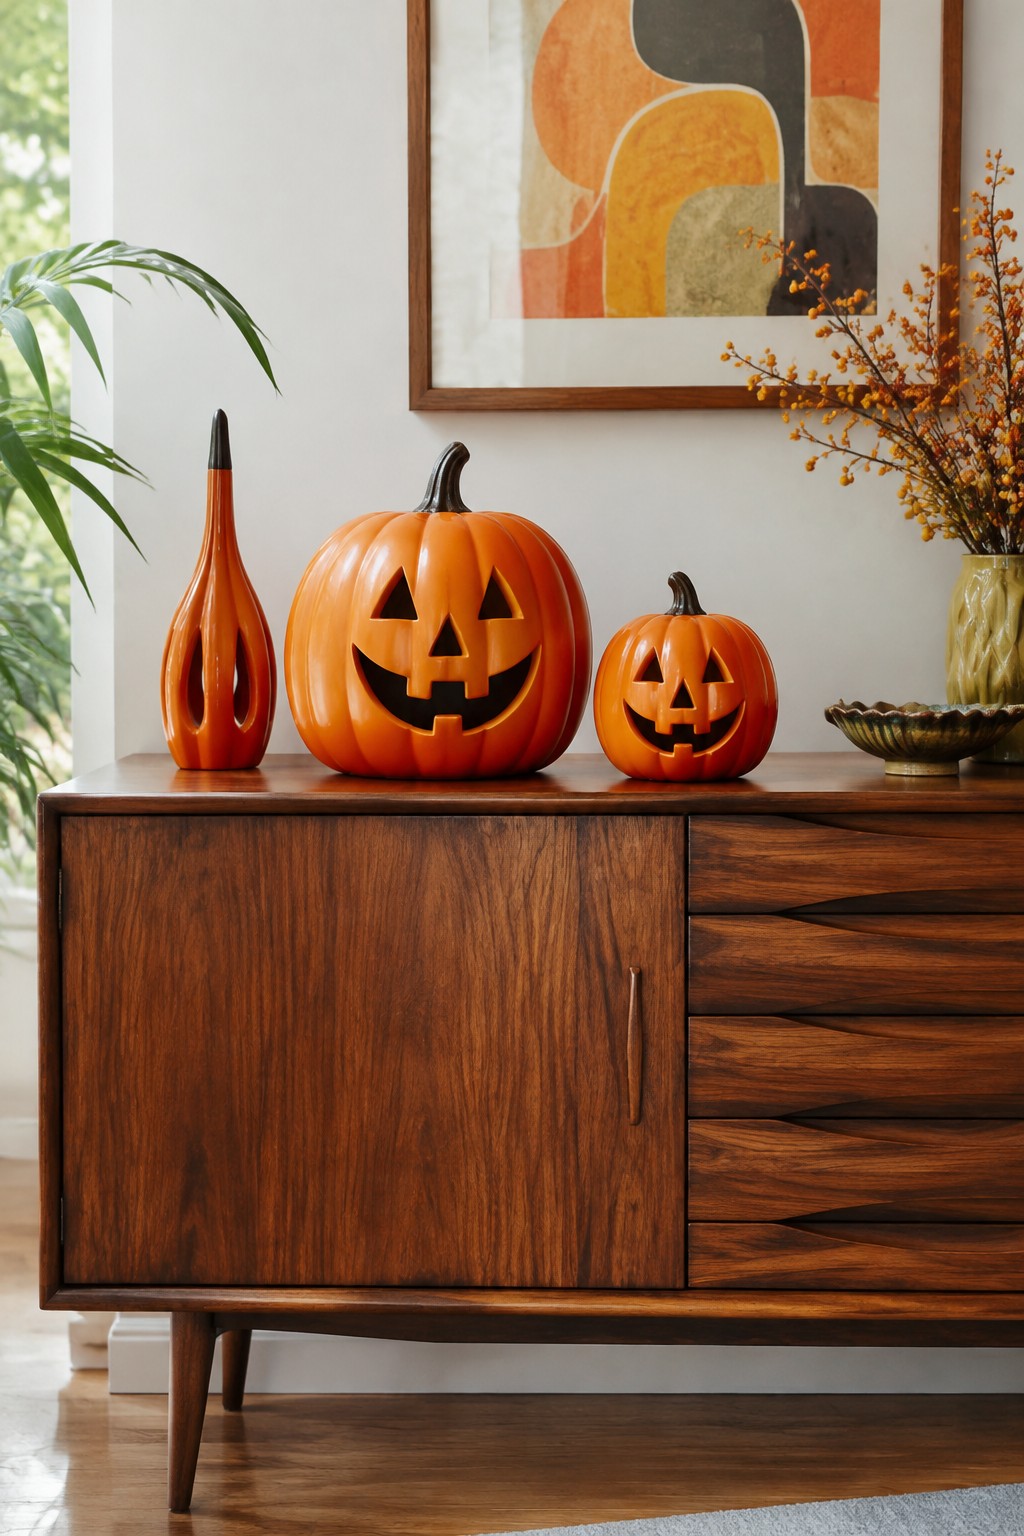
Placing several carved pumpkins together on a console creates a simple but strong Halloween focal point. The mix of sizes and expressions gives the display more personality than a single pumpkin could manage on its own.
This idea works best in an entryway or living room where the table already gets some traffic. Use three to five pumpkins in different sizes, keep the rest of the surface fairly clear, and the carved faces will stand out right away.
Carve A Graveyard Scene Into Your Jack O Lantern
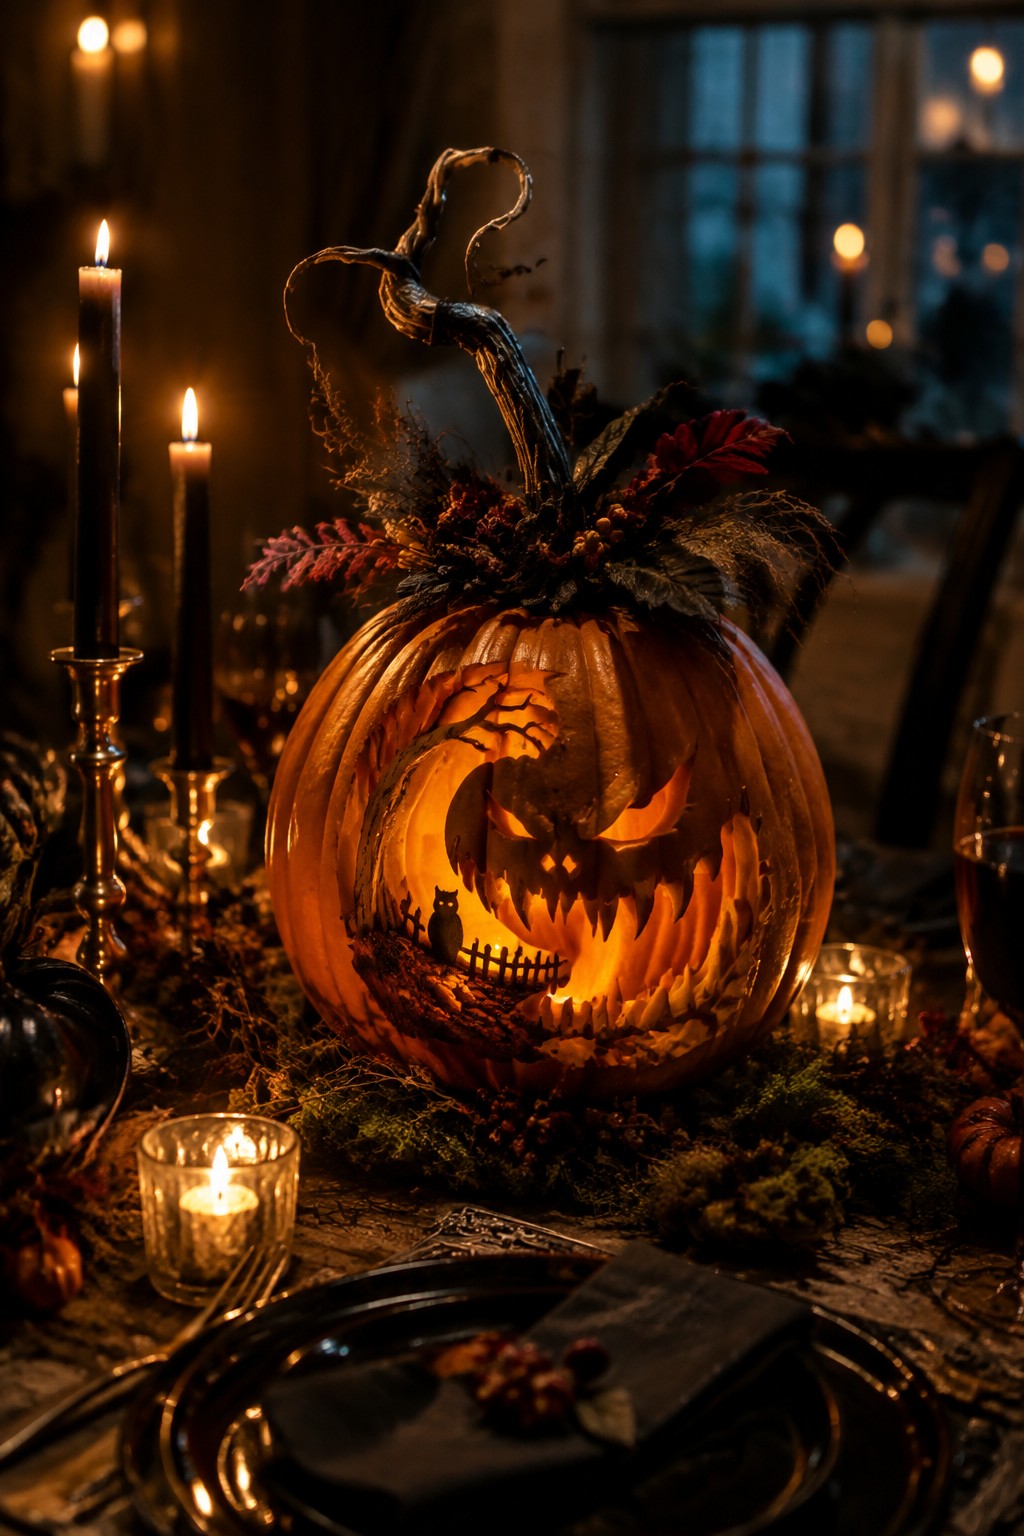
A single large pumpkin with a full graveyard scene carved into it makes a strong table centerpiece. The details like the fence, owl, and twisted trees stand out once the candle inside is lit, and the whole thing feels more finished than a basic face.
Place it on a low bed of moss or dried leaves in the middle of the table and add a few small candles around the base. One detailed pumpkin is enough for most tables, so keep the rest of the setting simple with dark plates and napkins.
Carve One Large Jack O Lantern For The Kitchen Island
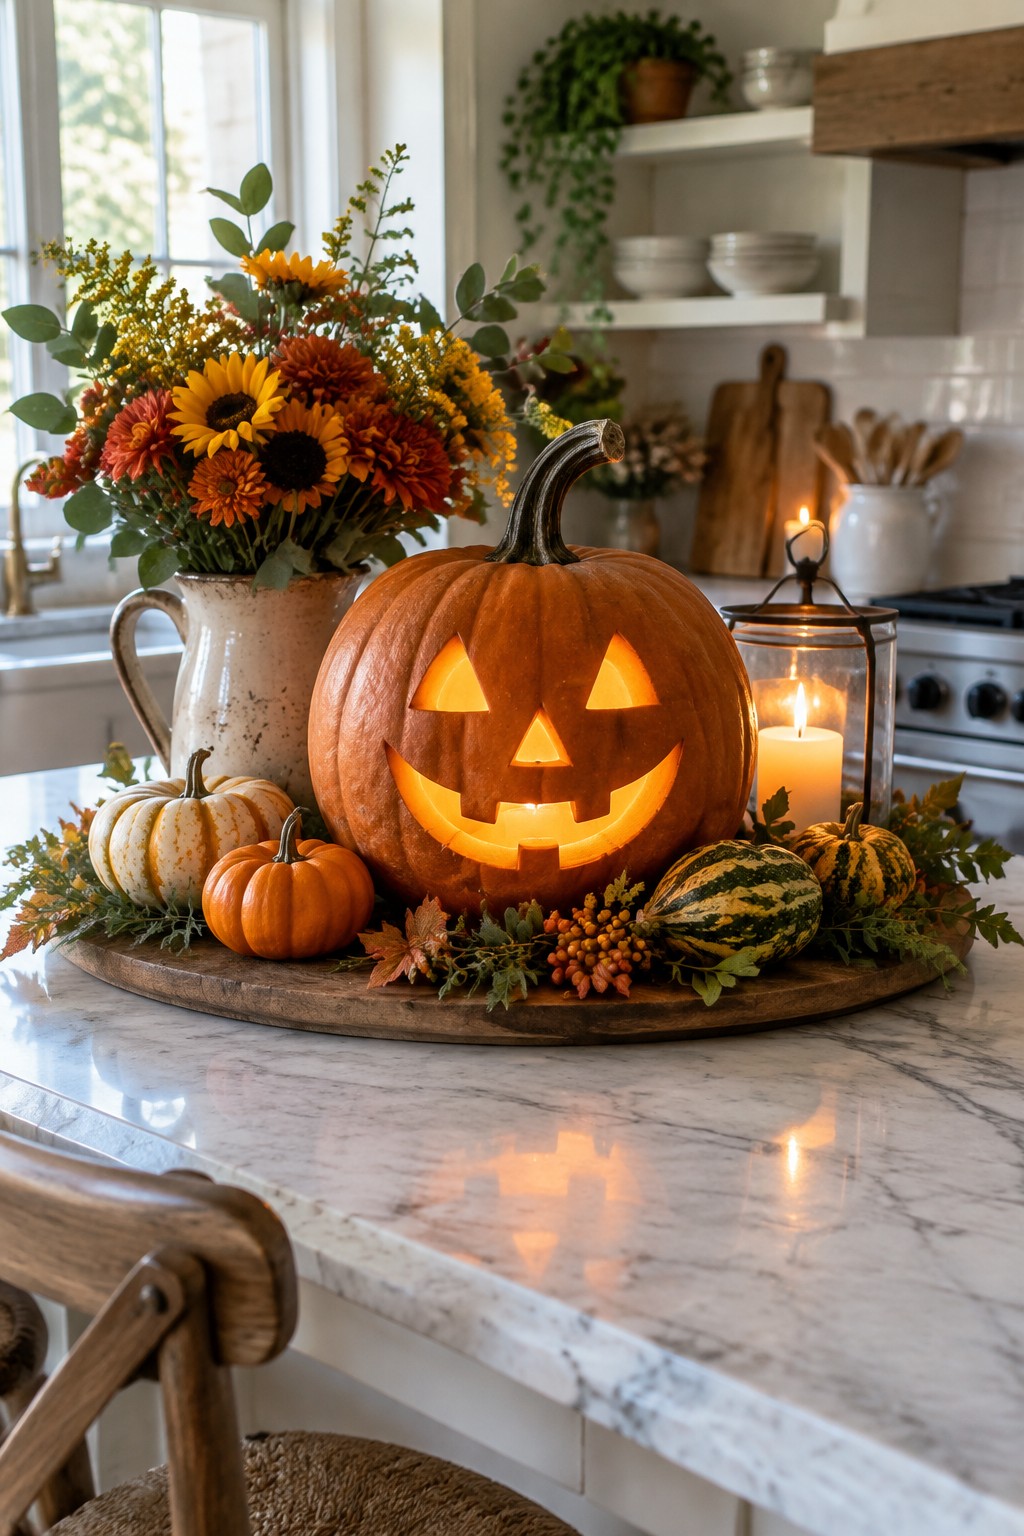
A single big carved pumpkin makes a strong focal point when placed right on the counter. The glowing face stands out against the neutral kitchen and draws attention without needing extra pieces scattered everywhere.
Set the pumpkin on a wooden tray or board so it feels intentional. Add a couple smaller gourds and a few stems of flowers around the base to fill the space. This setup works on any kitchen island or large countertop and takes only one main carving to feel finished.
Group Jack O Lanterns On An Entry Console
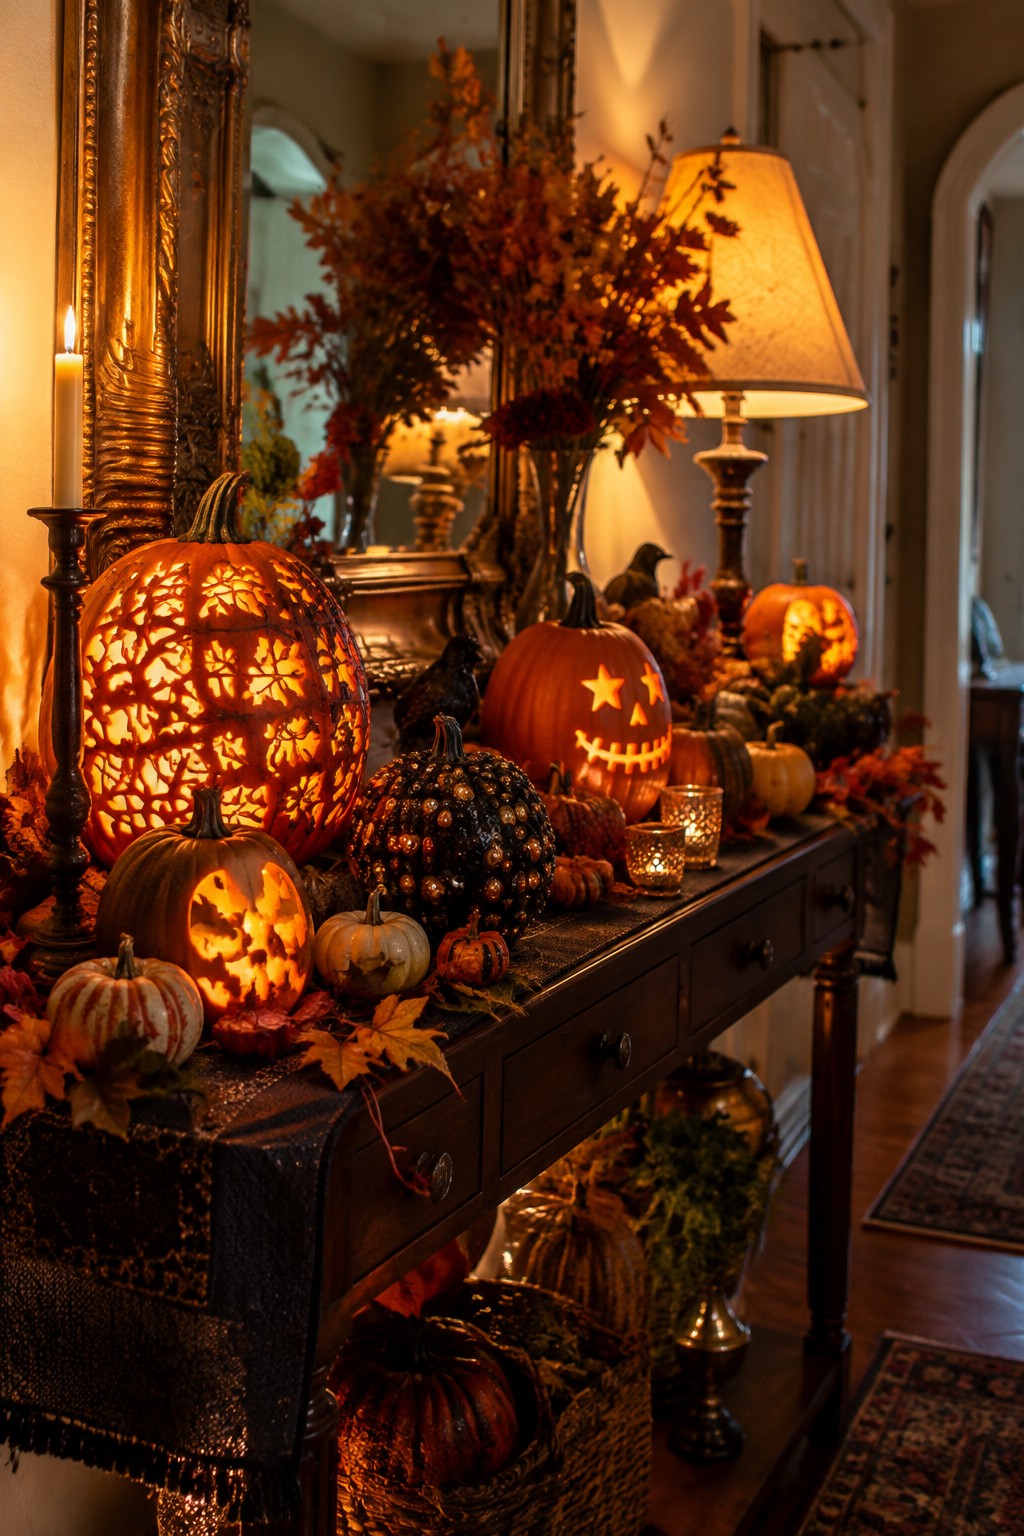
Placing several carved pumpkins together on a console table makes a strong focal point right when people walk in. The mix of simple faces and one large intricate design gives the display more interest without needing extra pieces. Lit pumpkins stand out best against a dark runner or table surface.
This setup works well in any entry or hallway where you want the jack o lanterns to be the main feature. Use three to five pumpkins of different sizes, keep the surrounding decor low so the carvings stay visible, and swap in fresh battery candles each night to keep them glowing.
Fill A Jack O Lantern With Flowers
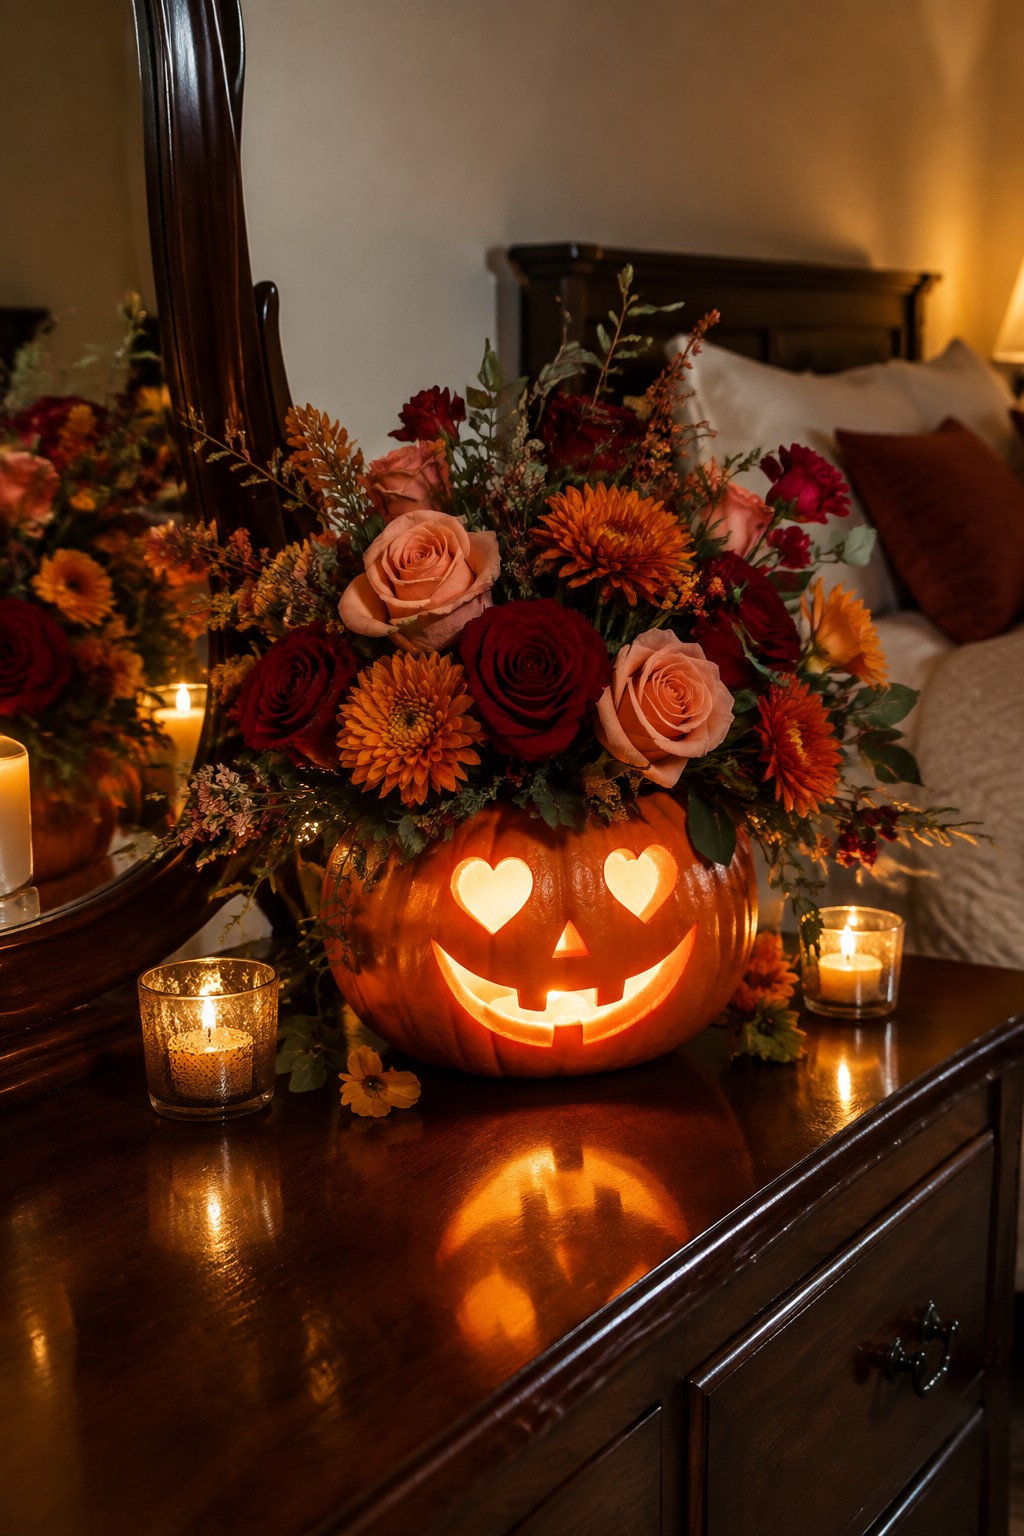
A carved pumpkin works well as a vase when you want something simple yet unmistakably Halloween. The glowing face adds light and shape, while the flowers soften the look and keep it from feeling too stark on a bedroom dresser.
Set the pumpkin on a flat surface where the carved details stay visible. Use a small container or liner inside to hold water, add a few battery candles around the base, and choose flowers in matching autumn tones so the whole arrangement reads as one clear idea.
Carve A Tree Silhouette Into Your Jack O Lantern
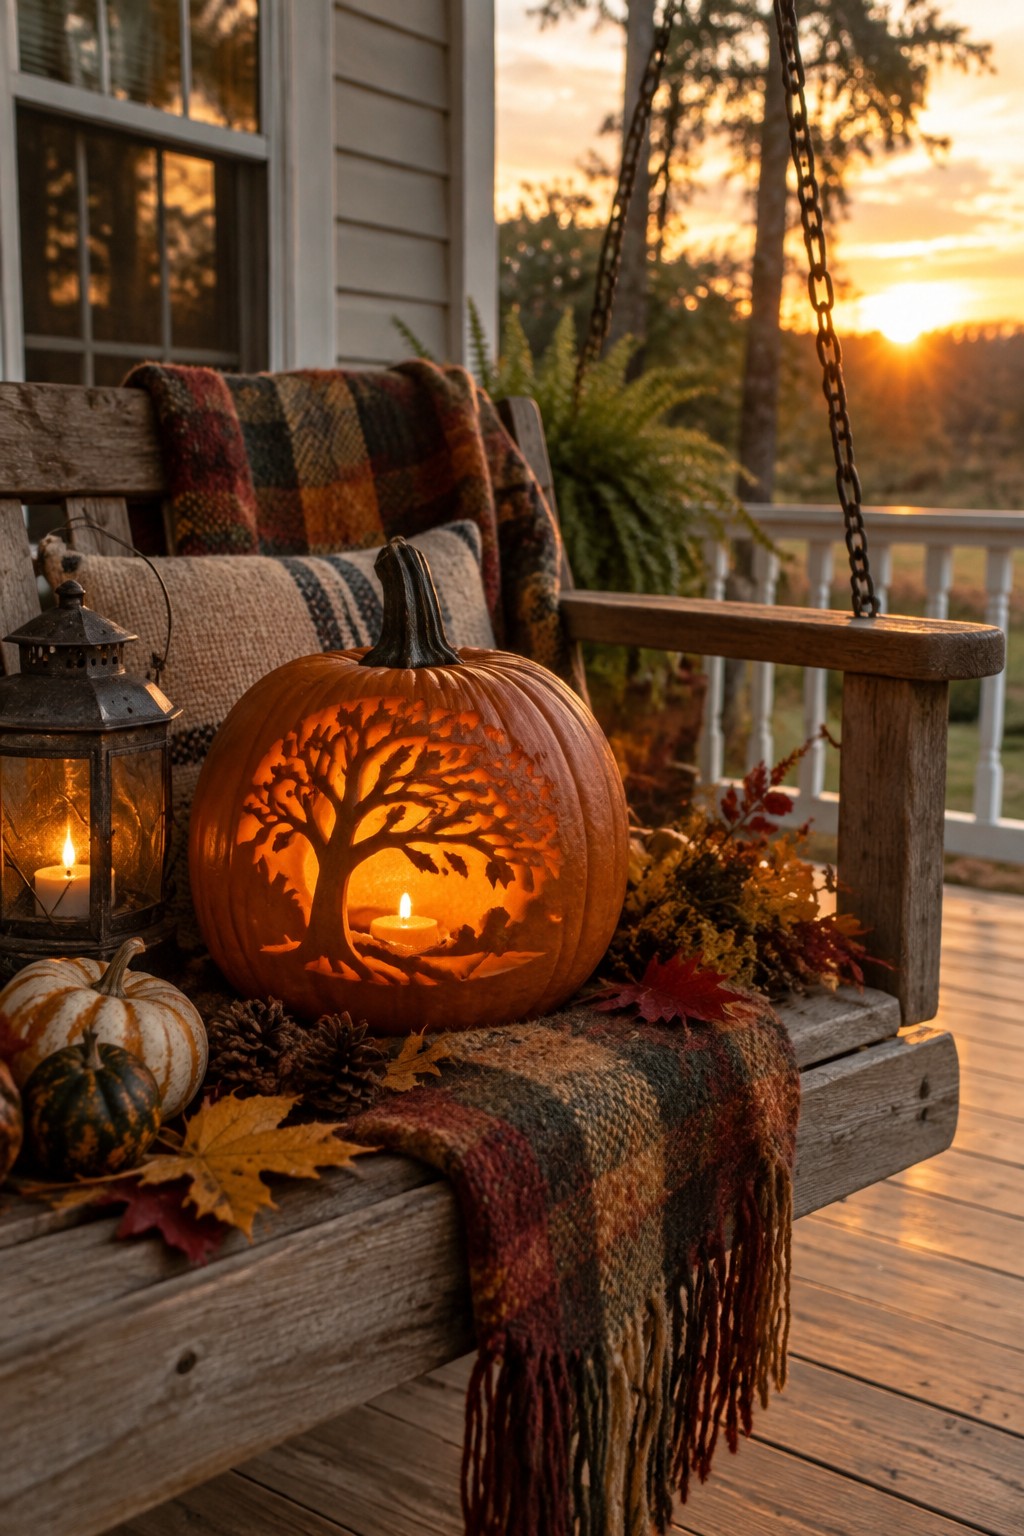
A jack o lantern with a full tree cut into the side gives a clean, graphic look that still feels seasonal. The open branches and leaves let the inner light spread nicely, so the design shows up even from a short distance on the porch.
Place one large pumpkin like this on a swing or bench where it can catch the evening light. Keep the rest of the area simple with a couple of smaller uncarved pumpkins and one lantern so the carved tree stays the main focus.
Carve A Large Pumpkin With A Classic Face For The Shelf
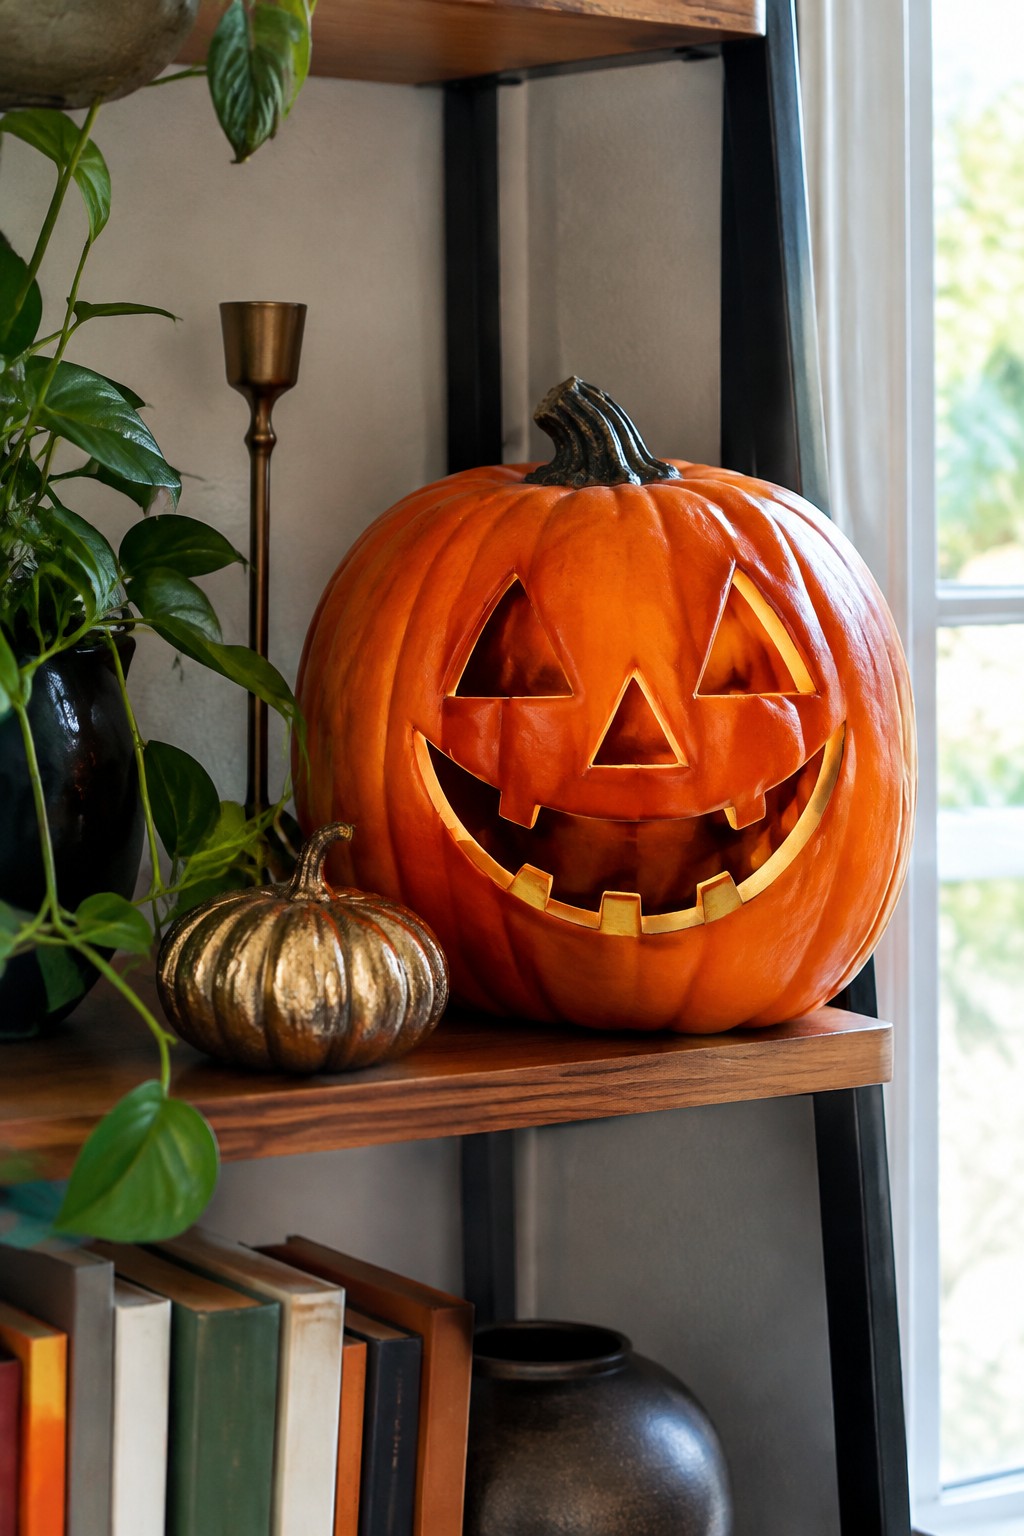
A single large jack o lantern with a bold carved face stands out on its own when placed on a shelf. The glowing cutouts give it instant presence without needing extra pieces to make the Halloween theme clear.
Set the pumpkin in the center of the shelf and add only one or two smaller accents nearby if you want more layers. This keeps the focus on the carving itself and works well in any room where you already have open shelving.
Center A Carved Jack O Lantern On The Patio Table
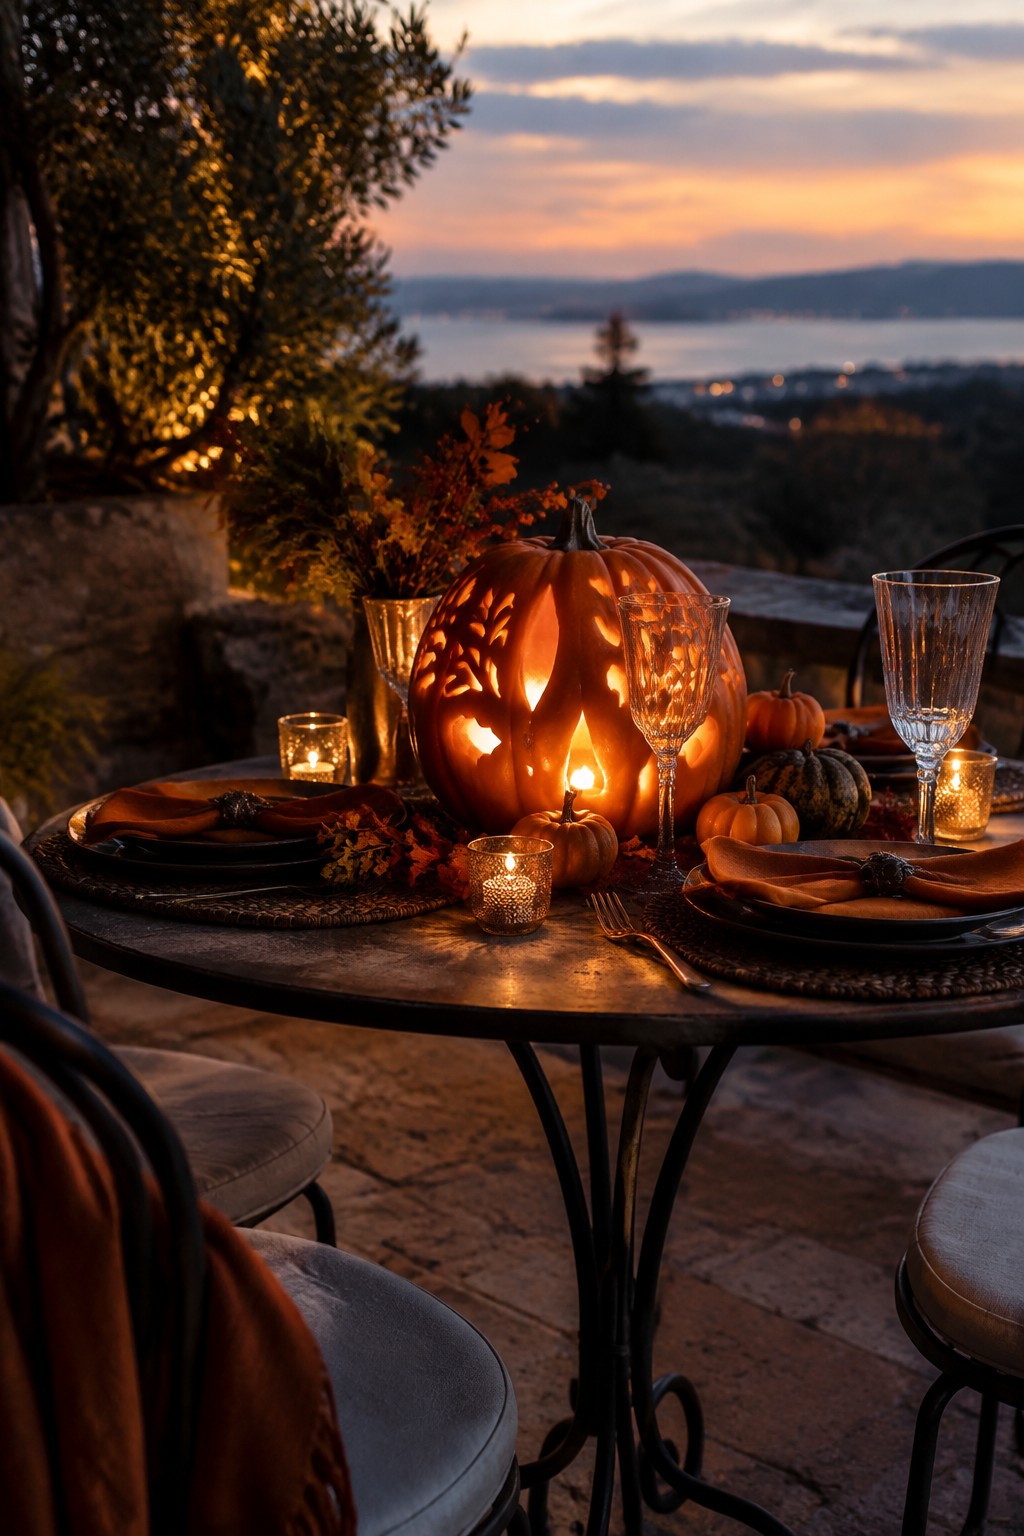
A large carved pumpkin works well as the main piece on an outdoor dining table. The open cutouts let the light show through and give the whole setting a clear Halloween focus without needing much else.
This idea works best on a patio or deck where you can gather around the table at night. Use one big pumpkin in the middle and add a few smaller ones plus a couple of candles to keep things balanced.
Group Jack O Lanterns On An Entry Console
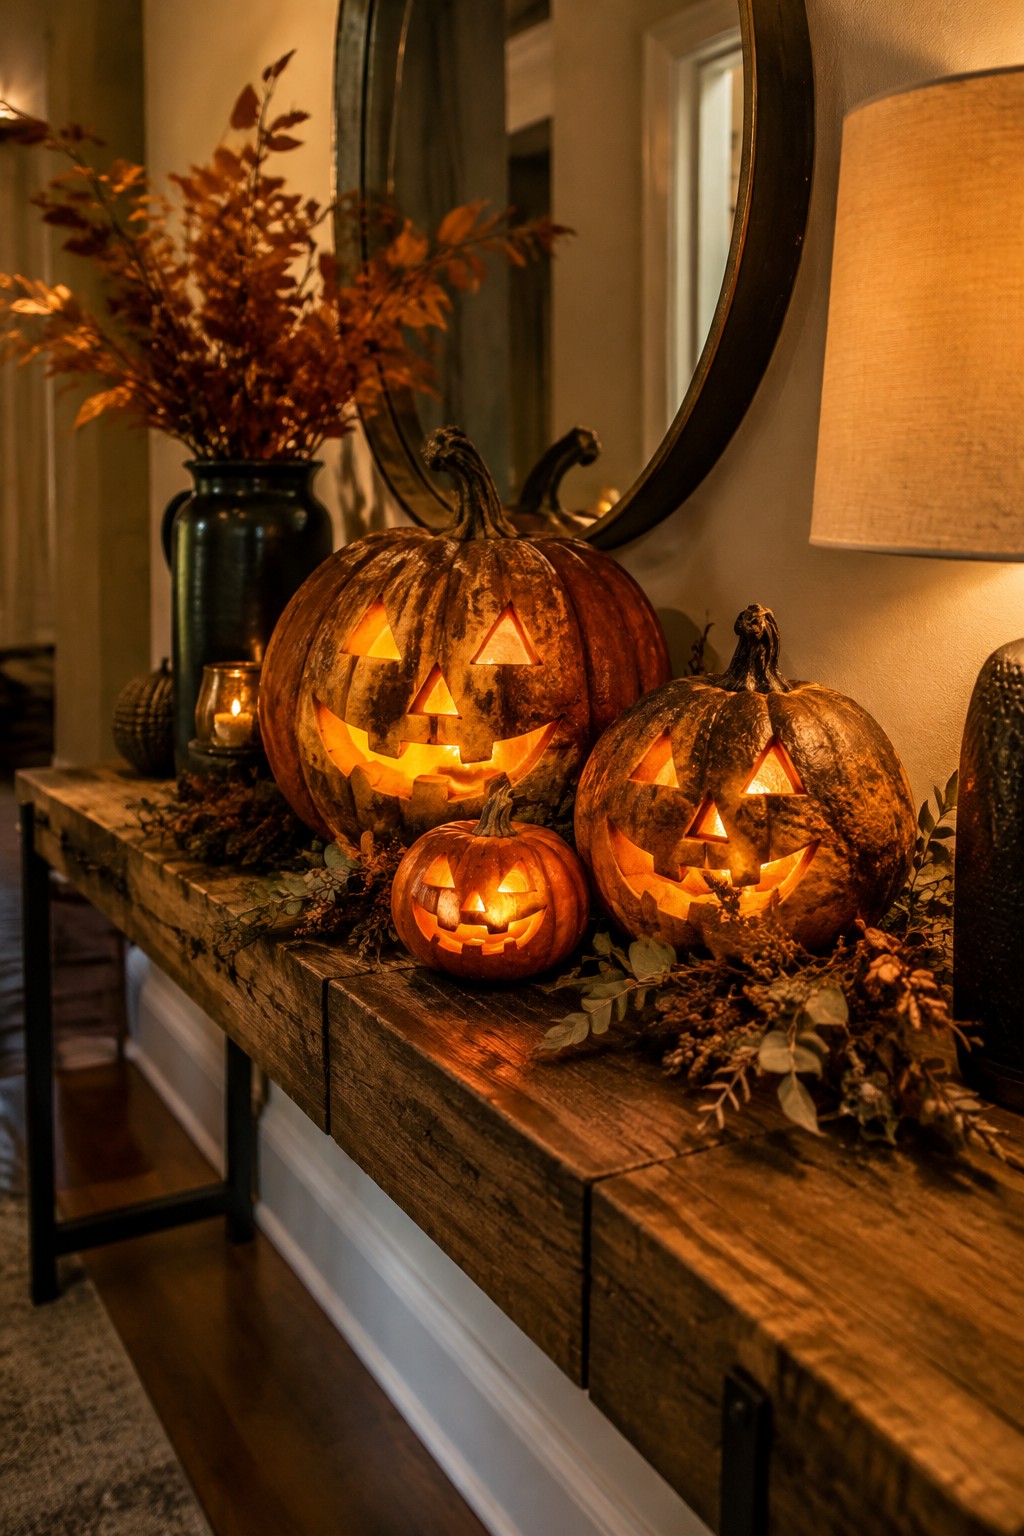
Placing several carved pumpkins together on a console table makes a simple but effective Halloween display. Different sizes and face styles keep the arrangement interesting without needing extra pieces.
Set this up in an entryway or hallway where people walk by often. Use three or four pumpkins with basic cuts, add a few dried stems around the base, and leave the rest of the surface clear so the lit faces stand out.
Frequently Asked Questions
Q: How do I choose the right pumpkin for fancy cutouts?
A: Go for ones with thick walls and a flat bottom so they sit steady. Avoid soft spots or bruises that might crack during carving. A smooth surface helps your stencil stick better too.
Q: Can I make these without a knife if I have kids helping?
A: Try poking patterns with a nail or using cookie cutters to press shapes. You can also paint on faces instead of carving for a safer option.
Q: My pumpkins always sag after a few days. What fixes that?
A: Wipe the inside with a mix of water and lemon juice to slow the decay. Set the finished lantern on a plate of salt to draw out moisture. Check it daily and scoop out any soft bits right away.
