

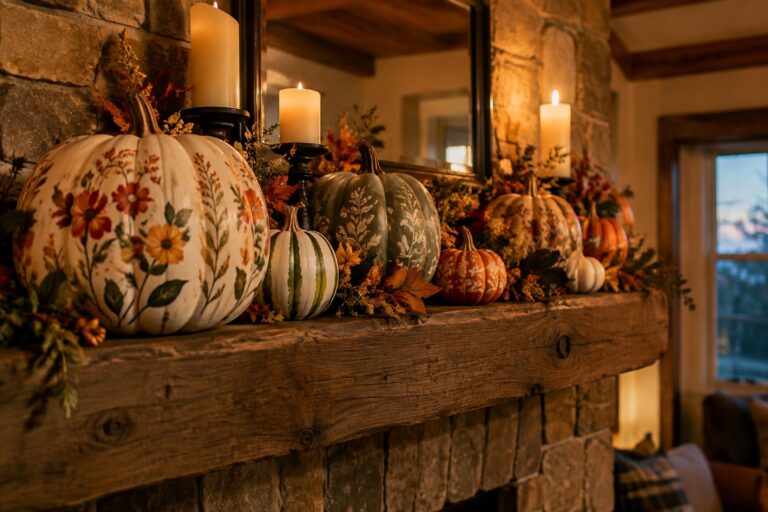
I have always liked how painted pumpkins let you add personality to Halloween without buying a bunch of new pieces.
They work well as a focal point on a mantel or porch where people will see them right away.
When I want something that feels more intentional than scattered leaves and gourds, I reach for paint and a few pumpkins.
Bold designs can make even a small arrangement stand out from the usual autumn setup.
Try one this year.
Paint Pumpkins In Bold Patterns For The Mantel
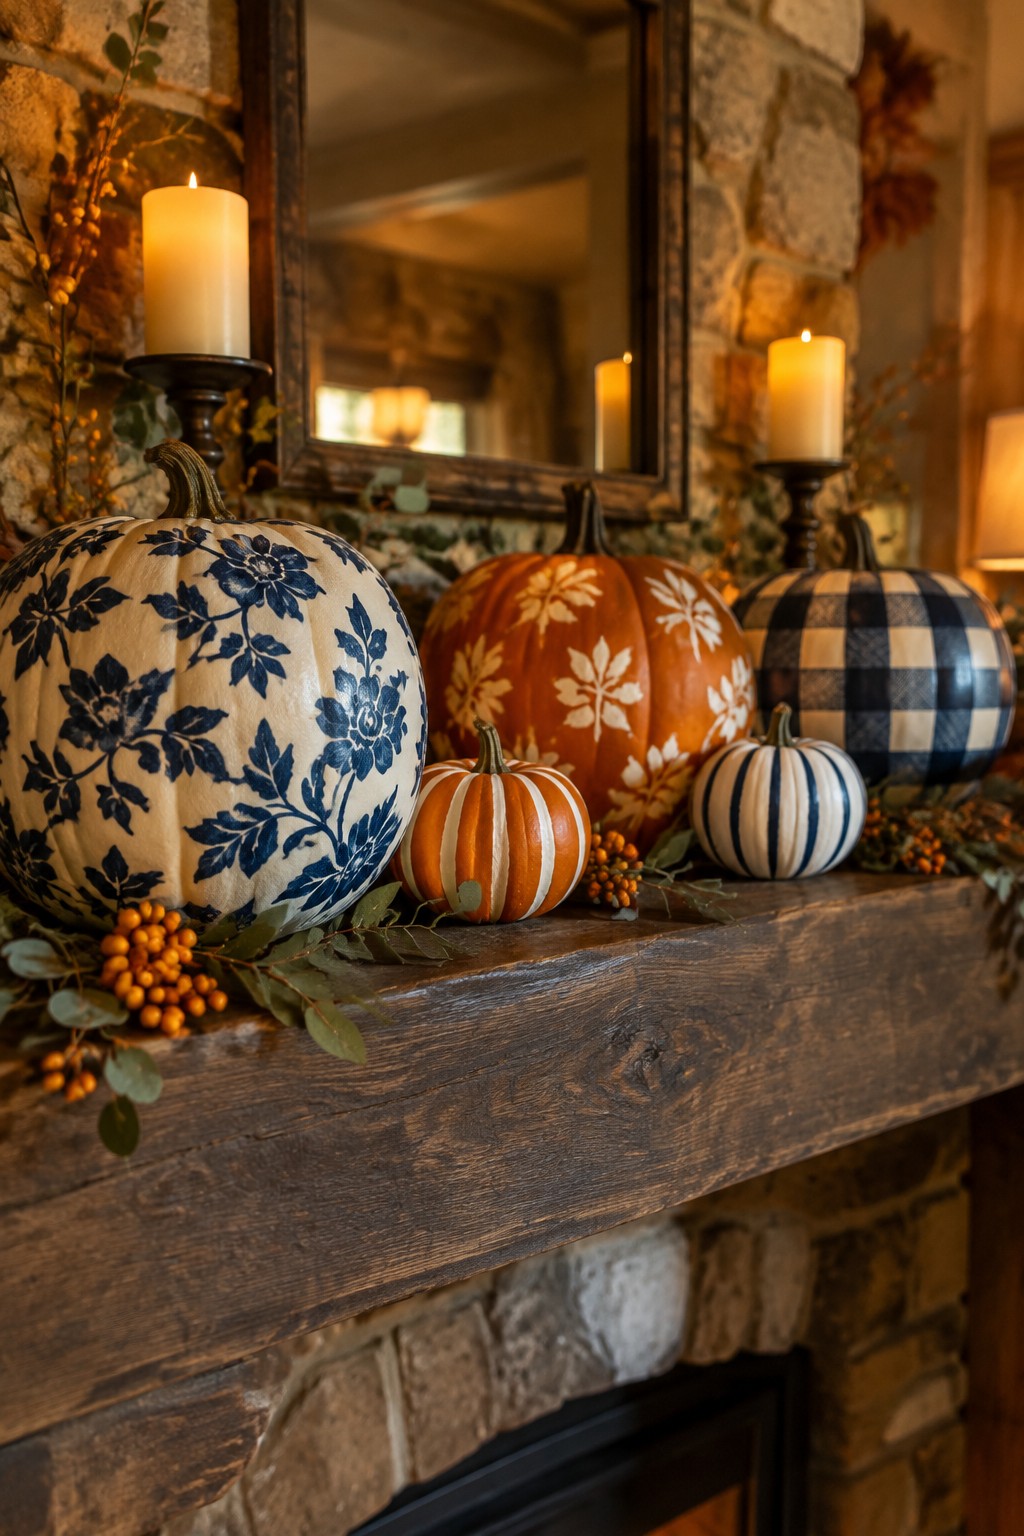
Grouping painted pumpkins along a mantel creates a strong focal point that feels intentional and festive. The mix of a large blue floral design, orange pumpkins with white leaf stencils, and a black-and-white checkered one gives the display variety while keeping everything cohesive.
Start with three to five pumpkins in different sizes and paint them using stencils or simple brushwork. Line them up on the mantel and leave space between each one so the patterns stay visible. This works well in living rooms or entry areas where you want the painted details to stand out without adding extra layers of decor.
Paint Pumpkins In Bold Geometric Shapes
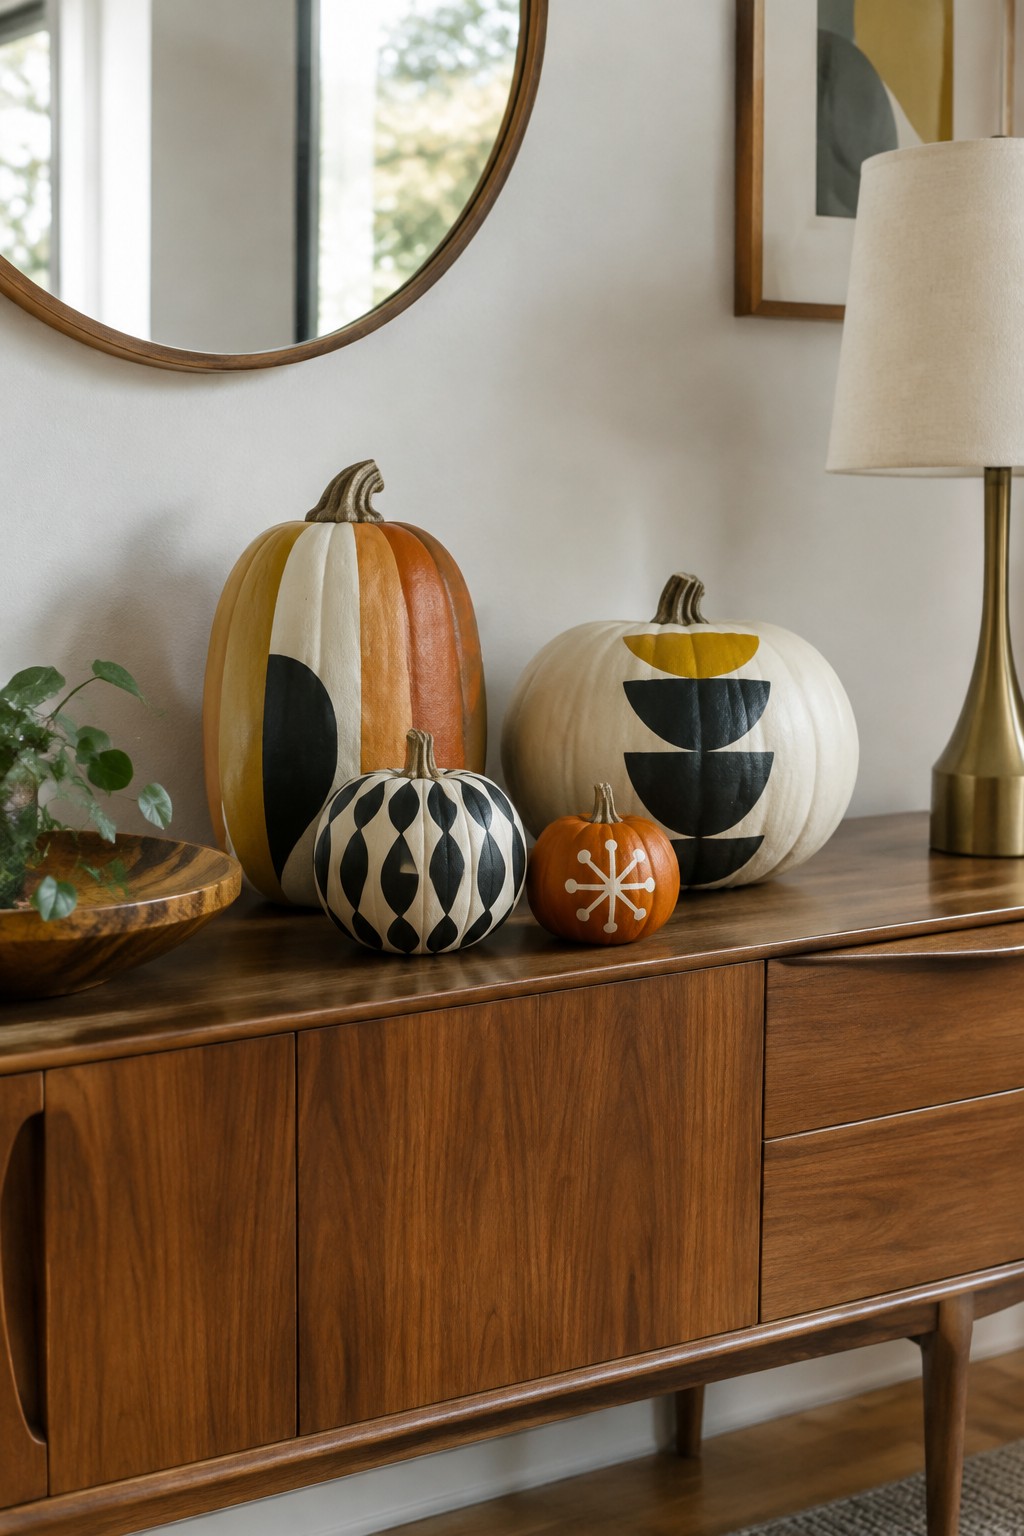
Painting pumpkins with strong geometric patterns turns a simple grouping into the main Halloween feature. The black and white shapes against orange and cream surfaces stand out right away and give the display a modern edge instead of a traditional carved look.
Place the painted pumpkins together on a console or entry table where the patterns can be seen clearly. Use three or four different designs so the group feels intentional without needing extra pieces to fill the space.
Paint Pumpkins In Bold Graphic Patterns
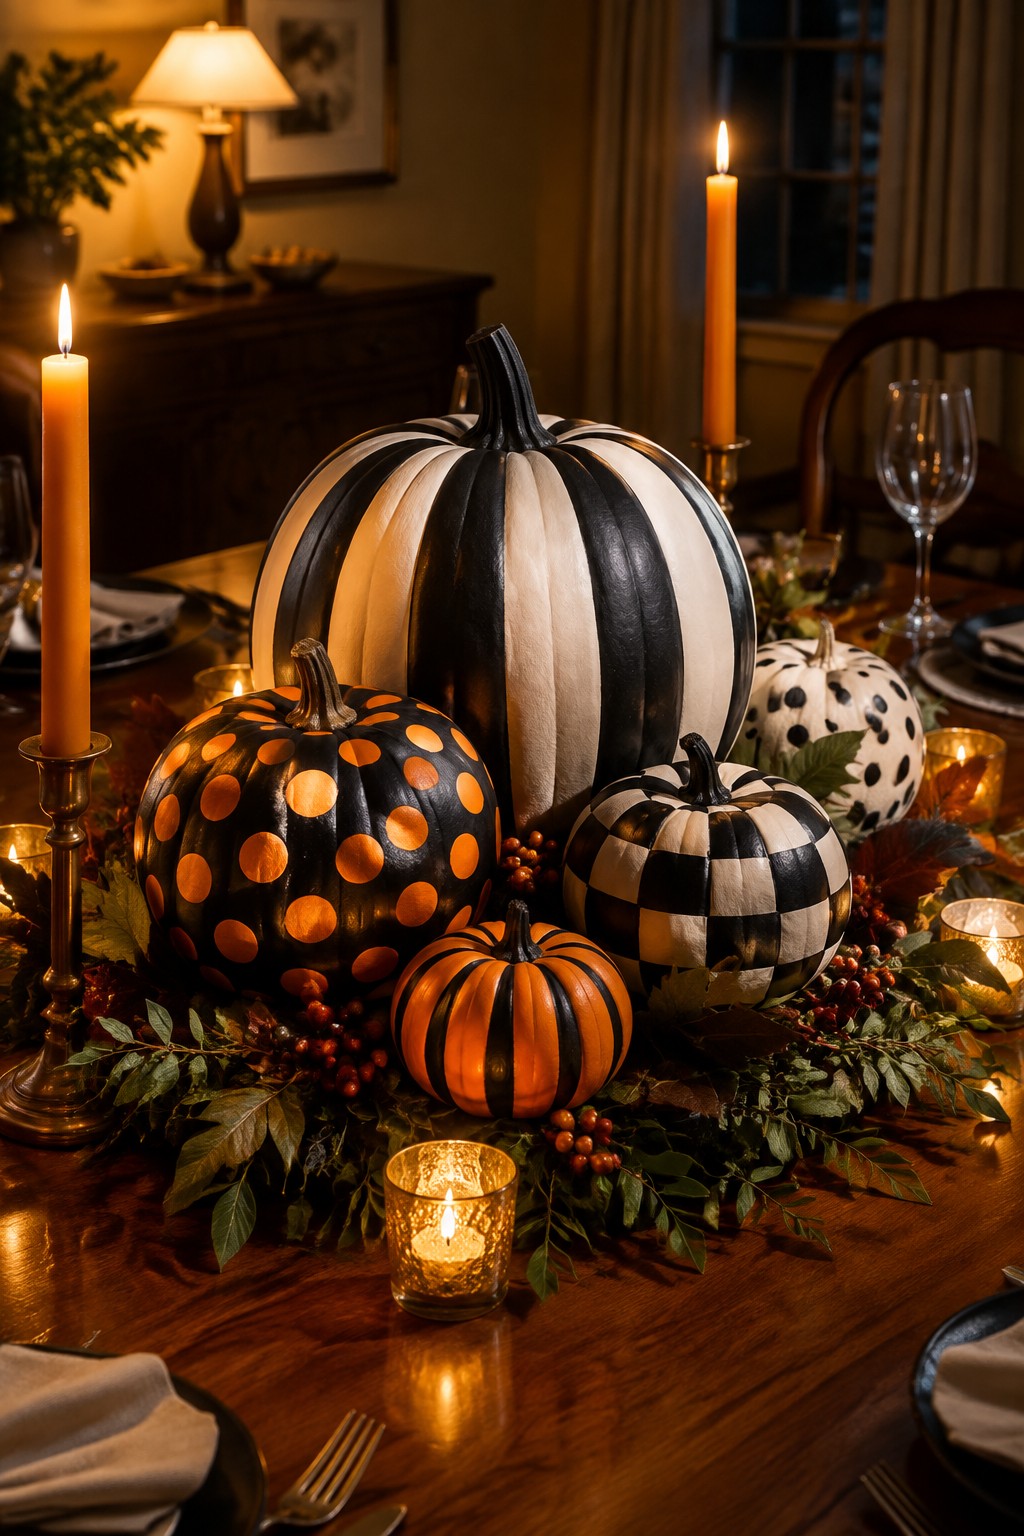
Painting pumpkins with strong patterns turns them into the main event instead of just seasonal filler. Stripes, large dots, and checks give each one a clear shape that reads from across the table and keeps the look from feeling random.
Set a few painted pumpkins of different sizes down the center of a dining table with a simple greenery runner and candles. The mix of patterns works best when the rest of the table stays fairly simple so the pumpkins stay the focus.
Paint Pumpkins In Bold Black And White Patterns
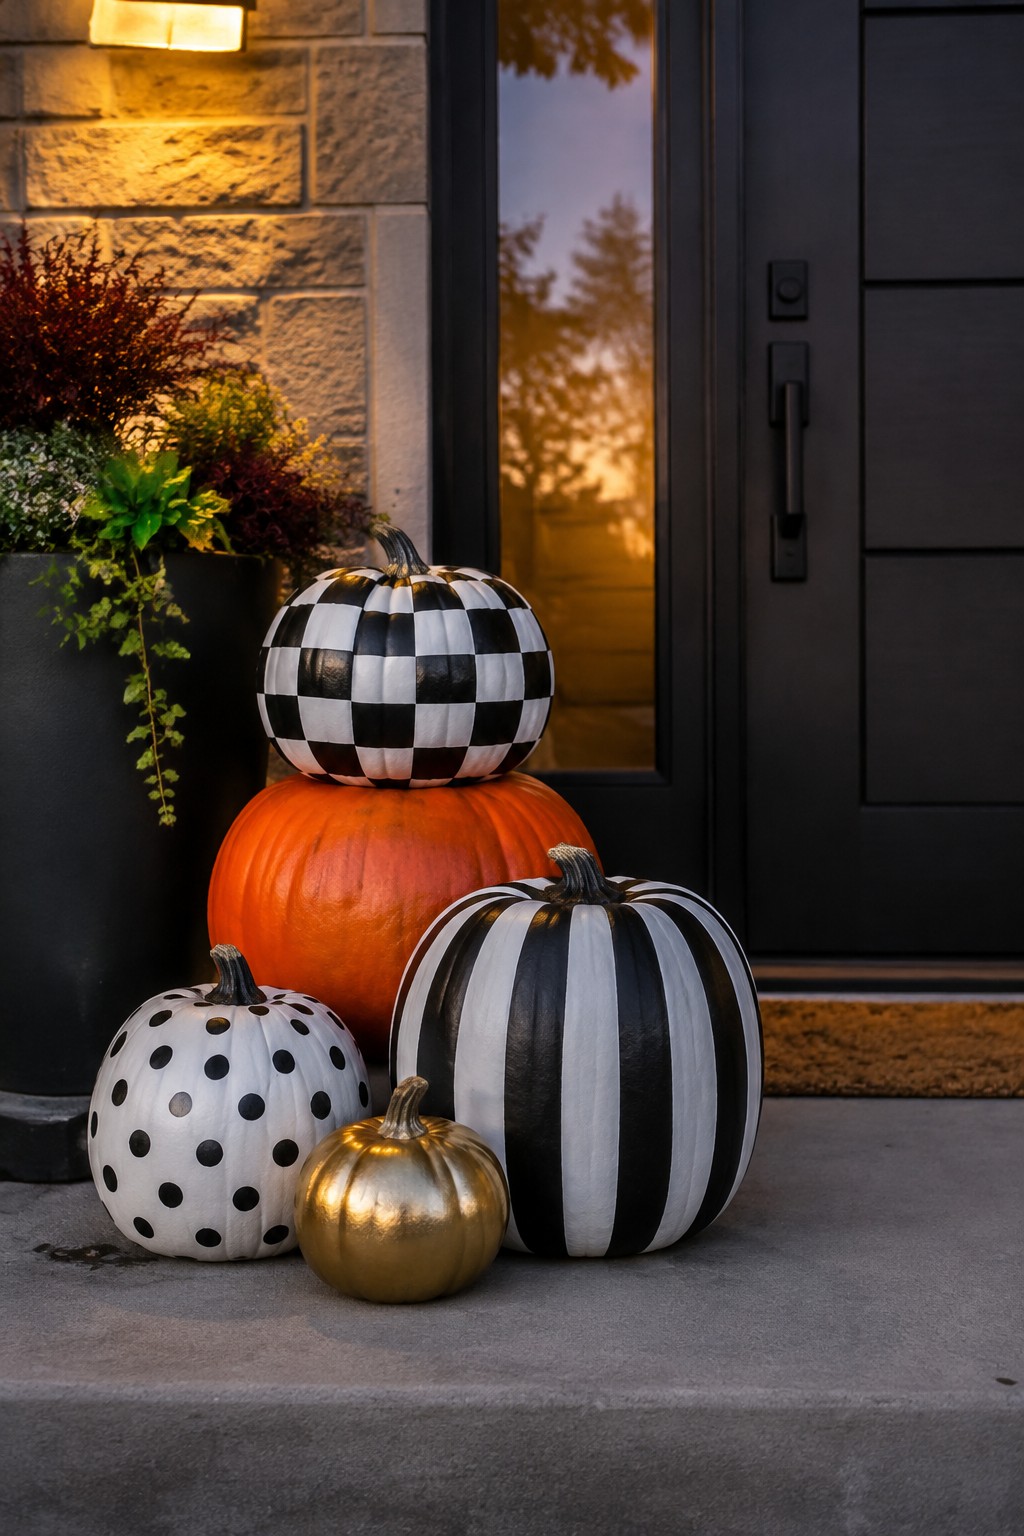
Painting pumpkins with strong graphic patterns gives them a fresh Halloween look that stands out from plain orange ones. The checkerboard design on the top pumpkin and the thick vertical stripes on the larger one below create instant visual interest when grouped together near the door.
This approach works well at a front entrance because the patterns read clearly from a distance. Start with a few pumpkins in different sizes, choose two or three repeating motifs, and keep the rest of the styling simple so the painted designs stay the focus.
Paint Scenic Landscapes On Pumpkins
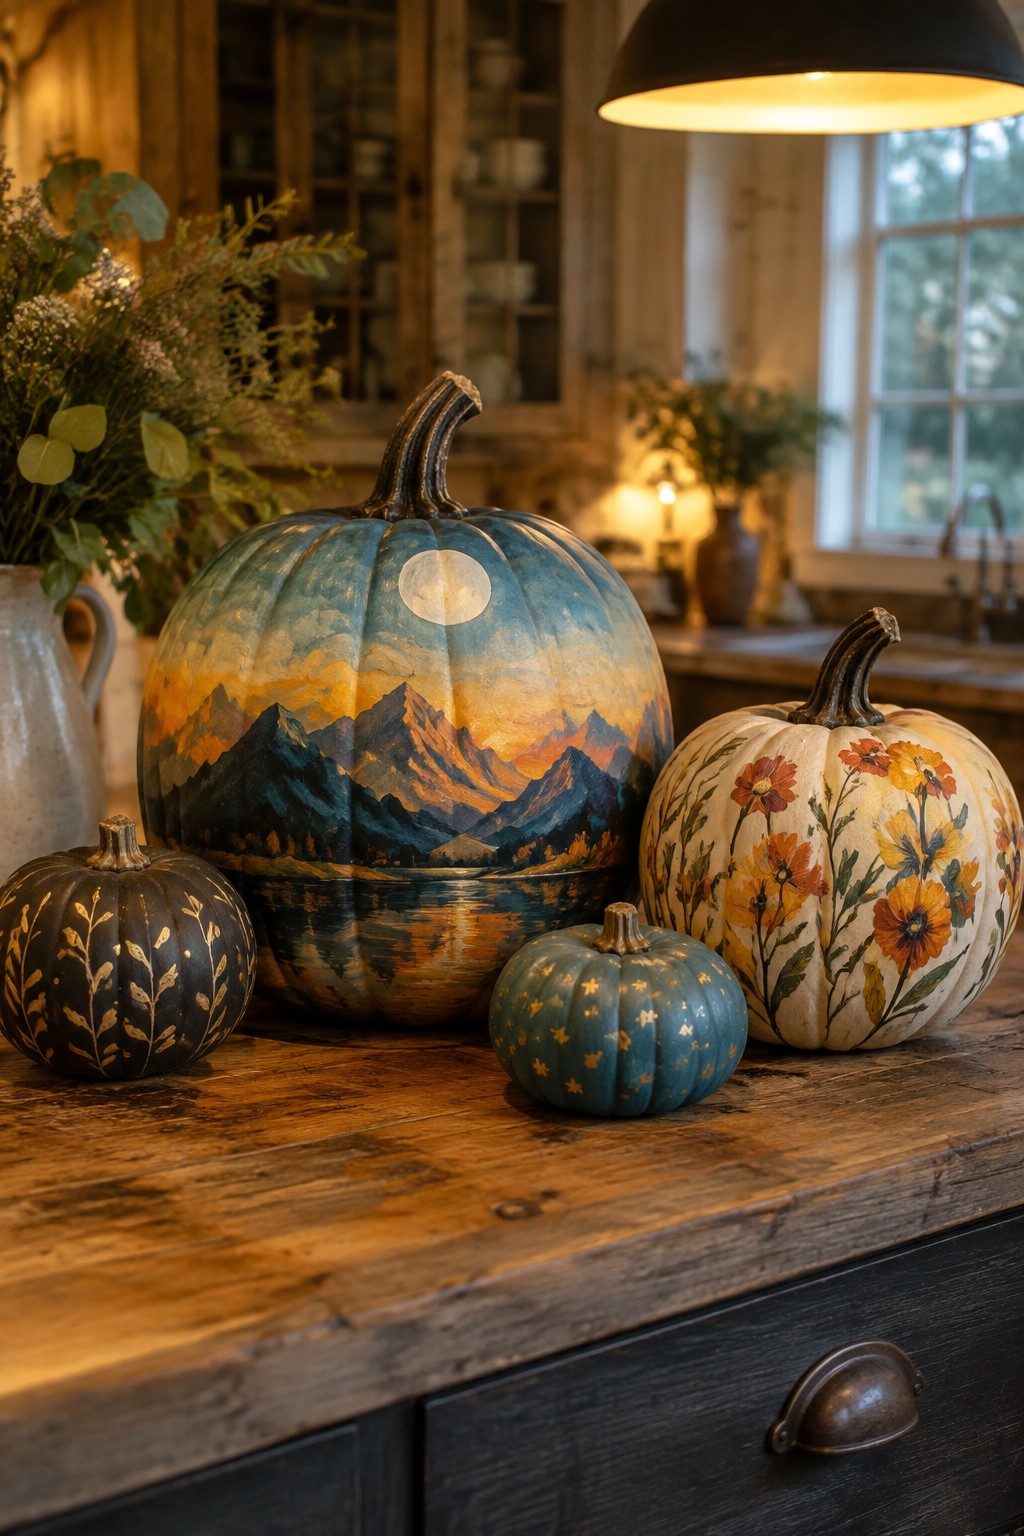
Painting full landscape scenes onto pumpkins gives you a bold look that stands out without needing any carving. The large pumpkin here features a mountain range at sunset with a clear moon, turning an ordinary gourd into the main focal point on the counter.
You can recreate this with acrylic paints on any pumpkin size. Group a few painted ones together on a kitchen counter or table, and keep surrounding items minimal so the artwork stays easy to notice.
Display Bold Painted Pumpkins On A Tray
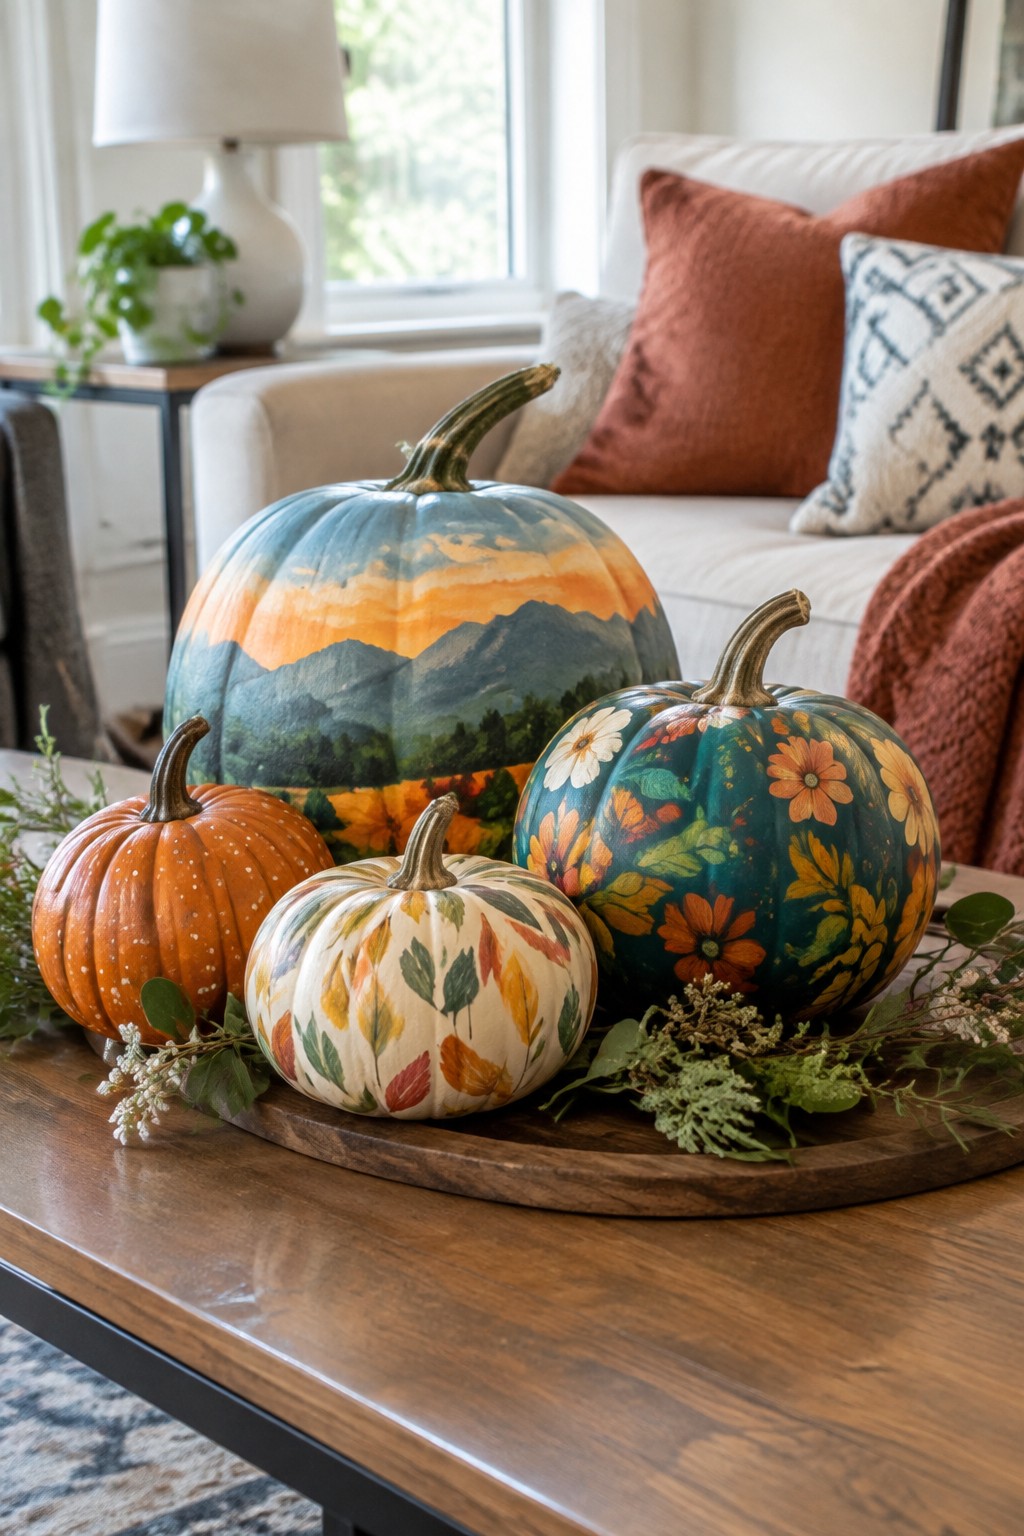
Painting pumpkins with full scenes or repeating patterns turns them into the main event instead of just seasonal filler. The three pumpkins here show how a landscape on one, a dense floral pattern on another, and scattered leaves on the third create variety while staying cohesive on one tray.
Place the tray on a coffee table or console where people will see the designs up close. Use three to five pumpkins in different sizes, keep the rest of the surface simple, and swap them out after the holiday without changing anything else in the room.
Arrange Bold Painted Pumpkins On The Staircase
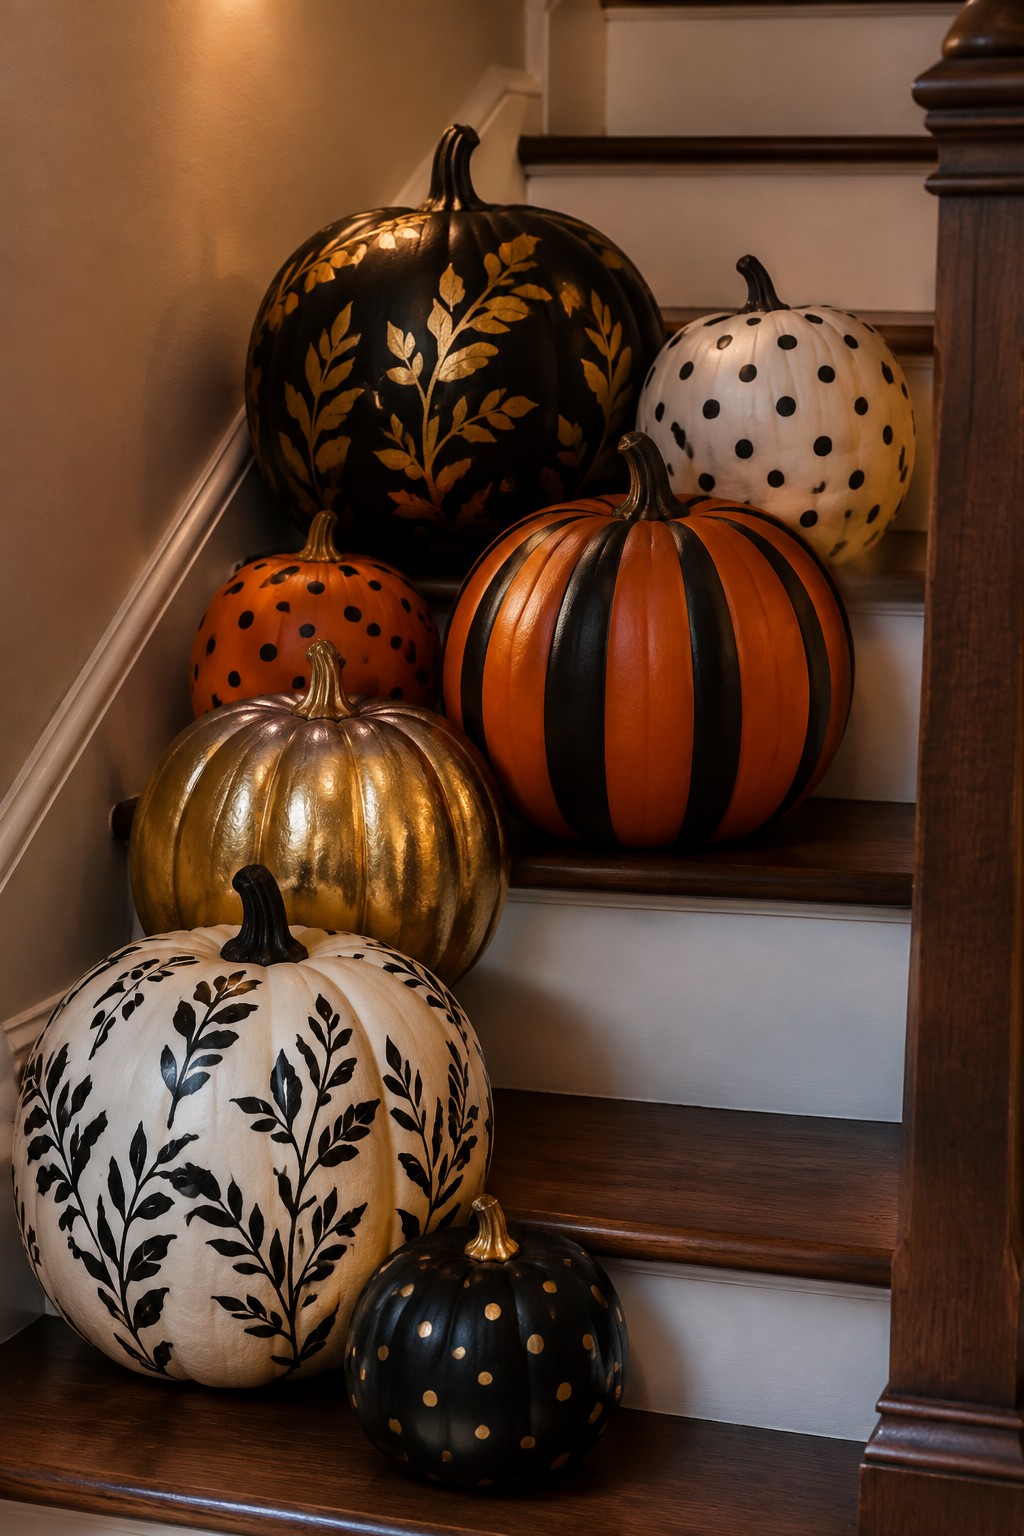
Painting pumpkins with strong patterns and metallic finishes gives you an easy way to create a bold Halloween display. Placing them along the stairs turns the whole run into a single focal point that reads clearly as seasonal decor.
Start with a mix of sizes and try techniques like gold leaf vines, wide stripes, or simple dot patterns so the group feels varied. Keep the rest of the space simple so the painted pumpkins stay the main attraction.
Paint Pumpkins With Bold Patterns
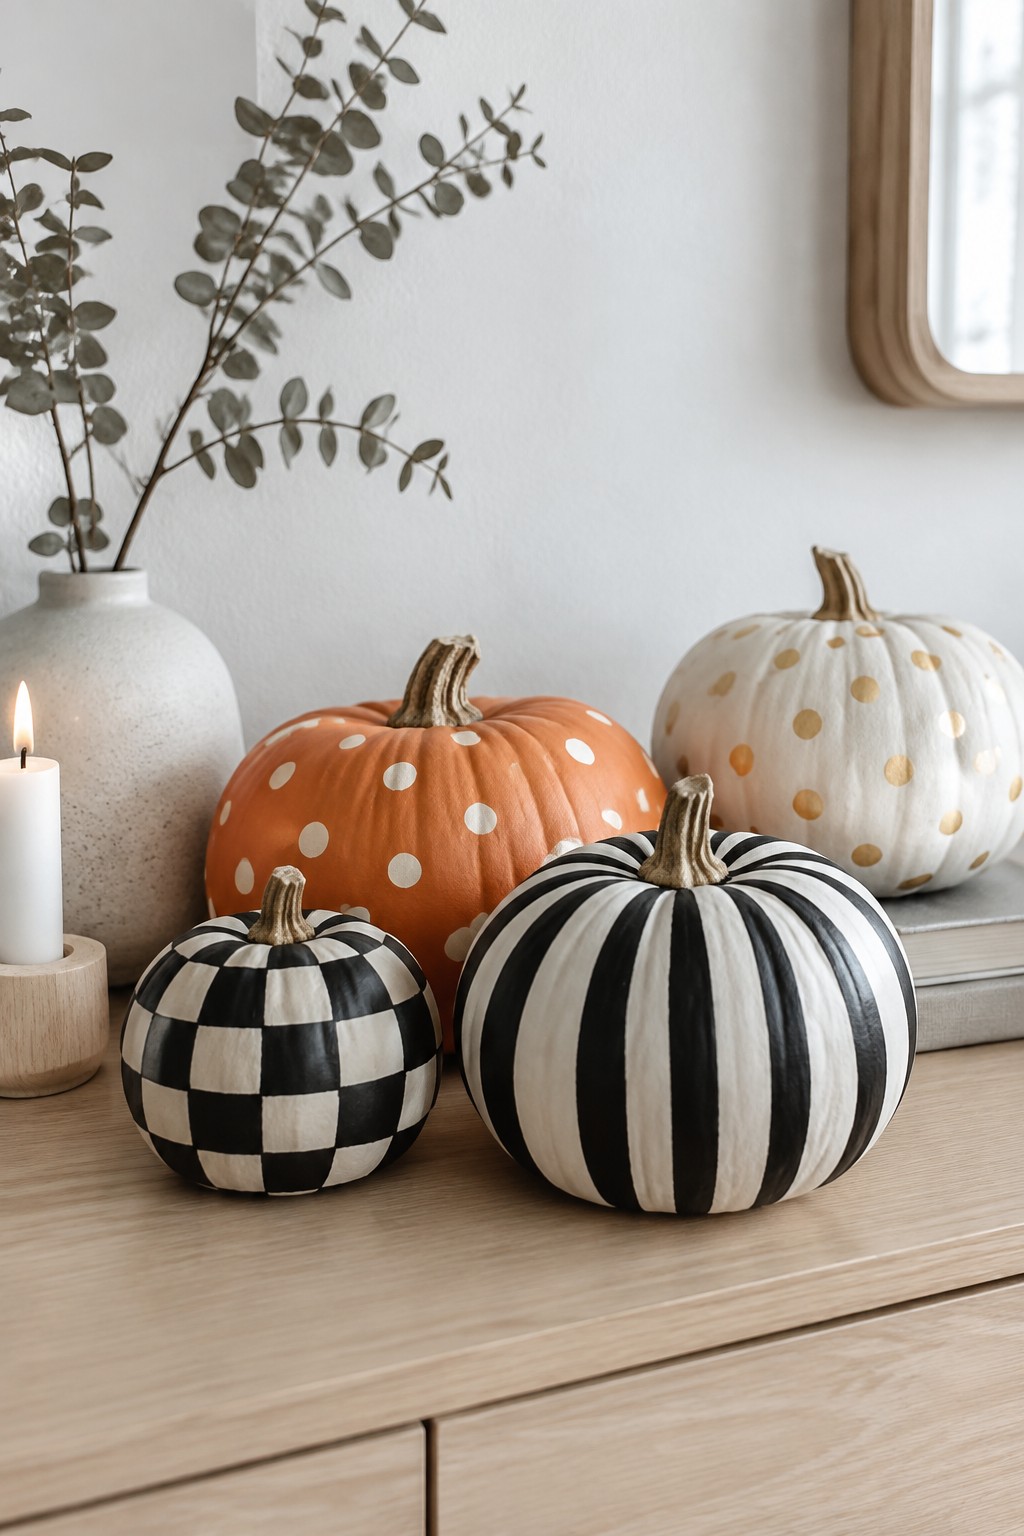
Painting pumpkins in strong graphic patterns gives them a fresh Halloween look that stands out from typical orange ones. The mix of checkerboard, wide stripes, and polka dots creates instant visual interest while still keeping the setup simple and contained to one surface.
Group three or four painted pumpkins together on a console or entry table and let the patterns do the work. Stick to two or three colors so the designs stay bold instead of busy, and add only a couple of plain supporting pieces nearby.
Group Painted Pumpkins On A Porch Swing
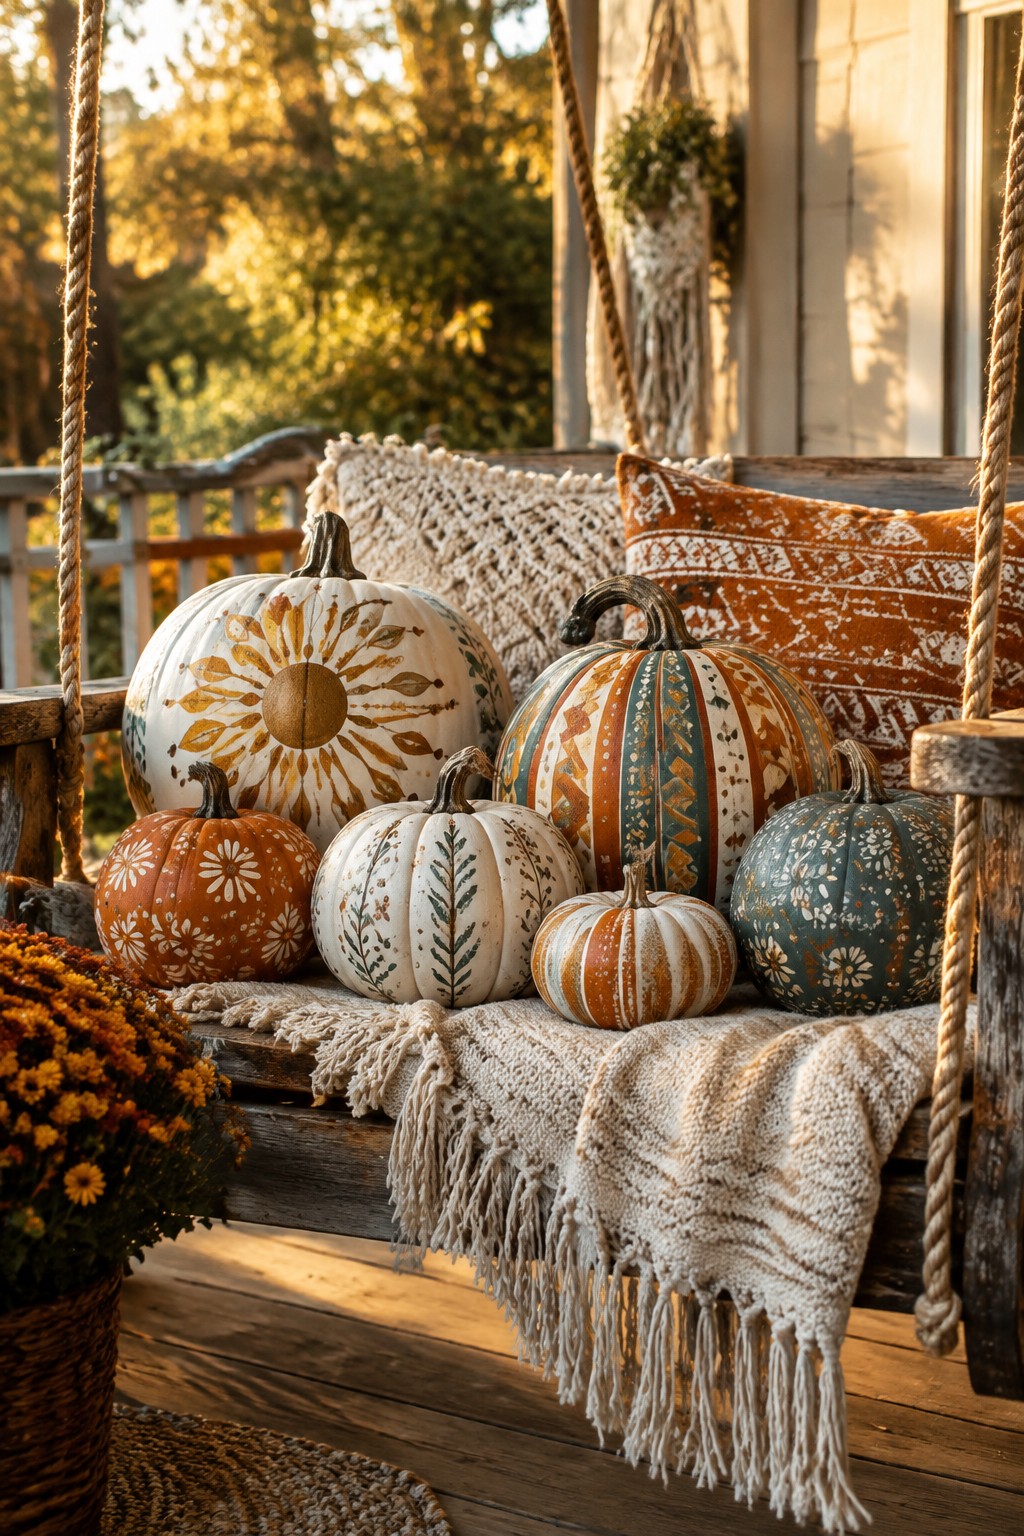
Painting pumpkins with repeating patterns gives you a strong focal point without needing extra props. The mix of sunbursts, stripes, and small floral motifs on the same color family keeps the display bold but still cohesive. A porch swing works well because it already draws the eye, so the pumpkins become the main feature instead of competing with furniture.
Start with six to eight pumpkins in different sizes. Use two or three pattern styles and repeat them across the group. Place the largest ones toward the back and let smaller ones sit in front so every design stays visible. This setup works on any outdoor seating area that gets decent light.
Paint Pumpkins With Bold Patterns For The Mantel
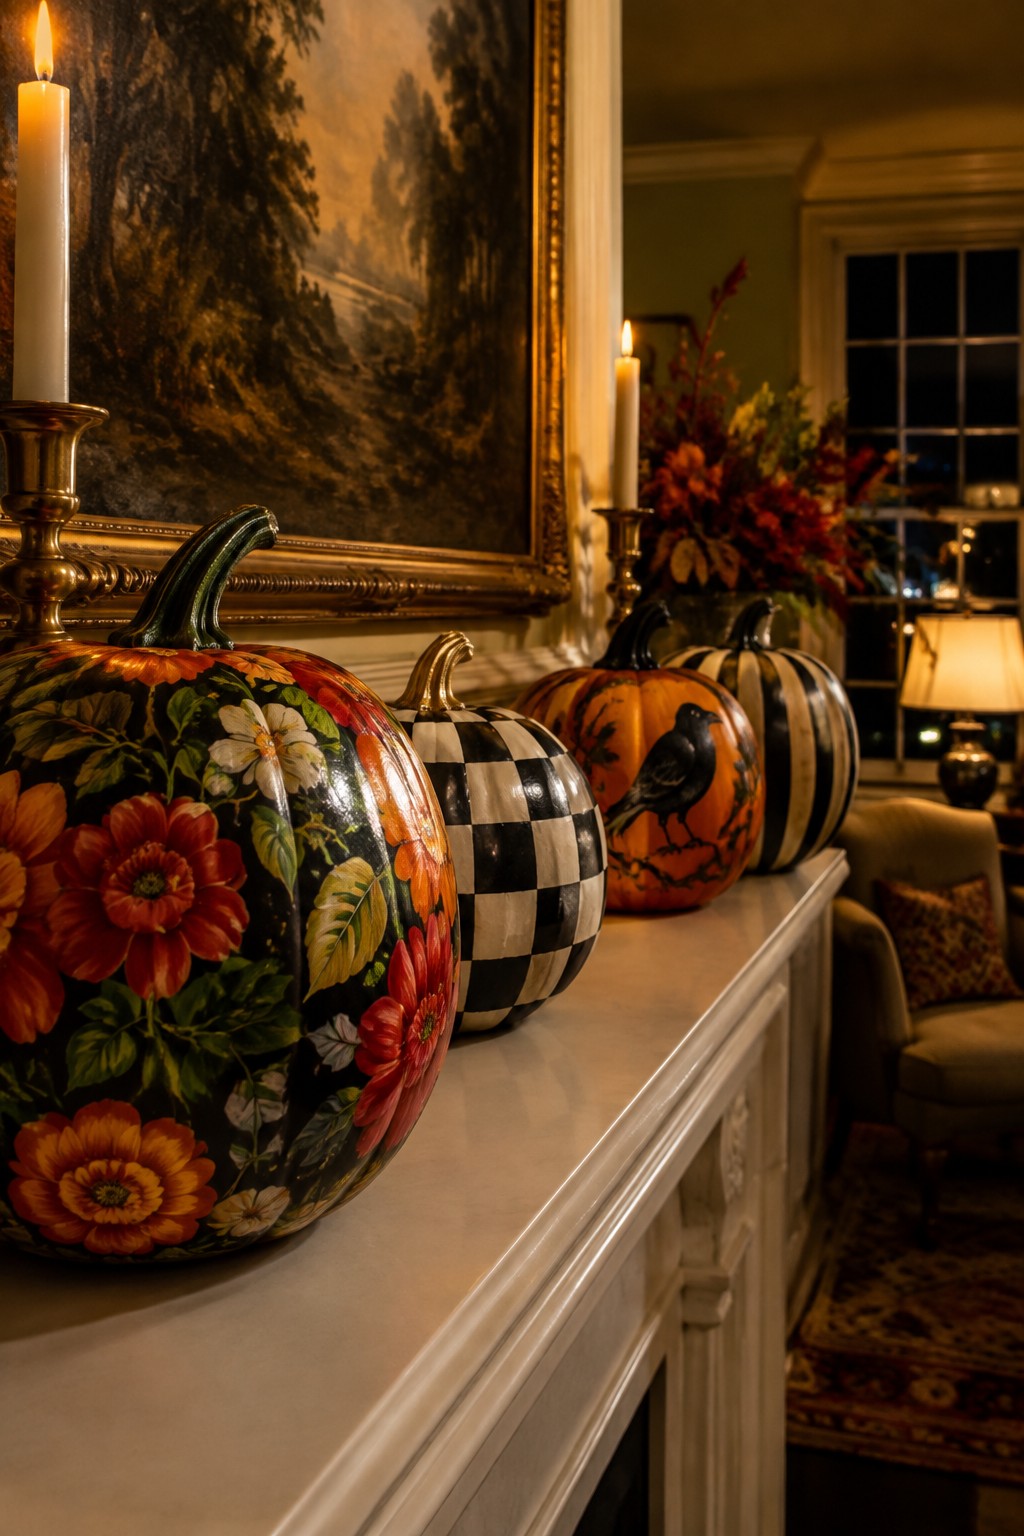
Painted pumpkins bring a fresh look to a mantel when you want something more than plain orange ones. The floral design, checkered pattern, and crow motif on these three pumpkins create a clear Halloween focal point that still feels put together.
Line up a few pumpkins of similar size along the mantel edge and keep any supporting items simple. Two or three candles are enough to tie the display together without crowding the space.
Arrange Painted Pumpkins On A Tray
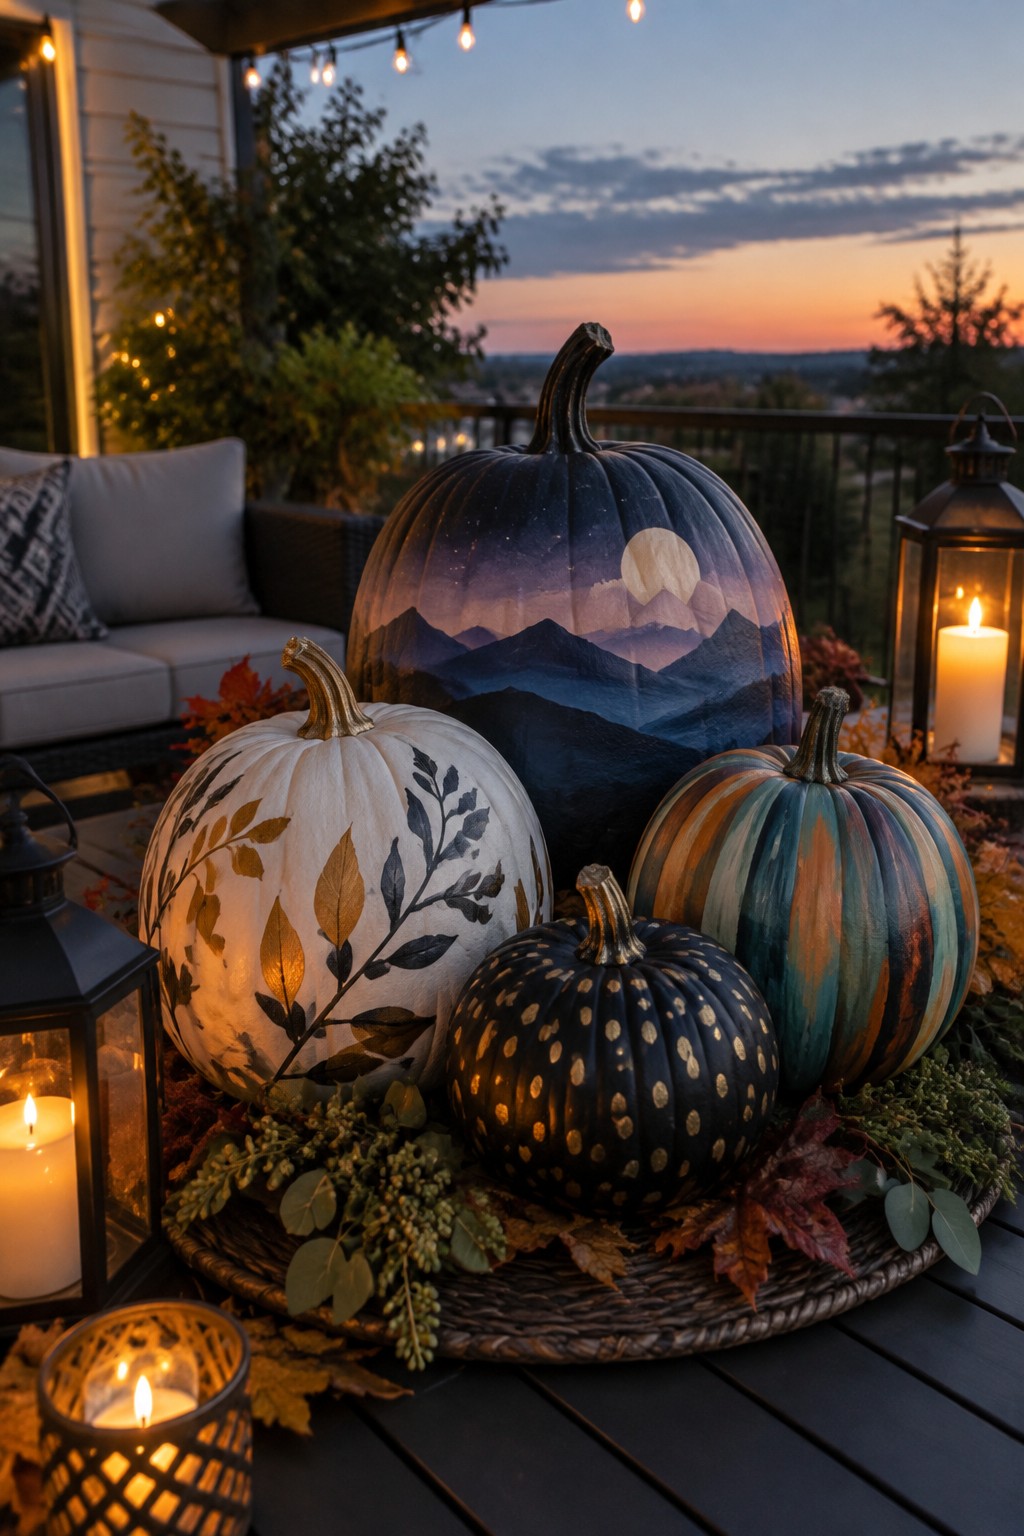
Painting pumpkins with full scenes and patterns turns a simple porch grouping into something much more striking. The mix of a mountain landscape, gold leaf details, polka dots, and bold stripes creates a collected look that feels intentional rather than random. Placing them together on one tray keeps the display compact while still letting each design stand out.
This idea works well on a deck or patio table where you want one clear focal point. Choose four to six pumpkins in different sizes, paint them with contrasting styles, and set them on a flat tray or woven base. Add a couple of lanterns nearby if you want light after dark, but keep the rest of the surface simple so the painted designs remain the main attraction.
Group Painted Pumpkins With Floral Designs
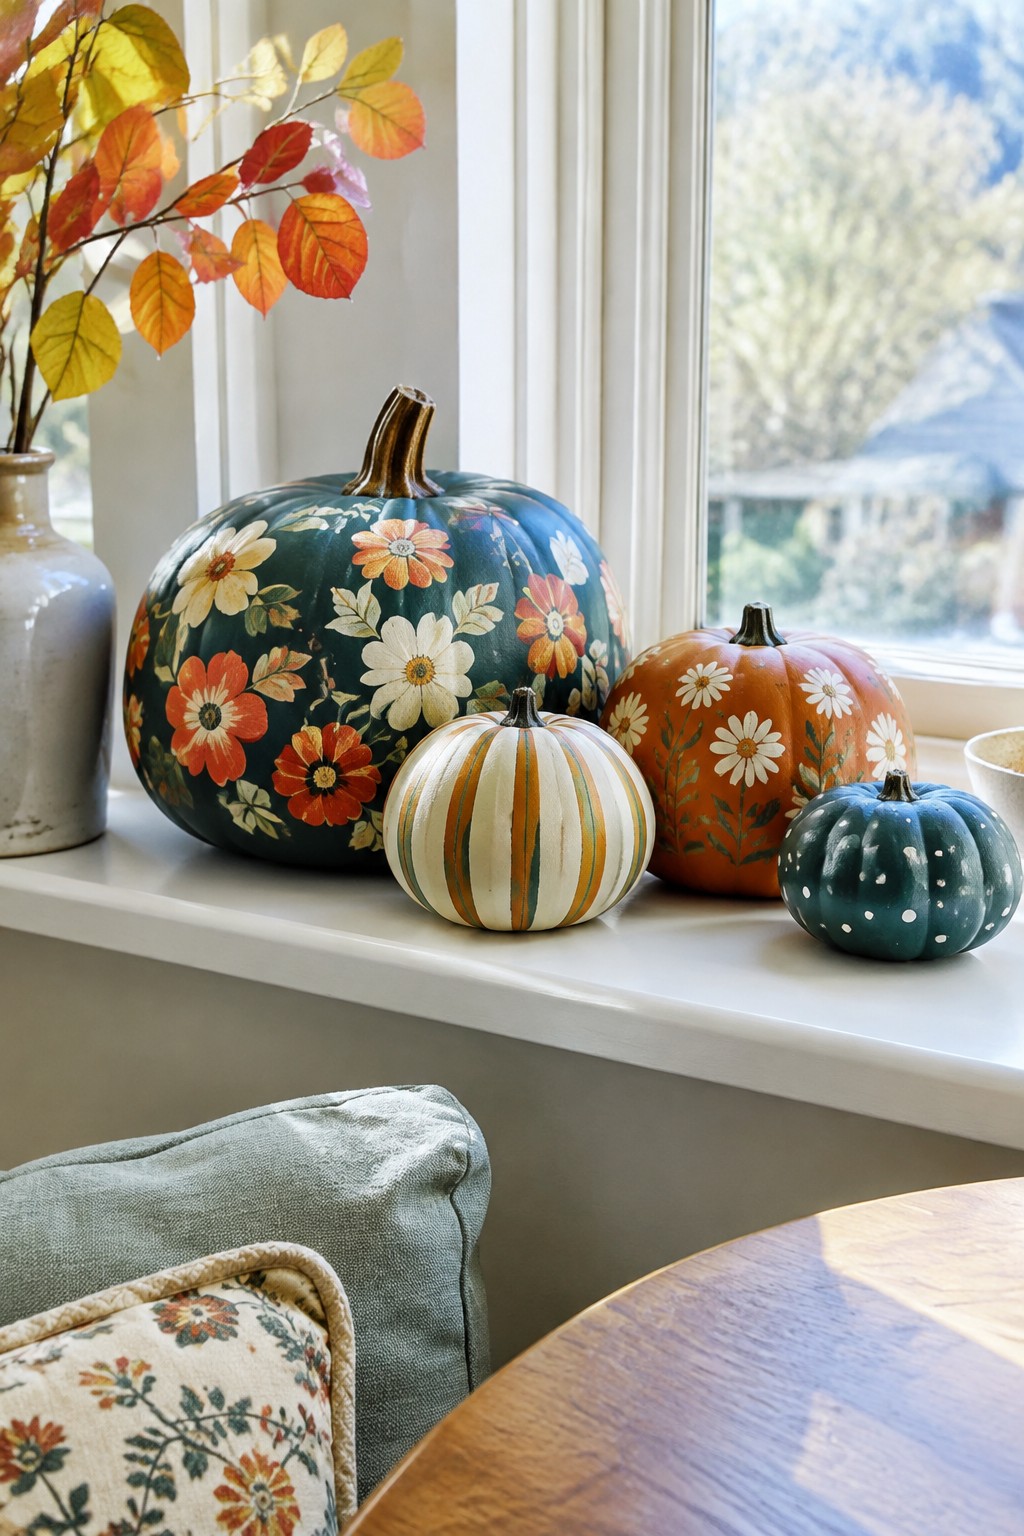
Painting pumpkins with flowers, stripes, and simple dots turns a basic windowsill into a strong Halloween focal point. The large teal pumpkin covered in orange and white blooms stands out next to the smaller striped and dotted ones, giving the group a clear handmade look without needing extra props.
Place three to five pumpkins of different sizes along any sunny ledge or table. Keep the patterns bold but limited to two or three colors so the designs stay easy to read from across the room. This works well indoors where the light from a window can highlight the painted details.
Create A Bold Painted Pumpkin Grouping On A Console
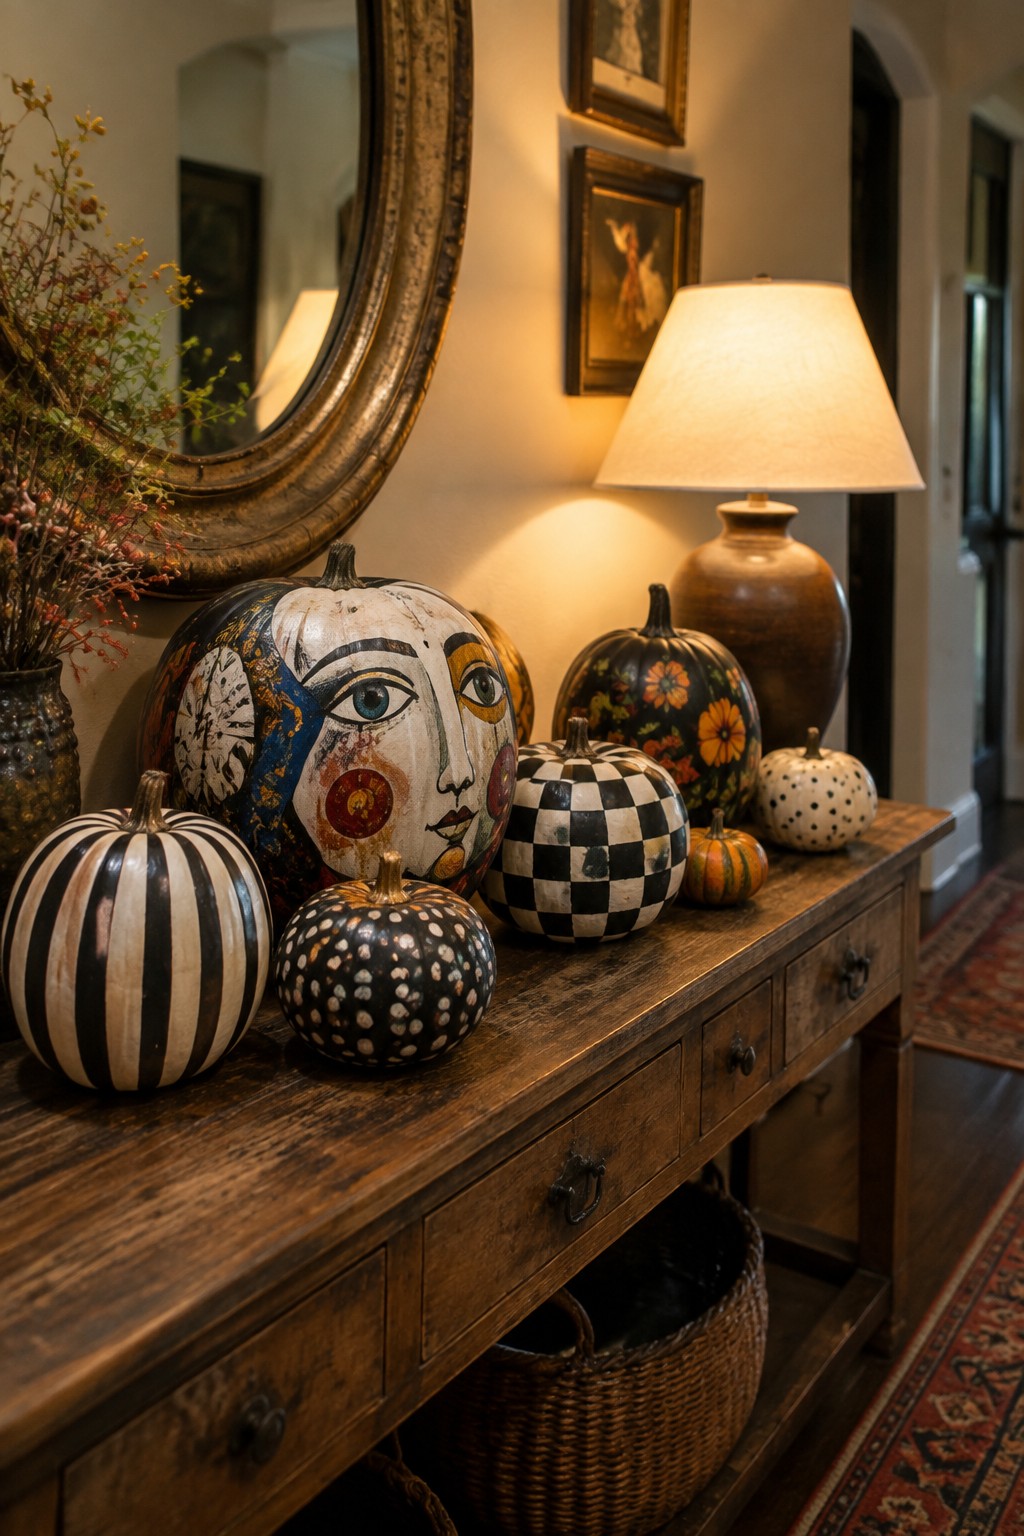
Painting pumpkins with strong graphic patterns gives them a lot more personality than plain orange ones. The large face design mixed with stripes, dots, and checkers makes the whole arrangement stand out right away on a console table.
Place the biggest painted pumpkins toward the back and fill in smaller ones around them. This works well in an entryway where people see it first. You only need five or six pumpkins to make the look work.
Paint Pumpkins With Large Floral Designs
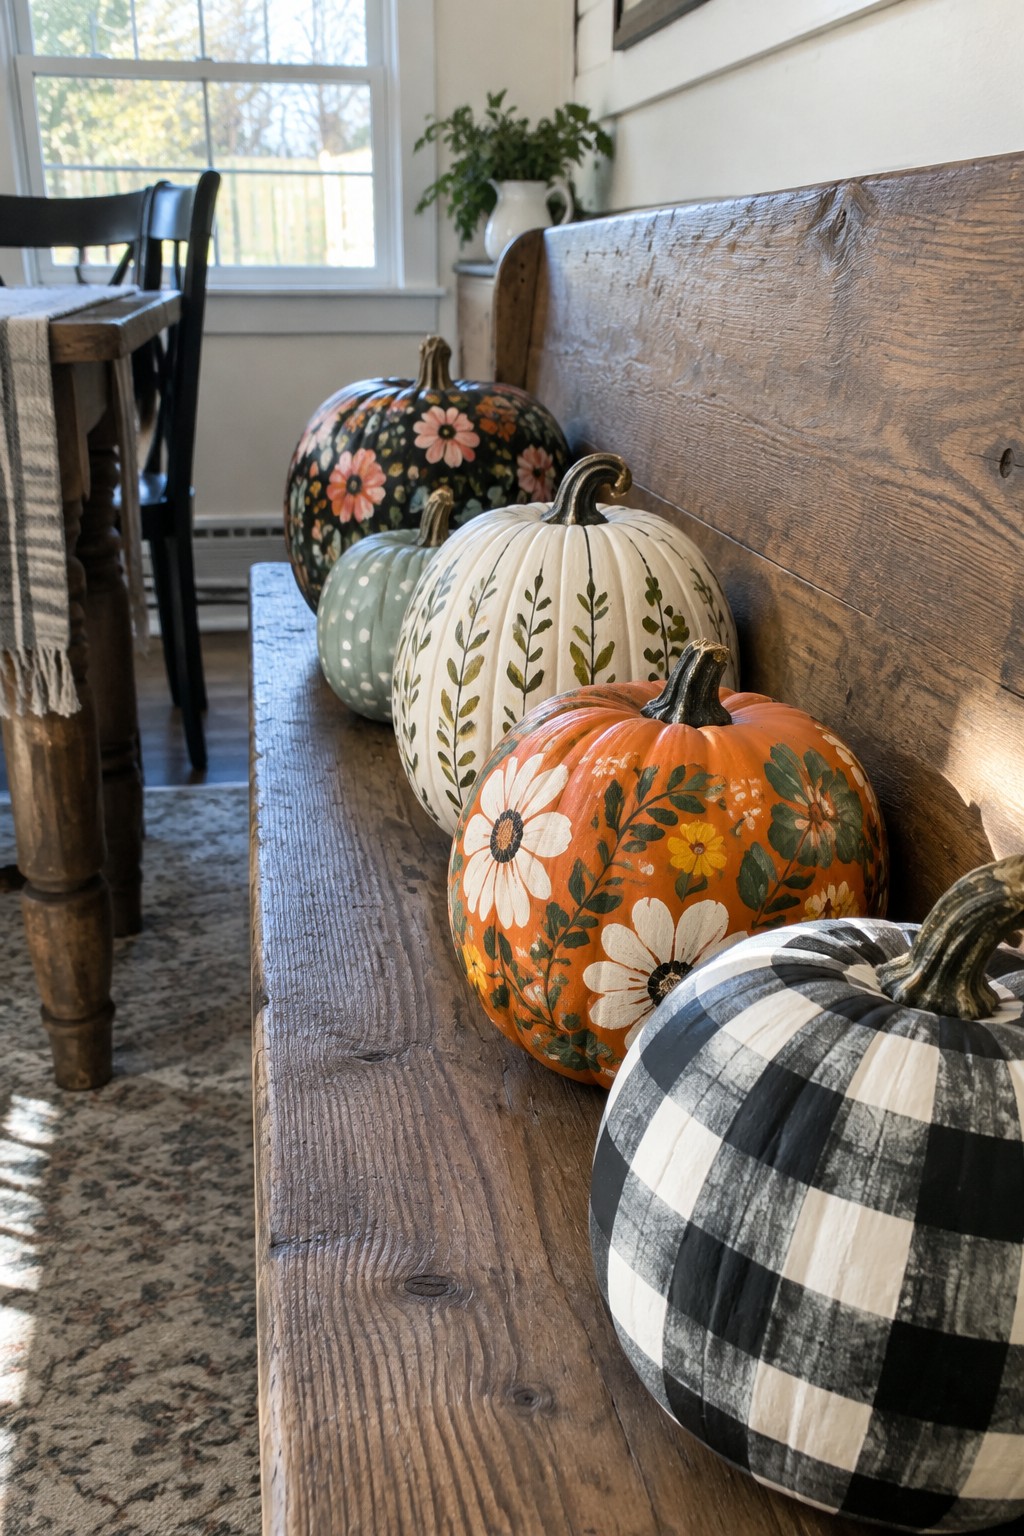
Painting pumpkins with oversized flowers and leafy vines turns ordinary gourds into eye-catching pieces that stand out without needing extra props. The mix of bright orange, white, and patterned pumpkins shows how simple brushwork can create a fresh take on classic Halloween decor.
Place a row of these painted pumpkins along a bench or console table to make the design the clear focal point. You only need a handful of pumpkins and basic acrylic paints to pull it off, and the look works in both casual and more polished spaces.
Stack Painted Pumpkins On The Porch Post
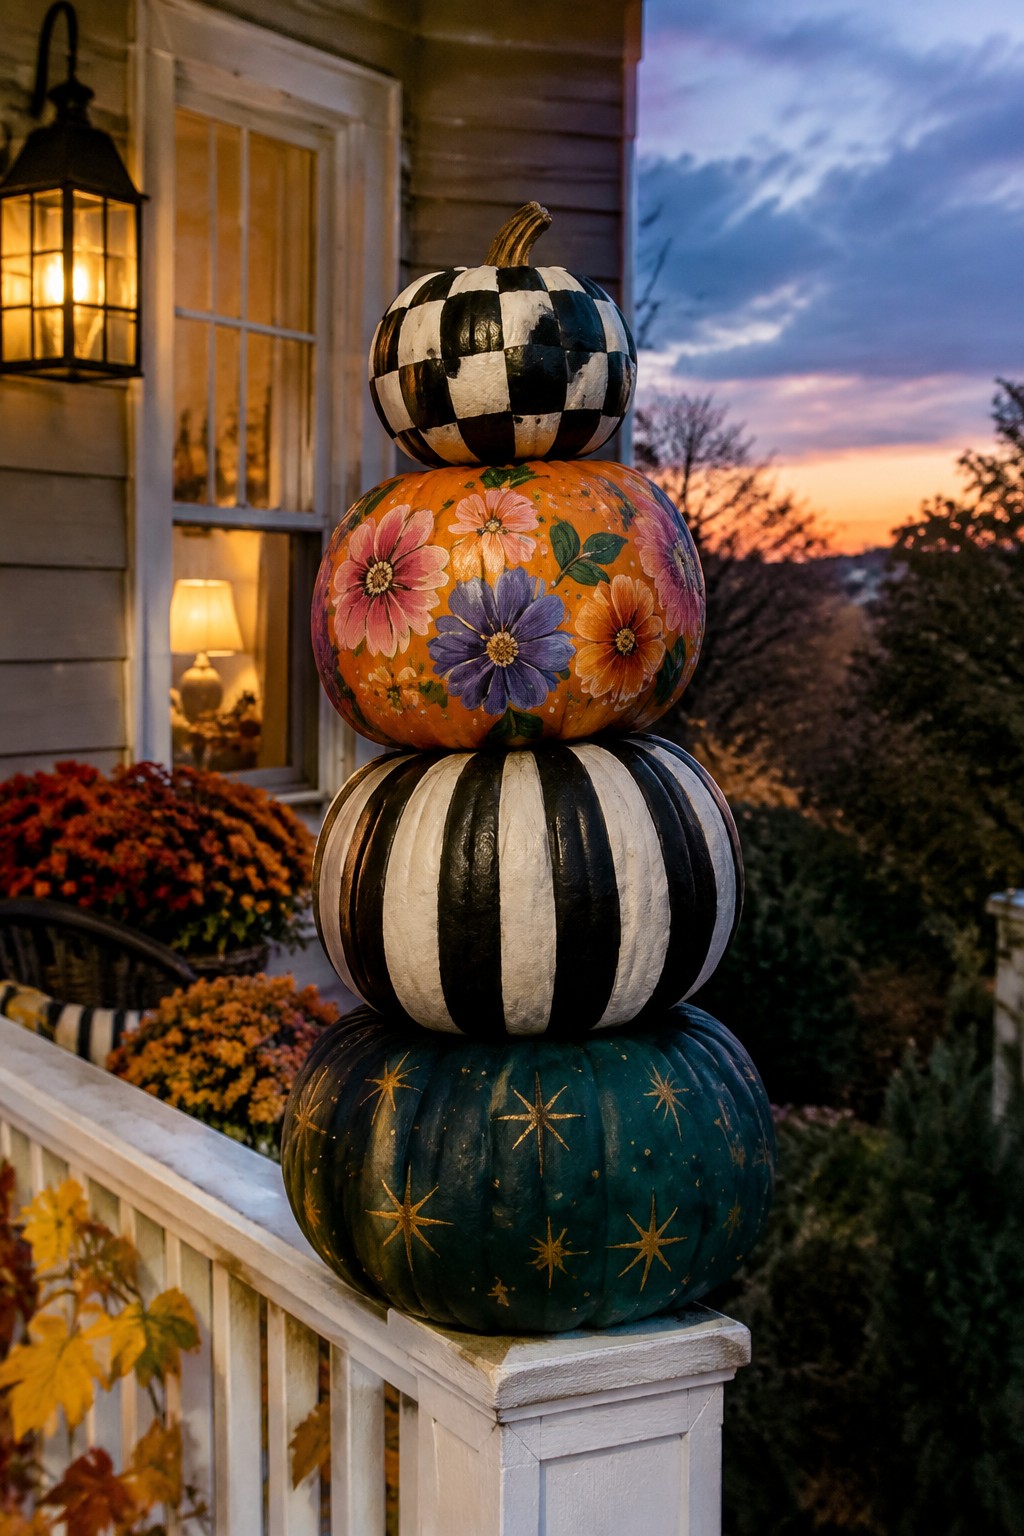
Stacking pumpkins with bold painted patterns turns a simple porch post into a strong Halloween focal point. The mix of a checkerboard top, a floral middle section, bold stripes, and gold stars on the bottom creates contrast that reads clearly from the street without needing extra props.
Place four pumpkins in descending sizes on a sturdy post or railing where they stay visible at eye level. Keep the patterns simple but varied so the stack feels intentional rather than busy, and the whole display works as one main Halloween element.
Paint Pumpkins With Graphic Stripes And Dots
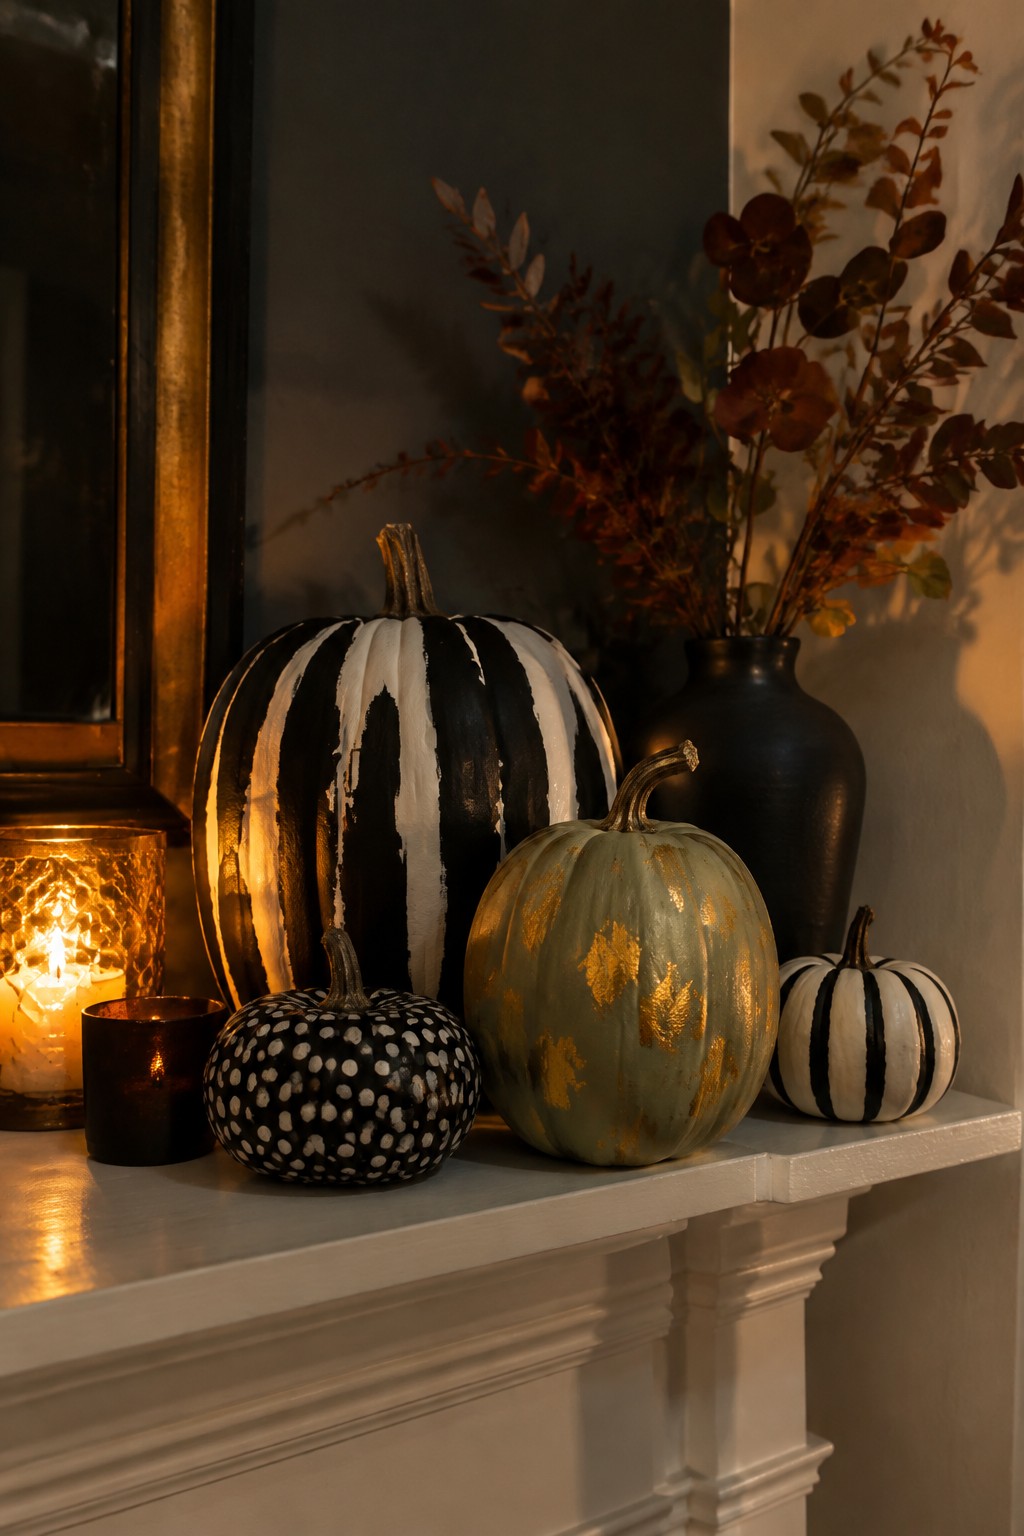
Painting pumpkins in strong black and white patterns gives them a bold look that stands out without needing much else. The large striped pumpkin and the smaller polka dot one show how simple shapes and high contrast can make the group feel intentional and graphic rather than just seasonal.
Group several painted pumpkins together on a mantel or console so the patterns can play off each other. Add one or two with a metallic accent if you want a little extra shine, but keep the rest of the surface fairly clear so the painted designs stay the focus.
Frequently Asked Questions
Q: Will the paint hold up if I set these pumpkins outside? A: Grab a clear waterproof sealant and coat the finished pumpkin once the paint dries. Apply two thin layers instead of one heavy one. This stops peeling even after a few days of weather.
Q: What if I run out of the exact colors shown in the ideas? A: Mix leftover house paint with a bit of acrylic to stretch what you have. Test the blend on a paper towel first to match the boldness. It works fine for most patterns without a store run.
Q: Can I paint the pumpkins ahead of time and still use them weeks later? A: Yes, but keep them in a cool spot out of sunlight. Check for soft spots every few days and rotate them so one side does not sit too long. The paint stays vibrant that way.
Q: How do I fix a smudge without starting over? A: Wipe the spot gently with a damp cloth right away. Let it dry then dab on a matching color with a small sponge. The rest of the design hides any tiny touch ups.
