

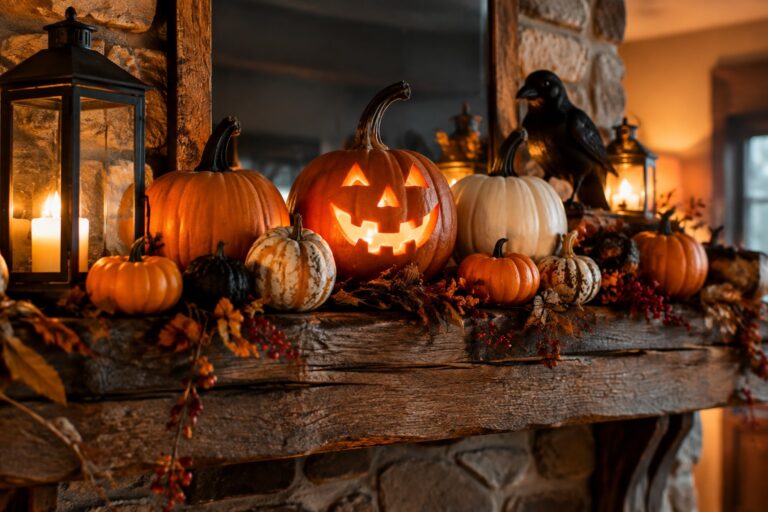
Pumpkins always end up as the easiest starting point when I decorate for Halloween.
Skipping the carving step lets me experiment with paints, fabrics, and other details without the mess.
I tend to notice how these decorated pumpkins pull a whole tabletop or shelf together.
Some versions stay minimal while others layer on more personality.
No knives needed makes the whole process feel more doable.
Group No-Carve Pumpkins On The Mantel
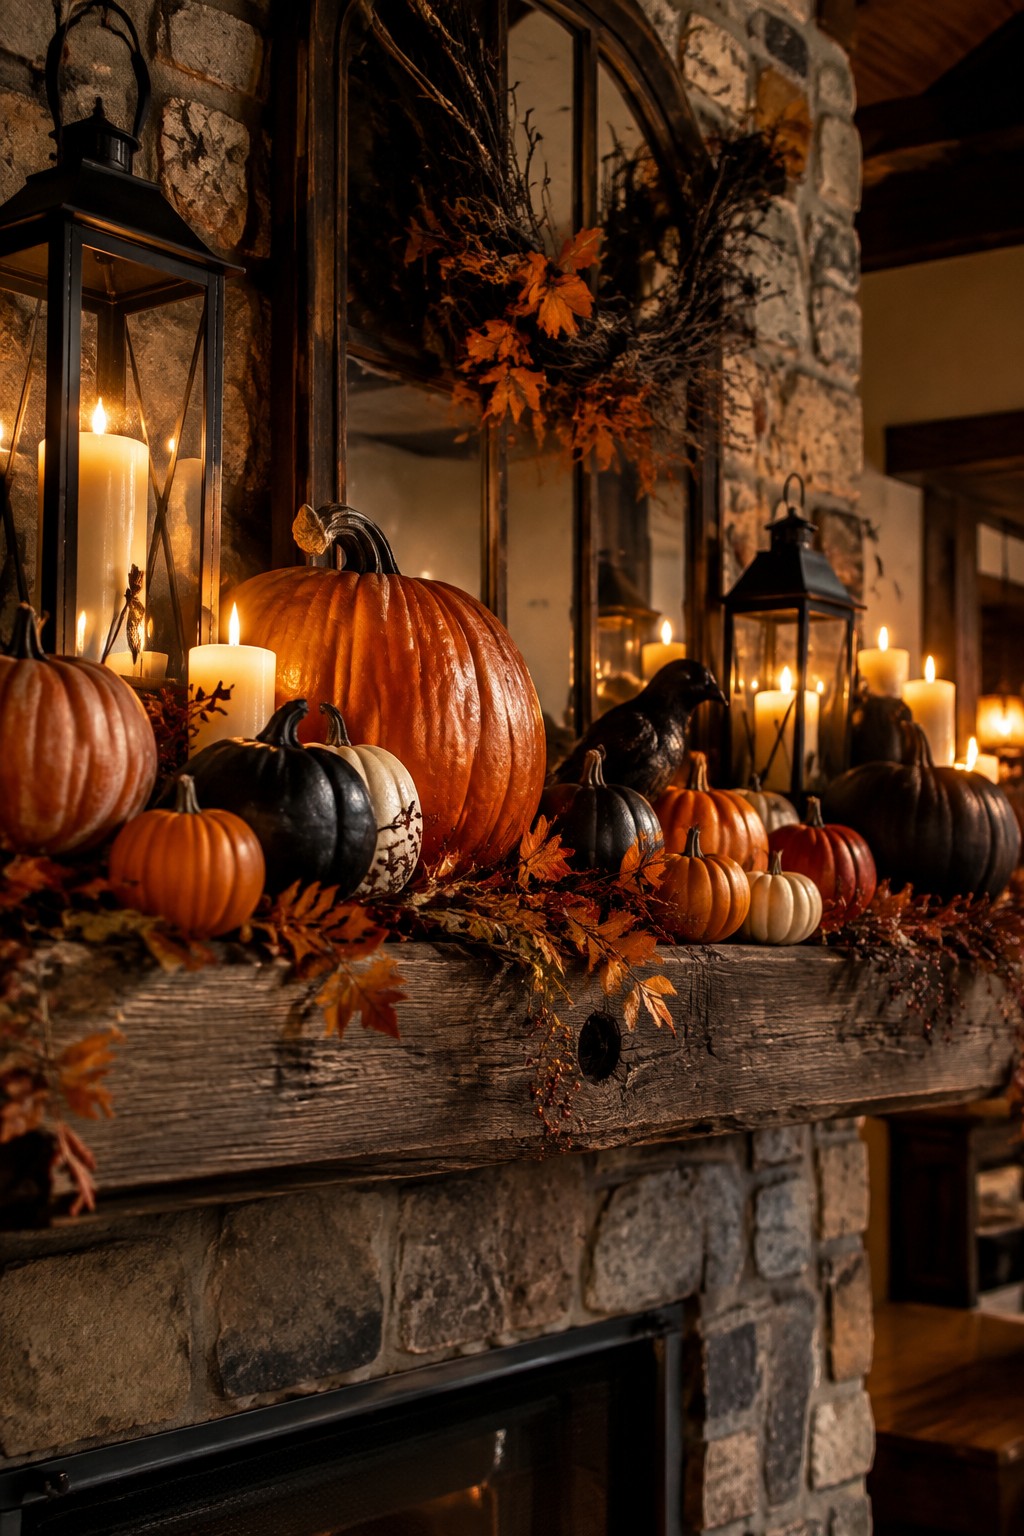
Placing pumpkins of different sizes and colors along a mantel gives the whole area a strong Halloween look without any carving. The mix of bright orange, deep black, and pale white pumpkins creates contrast that reads as festive right away, while the black crow and lanterns add a simple supporting touch.
This idea works well on any fireplace mantel because it stays contained to one surface. Start with a few larger pumpkins in the center, then fill in smaller ones on the sides. Keep the supporting pieces like lanterns and leaves minimal so the pumpkins remain the main feature.
Arrange Pumpkins In Different Colors On A Coffee Table
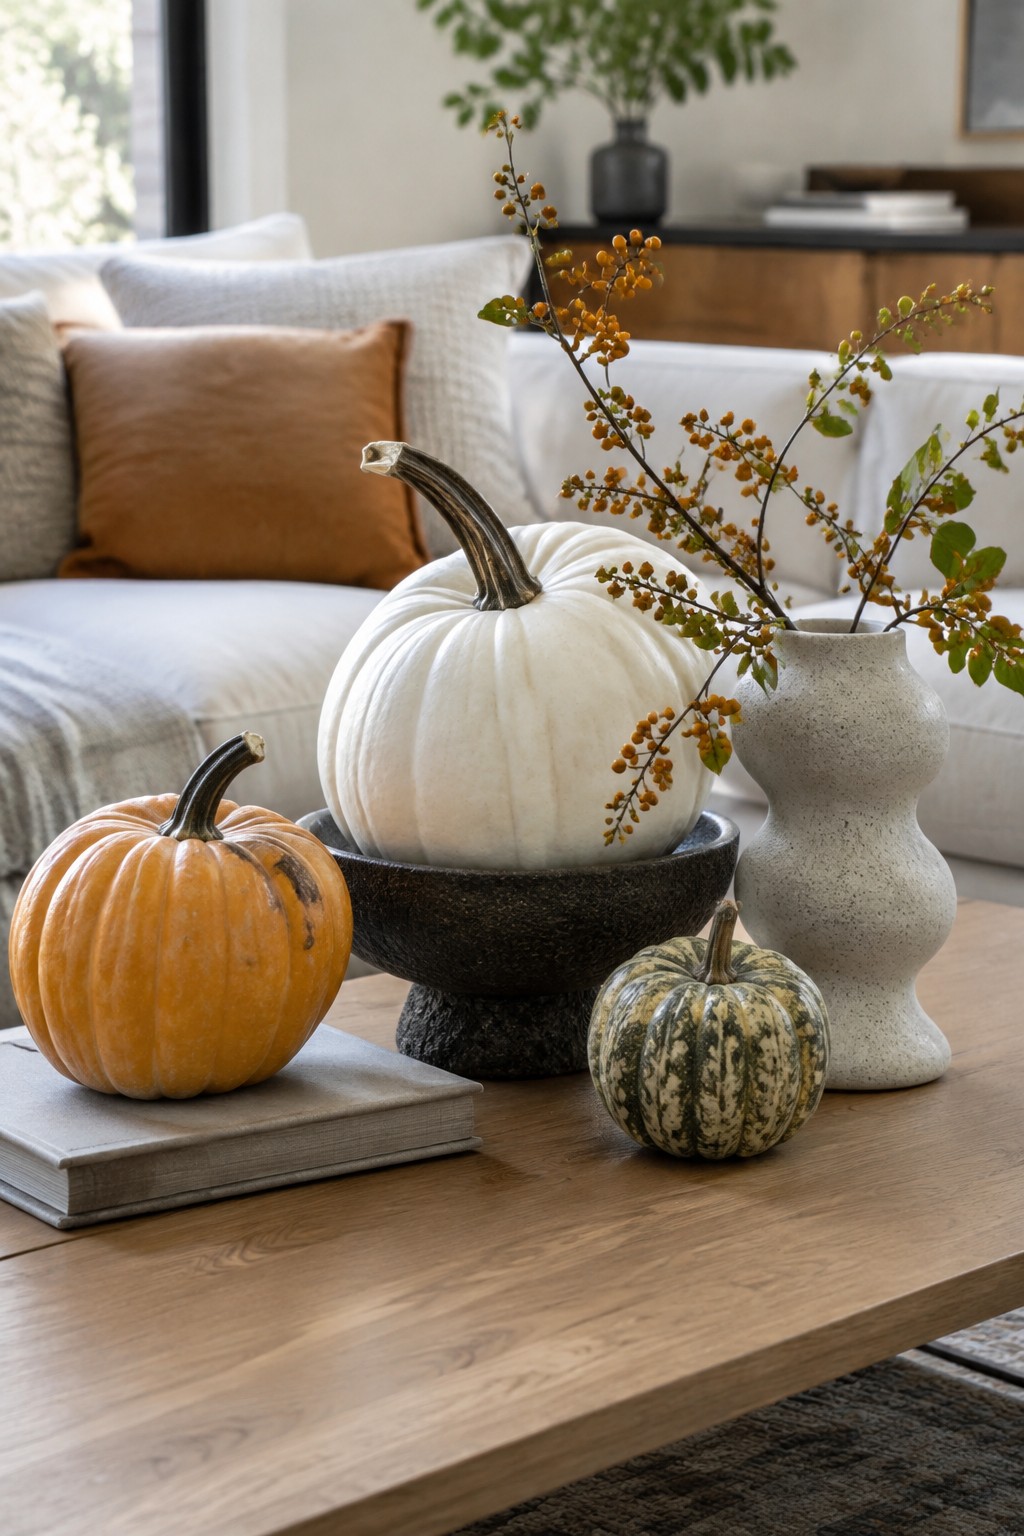
A simple mix of pumpkins in white, orange, and green creates an easy no-carve display that still feels seasonal. The large white pumpkin draws the eye first, while the smaller orange and speckled ones keep the grouping from looking flat.
Place them together on a low table where the colors can stand out against the wood. You only need three or four pumpkins total, plus one or two branches if you want a little height without adding more pieces.
Cluster Pumpkins In A Woven Basket At The Entry
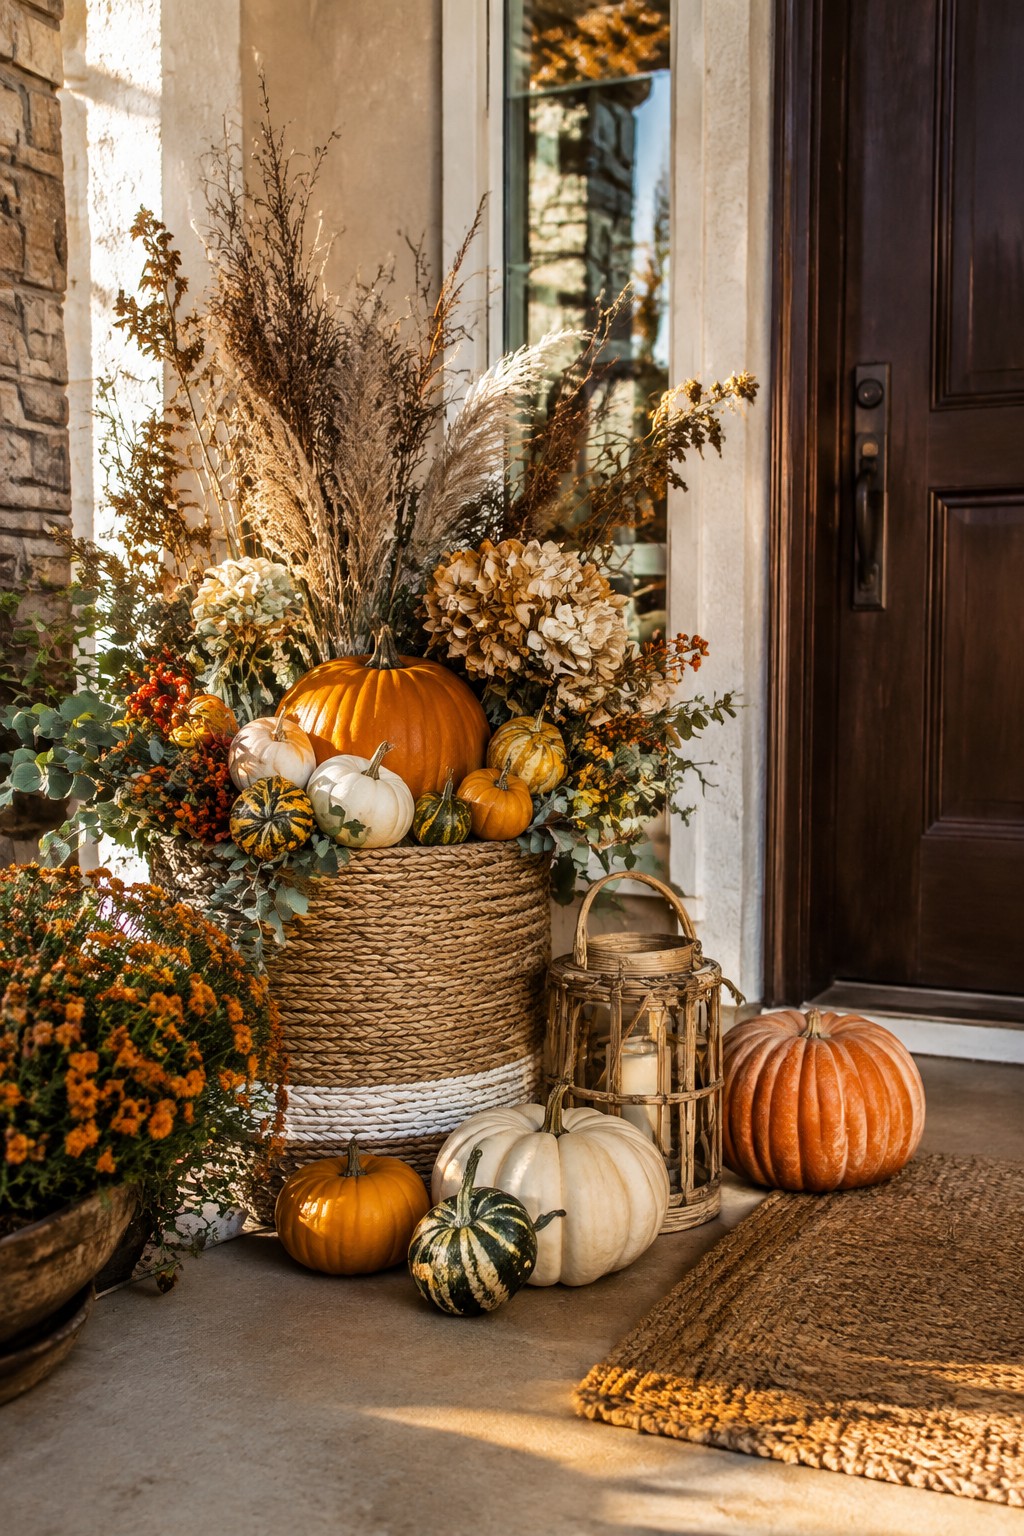
A tall woven basket packed with whole pumpkins makes a simple and effective display right by the front door. The mix of sizes and colors keeps the arrangement interesting without any carving or extra props.
Place the basket near the door and add a few smaller pumpkins on the ground around it. Use whatever varieties you already have on hand. This setup works for porches or entry steps and stays easy to change out after the season.
Create A Simple Pumpkin Tray Centerpiece
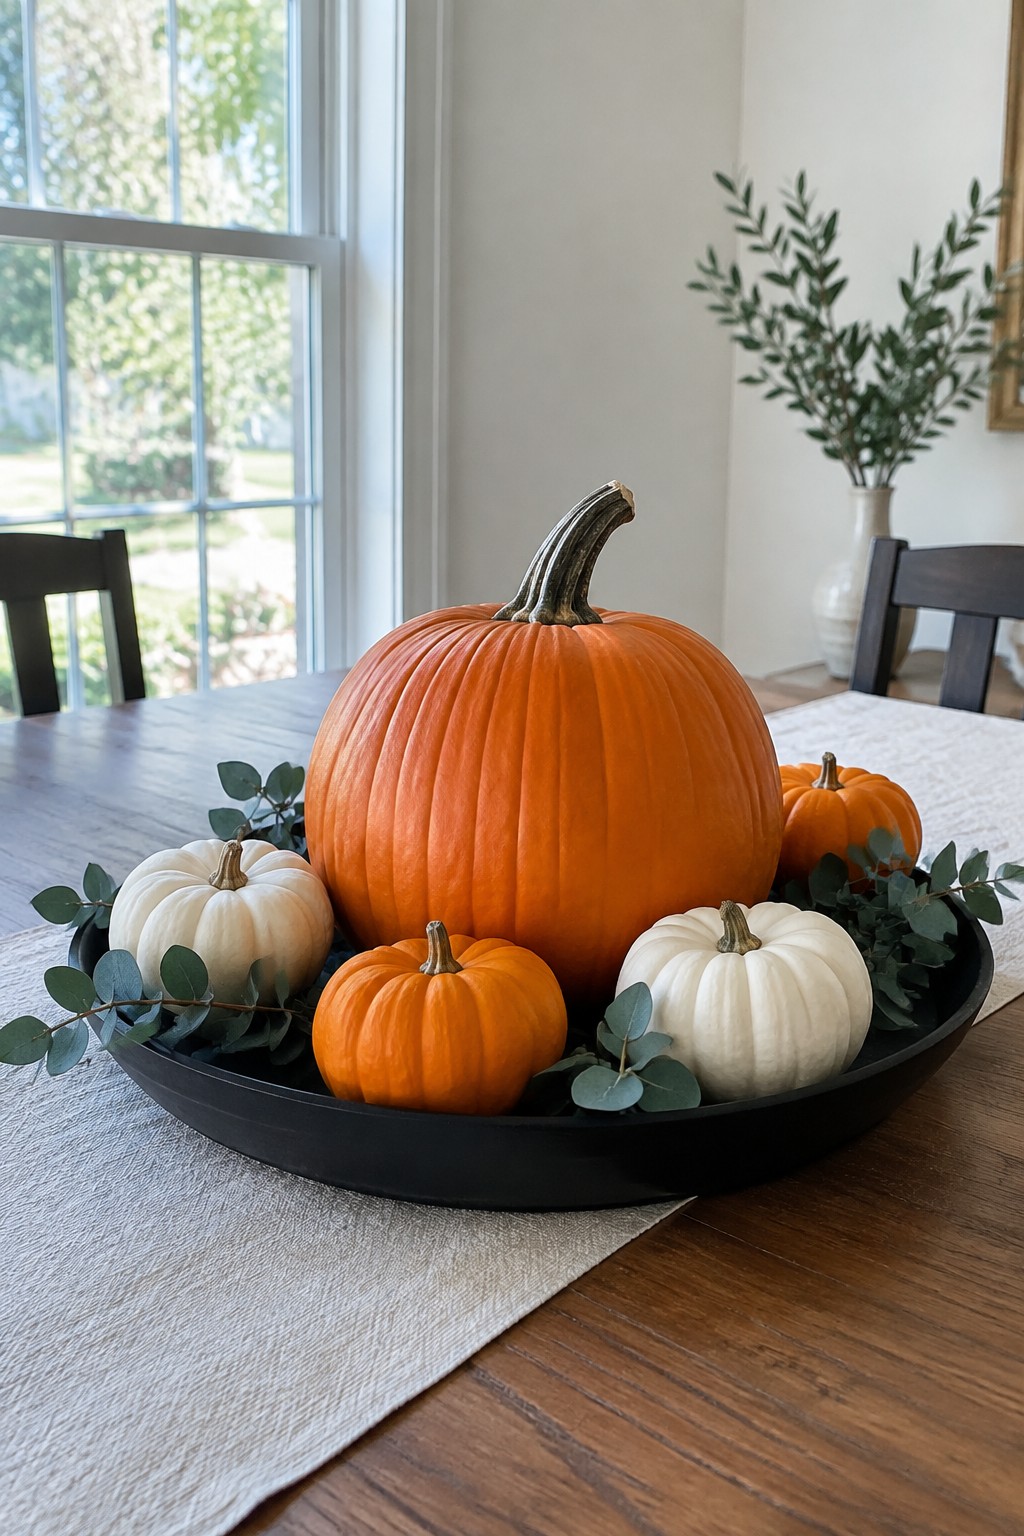
A black tray filled with pumpkins in different sizes and colors makes an easy no-carve display for the dining table. The mix of one large orange pumpkin with several smaller white and orange ones keeps the look balanced without needing extra pieces or carving tools.
Place the tray in the center of the table and tuck a few eucalyptus stems around the edges. This setup works well for both everyday meals and holiday gatherings since it stays neutral while still reading as seasonal.
Make A Pumpkin Vase For Your Console
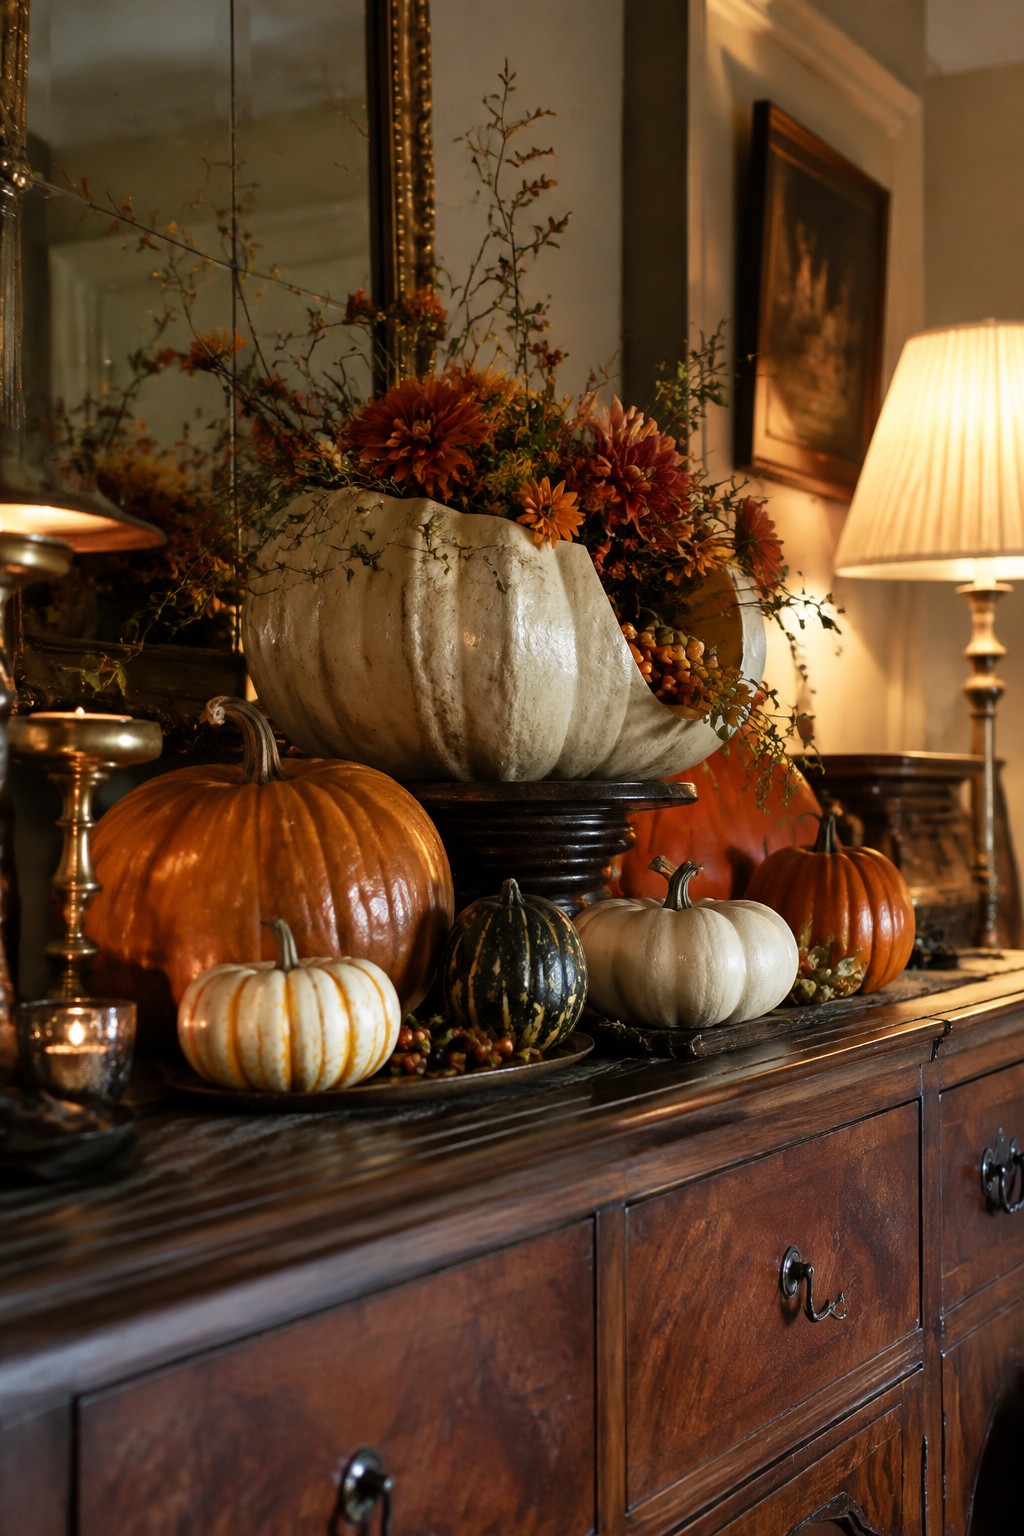
Hollowing out one large pumpkin and filling it with flowers gives you an easy no-carve decoration that still feels seasonal. The white pumpkin acts as the container while the surrounding smaller pumpkins keep the whole grouping balanced and simple.
Place the arrangement on a console or side table where it can be seen from the entry. Use whatever flowers or branches you already have on hand and let the pumpkin shape do most of the work. A few extra small pumpkins around the base help tie the look together without adding more pieces.
Arrange Pumpkins On The Staircase
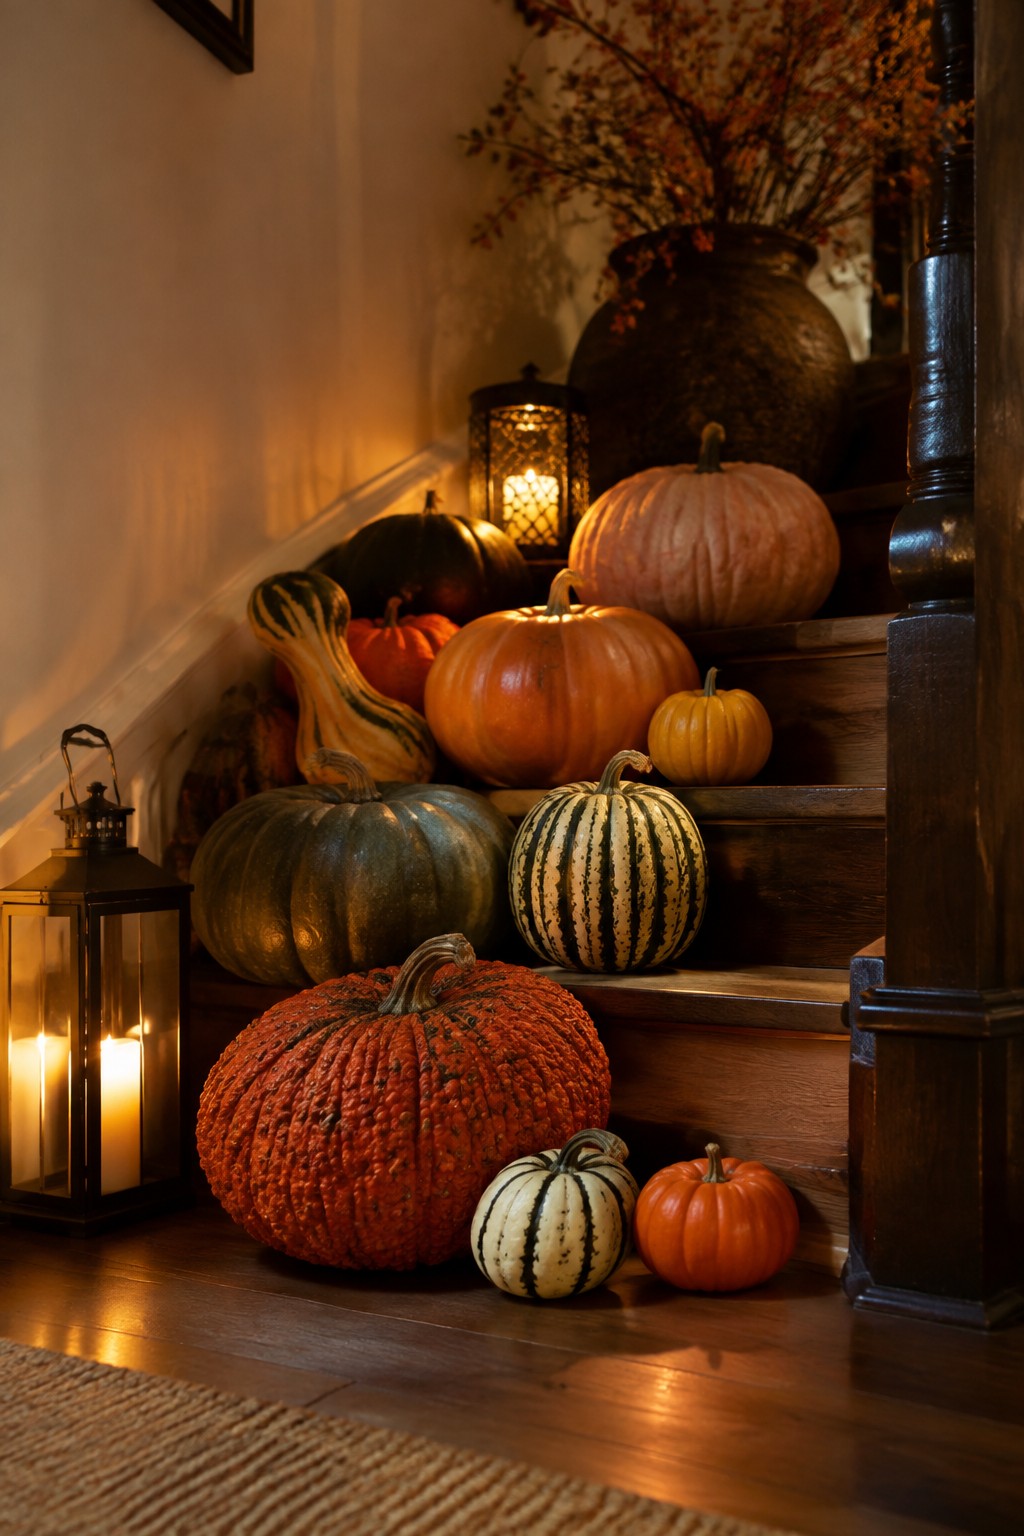
A mix of pumpkins in different sizes, shapes, and colors creates a strong no-carve display when placed along the steps. The variety keeps the look interesting without needing any carving or extra painting. It works because the staircase already gives the arrangement height and structure.
Start with a few larger pumpkins at the base and work upward with smaller ones to fill gaps. Add a lantern or two nearby if you want soft light, but keep the focus on the pumpkins themselves. This setup stays simple and easy to change after the holiday.
Group No-Carve Pumpkins With Different Finishes
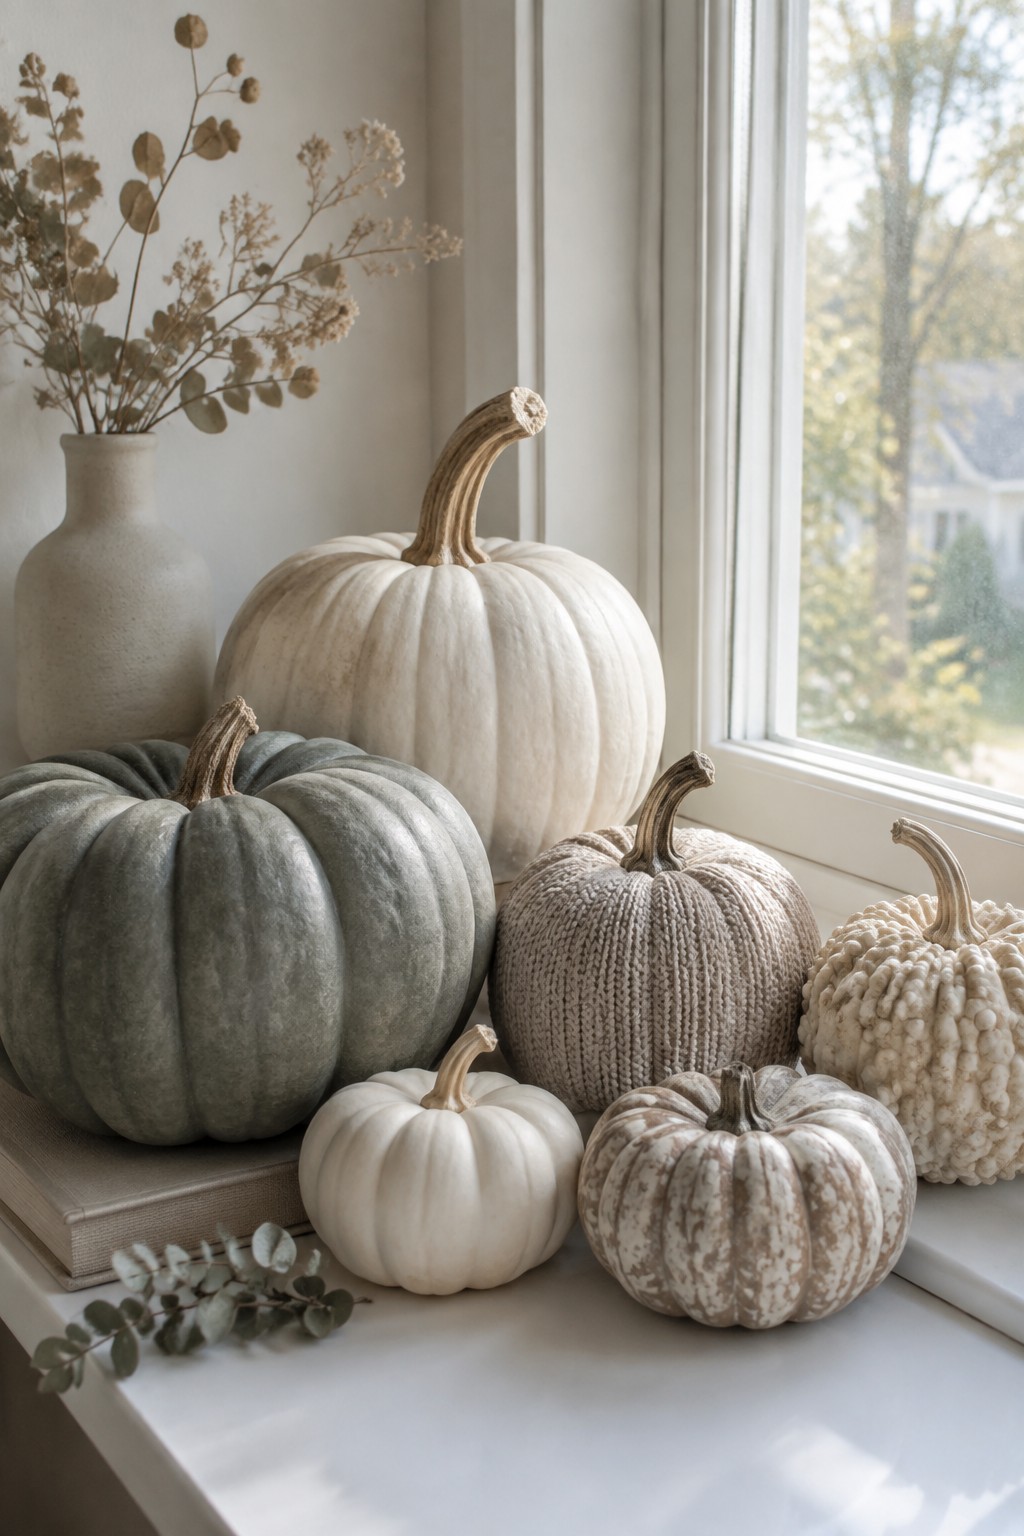
A simple way to get a Halloween look without carving is to gather pumpkins that have been painted, distressed, or covered in texture. The neutral tones and varied surfaces make the group feel intentional rather than busy, and the display works well on a windowsill where light can hit the different finishes.
Place a few larger pumpkins in the back and smaller ones toward the front so each one stays visible. You only need five or six pumpkins total, and the mix of smooth paint, knit texture, and light distressing is enough to show the idea without adding extra decorations.
Group Whole Pumpkins In A Wooden Bowl
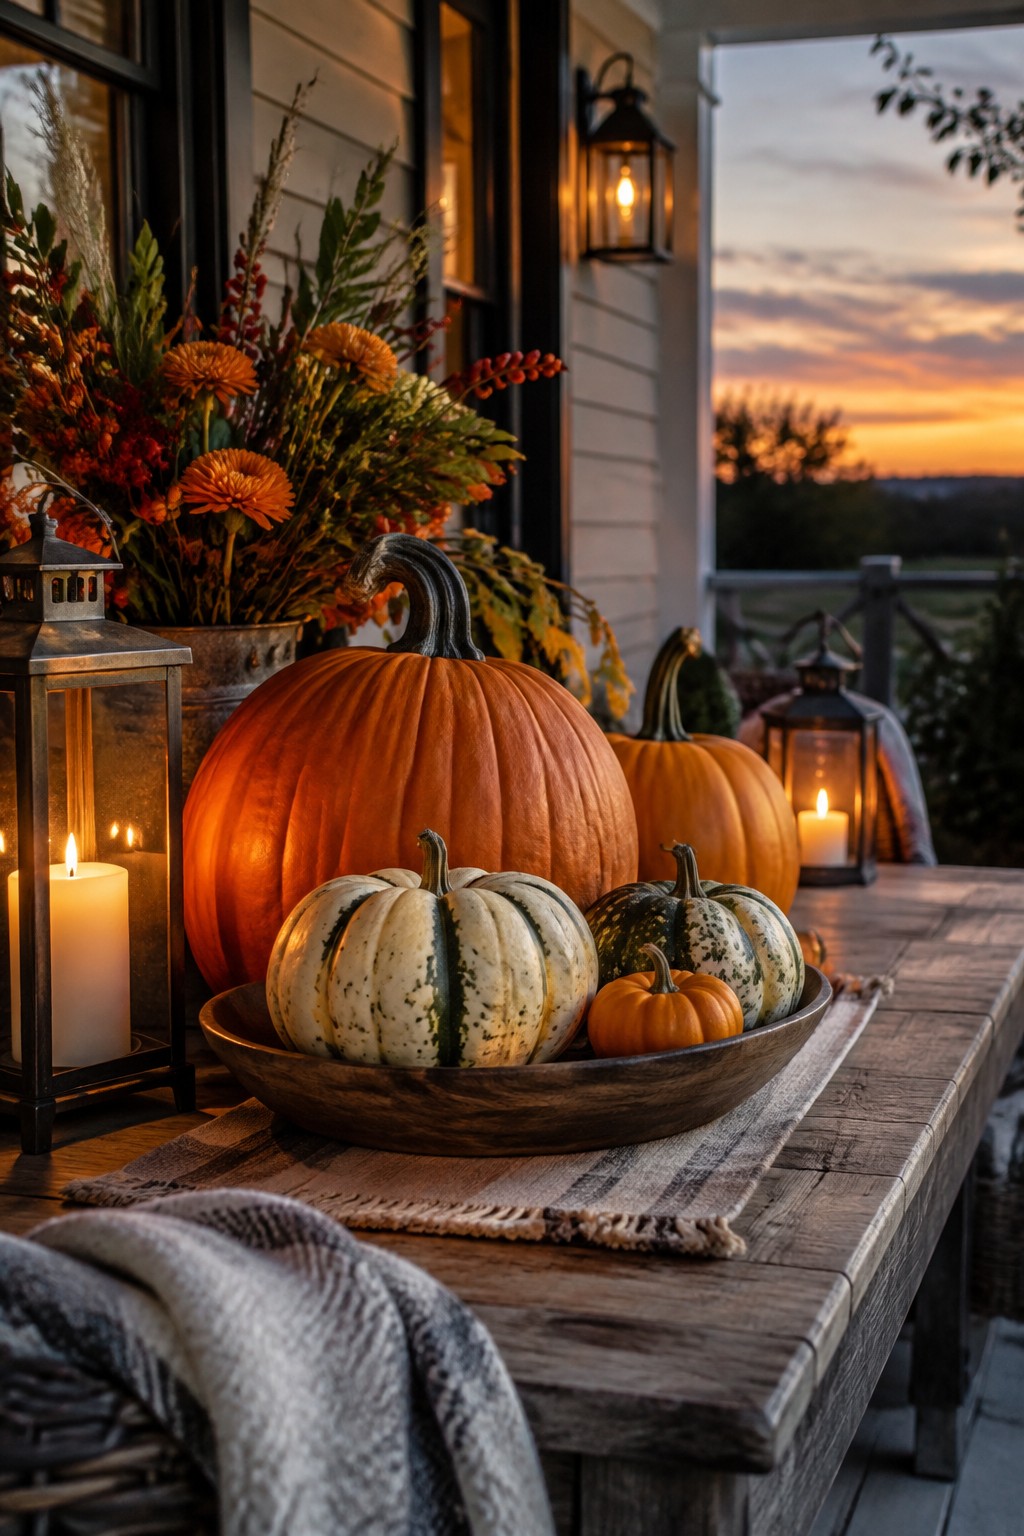
Mixing pumpkins of different sizes, colors, and patterns creates an easy no-carve display that still feels festive. The large orange pumpkins stand out next to the smaller striped and speckled ones, and keeping them whole lets the natural shapes and textures do the work.
Place the bowl on a porch table or any flat surface where people can see it up close. Add a couple of lanterns nearby for light, but keep the rest of the table simple so the pumpkins remain the main focus. This setup works well outdoors and takes almost no time to put together.
Create A Pumpkin Mantel Display
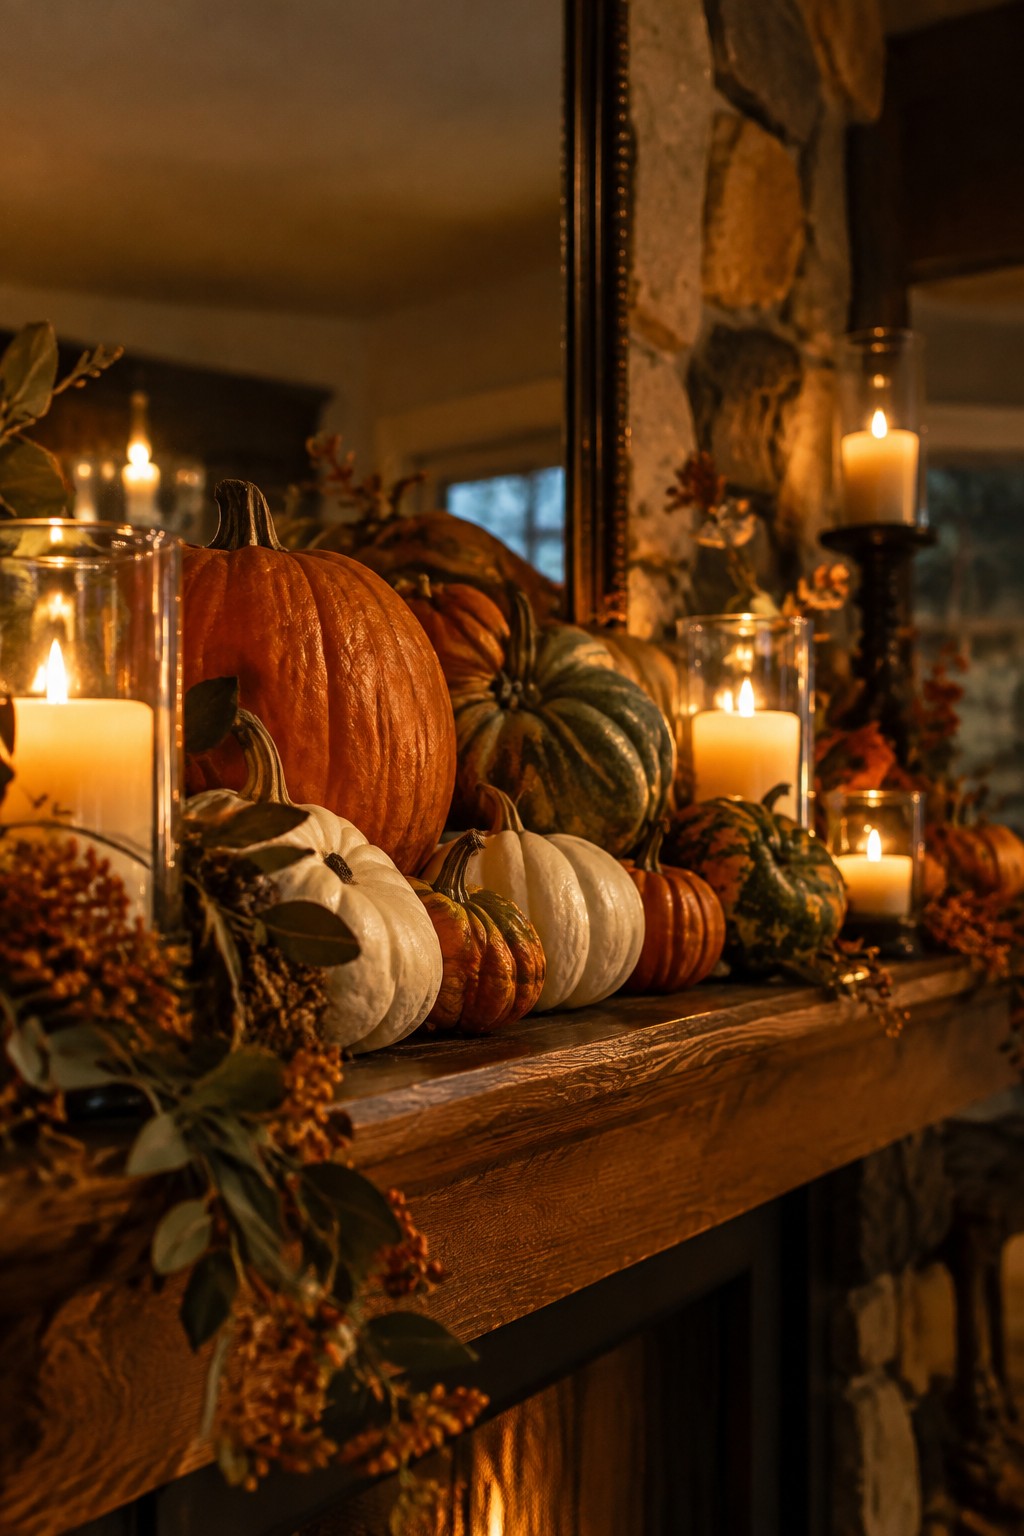
A mantel makes an easy spot for a no-carve pumpkin display. Mix orange, white, and green pumpkins of different sizes along the wood surface and tuck in a few glass candle holders. The mix of shapes and colors keeps the look interesting without any carving.
Place the largest pumpkins first, then fill gaps with smaller ones. Add a few battery candles for soft light and keep any extra leaves or stems to a minimum so the pumpkins stay the main focus. This works on most mantels and takes only a few minutes to set up.
Stack Pumpkins By Size And Color
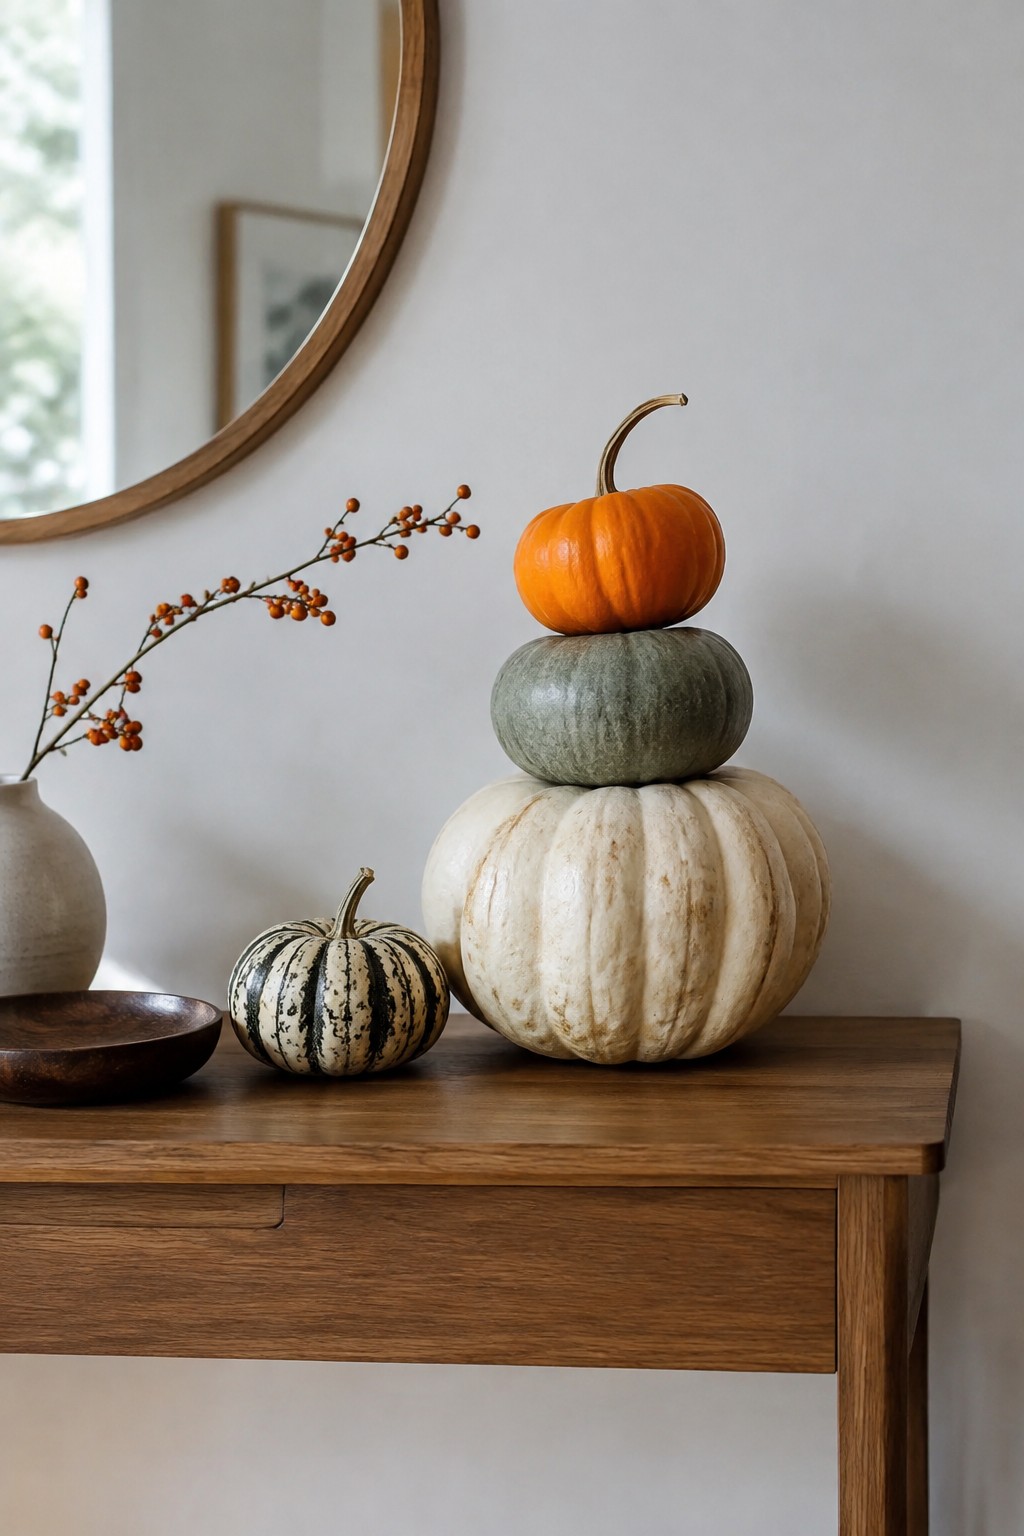
Stacking pumpkins on a console table gives you an easy no-carve display that still feels festive. The different sizes and muted colors create height without any extra props or carving tools. It works especially well in an entryway or living area where you want something noticeable but not overwhelming.
Choose one large pumpkin as the base, then add a medium one on top and finish with a small pumpkin at the peak. Keep the surrounding pieces minimal so the stack stays the focus. A few extra small pumpkins placed nearby can fill out the table without crowding it.
Group Painted Pumpkins On A Tray
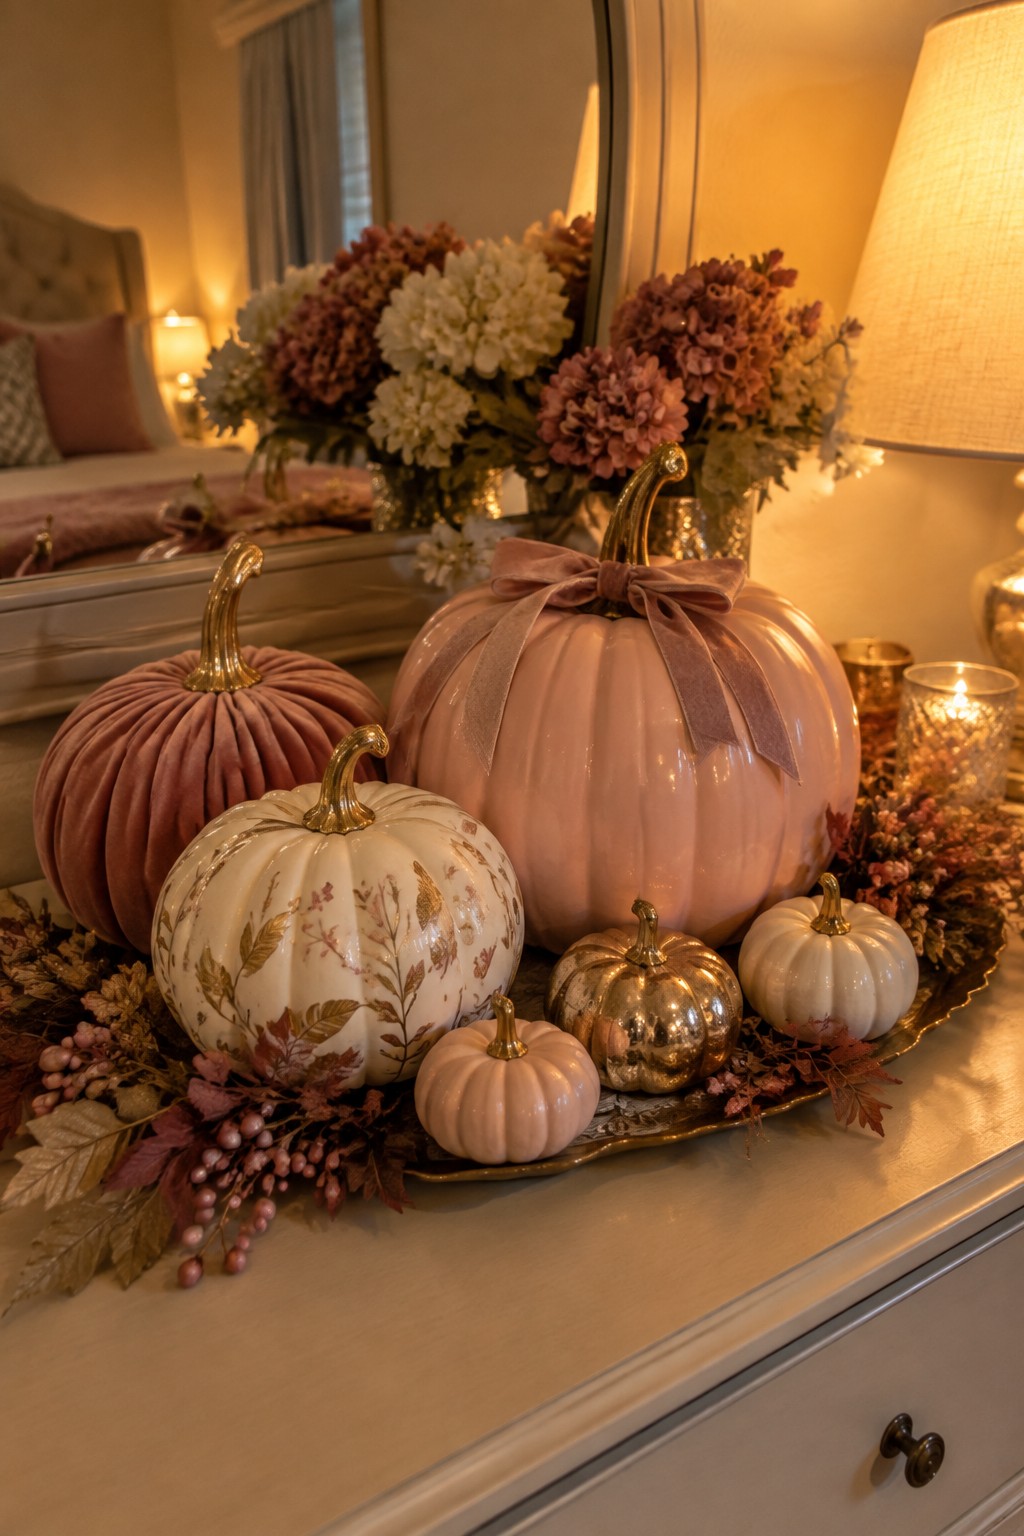
One easy no-carve approach is to collect several pumpkins with different painted finishes and set them together on a tray. The mix of metallic gold stems, a soft velvet bow, and subtle floral patterns keeps the display interesting without looking cluttered.
Set the tray on a dresser, console, or vanity where it can serve as the main seasonal accent. Choose pumpkins in a similar color family and add just one or two small supporting pieces like a candle or a few leaves. This works especially well in bedrooms or smaller spaces where you want a clear Halloween touch without a lot of extra pieces.
Turn A Large Pumpkin Into A Floral Centerpiece
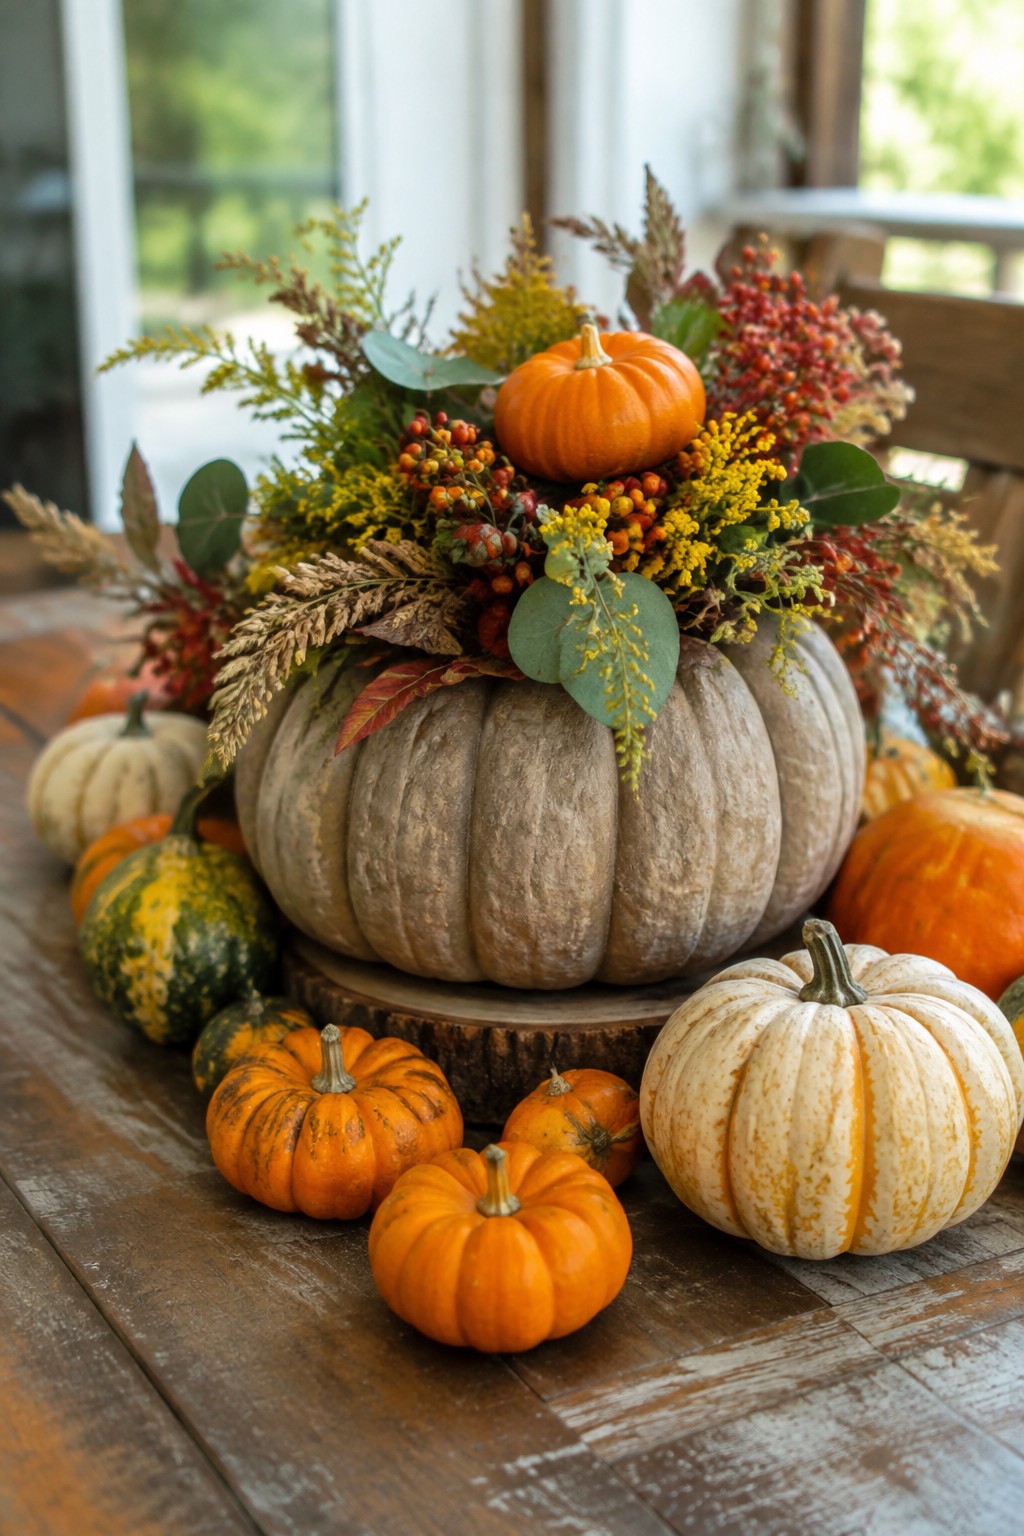
A big neutral pumpkin makes an easy no-carve vase for a mix of fall flowers and greenery. Hollow out the top, drop in a container or floral foam, and arrange whatever stems you have on hand. The surrounding smaller pumpkins help the whole setup feel finished without extra effort.
This works best on a dining table or kitchen island where guests can see it up close. Stick to one large pumpkin for the flowers and keep the rest simple so the centerpiece stays the focus.
Group Pumpkins Along The Mantel
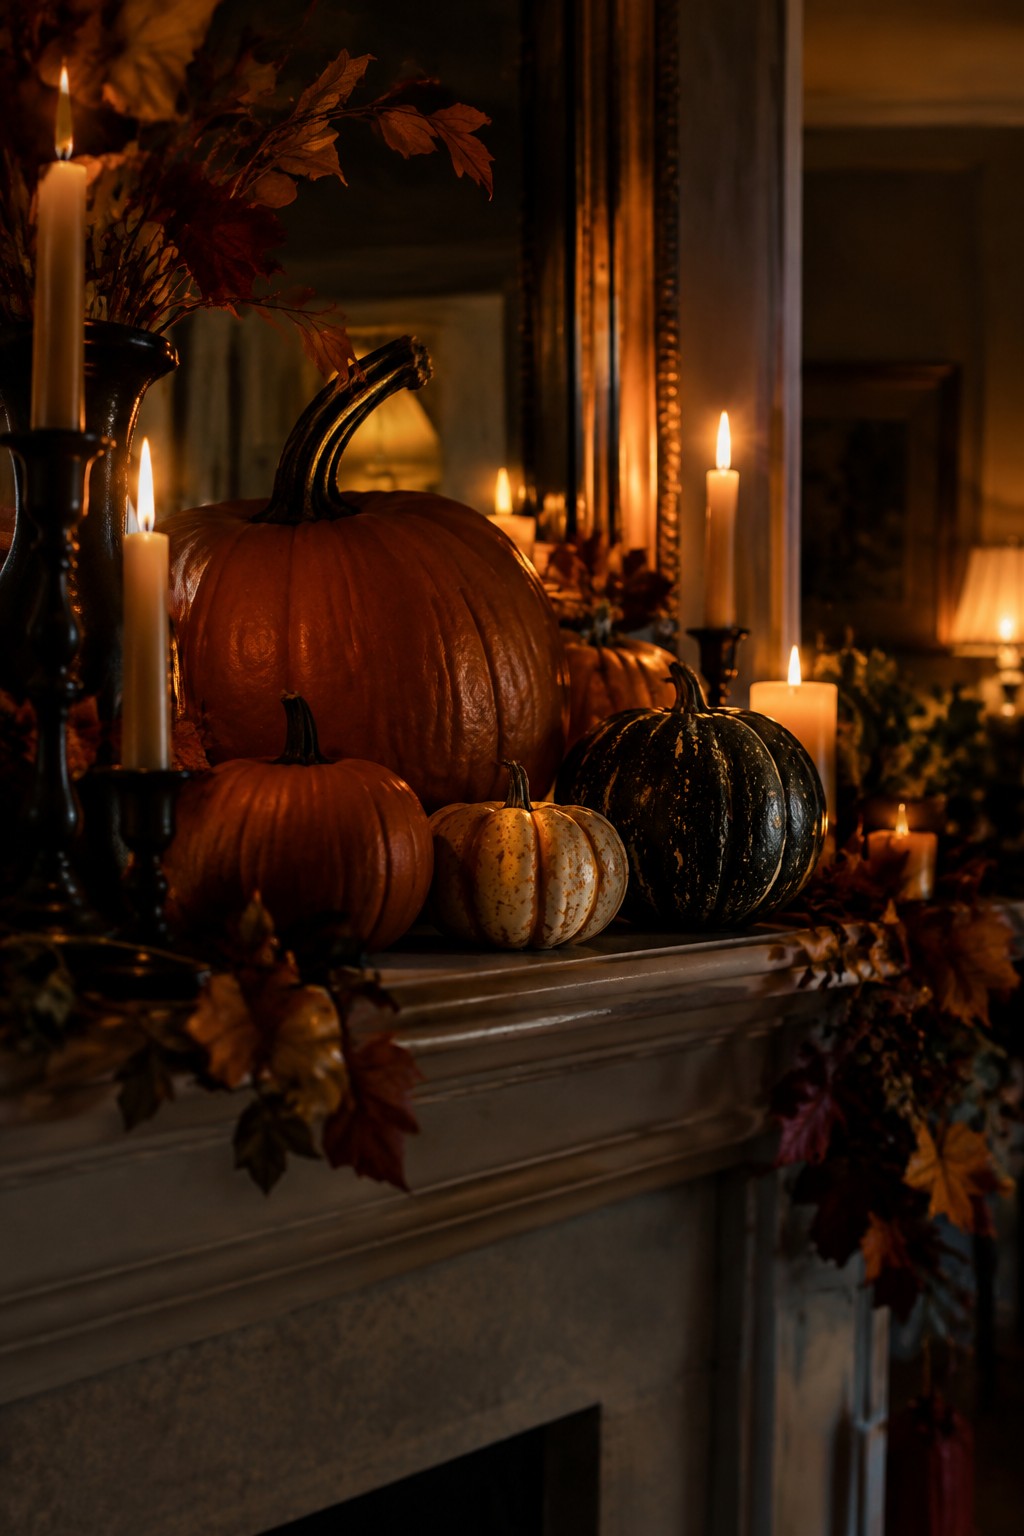
A simple way to decorate for Halloween is to line up pumpkins of different sizes and colors across the mantel. The mix of a large orange pumpkin, a smaller deep green one, and a few pale or speckled varieties creates interest without any carving. Adding a few candles between them keeps the look balanced and lets the pumpkins stay the main focus.
This works well in living rooms or family spaces where you want something quick to set up and easy to change later. Choose pumpkins in a range of heights so the display feels full but not crowded, and place taller ones toward the center. Battery candles help keep everything safe if the mantel gets any traffic.
Group Ceramic Pumpkins On A Side Table
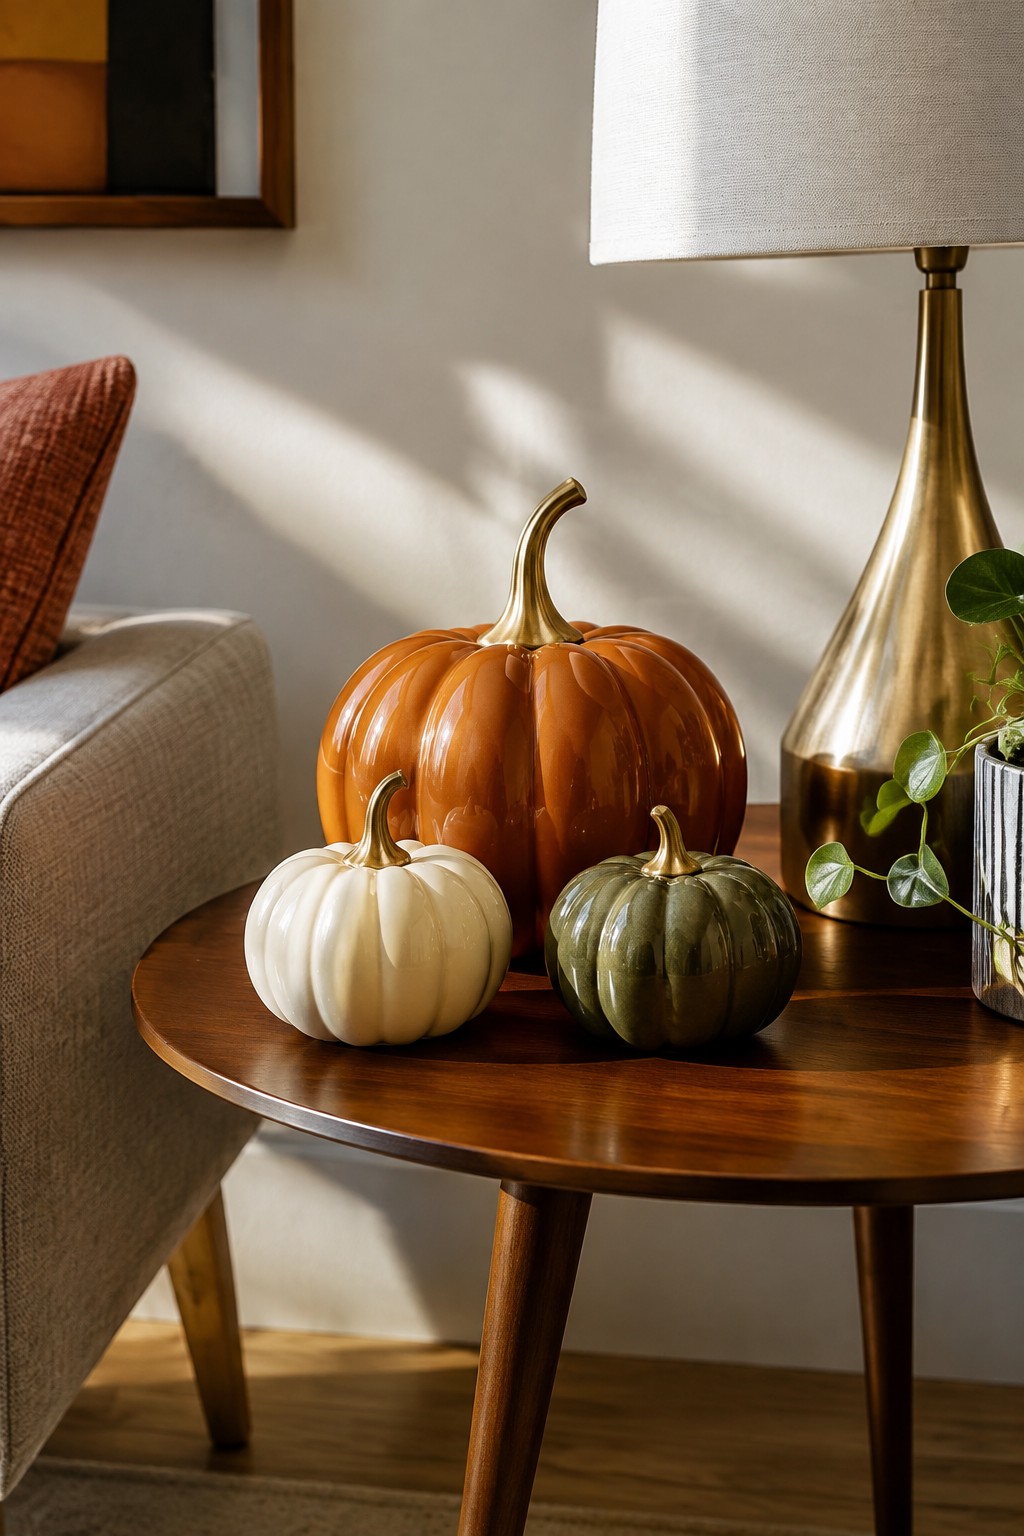
A small cluster of ceramic pumpkins makes an easy no-carve display that still reads as Halloween. The mix of sizes and finishes keeps the arrangement interesting without needing extra props or bright colors.
Place three pumpkins of different heights on any low table. Choose glossy or matte glazes in soft tones and add a simple metallic stem detail if you want a bit more polish. The setup works in living rooms, entryways, or even a bedroom nightstand.
Group Mixed Pumpkins In A Large Wooden Bowl
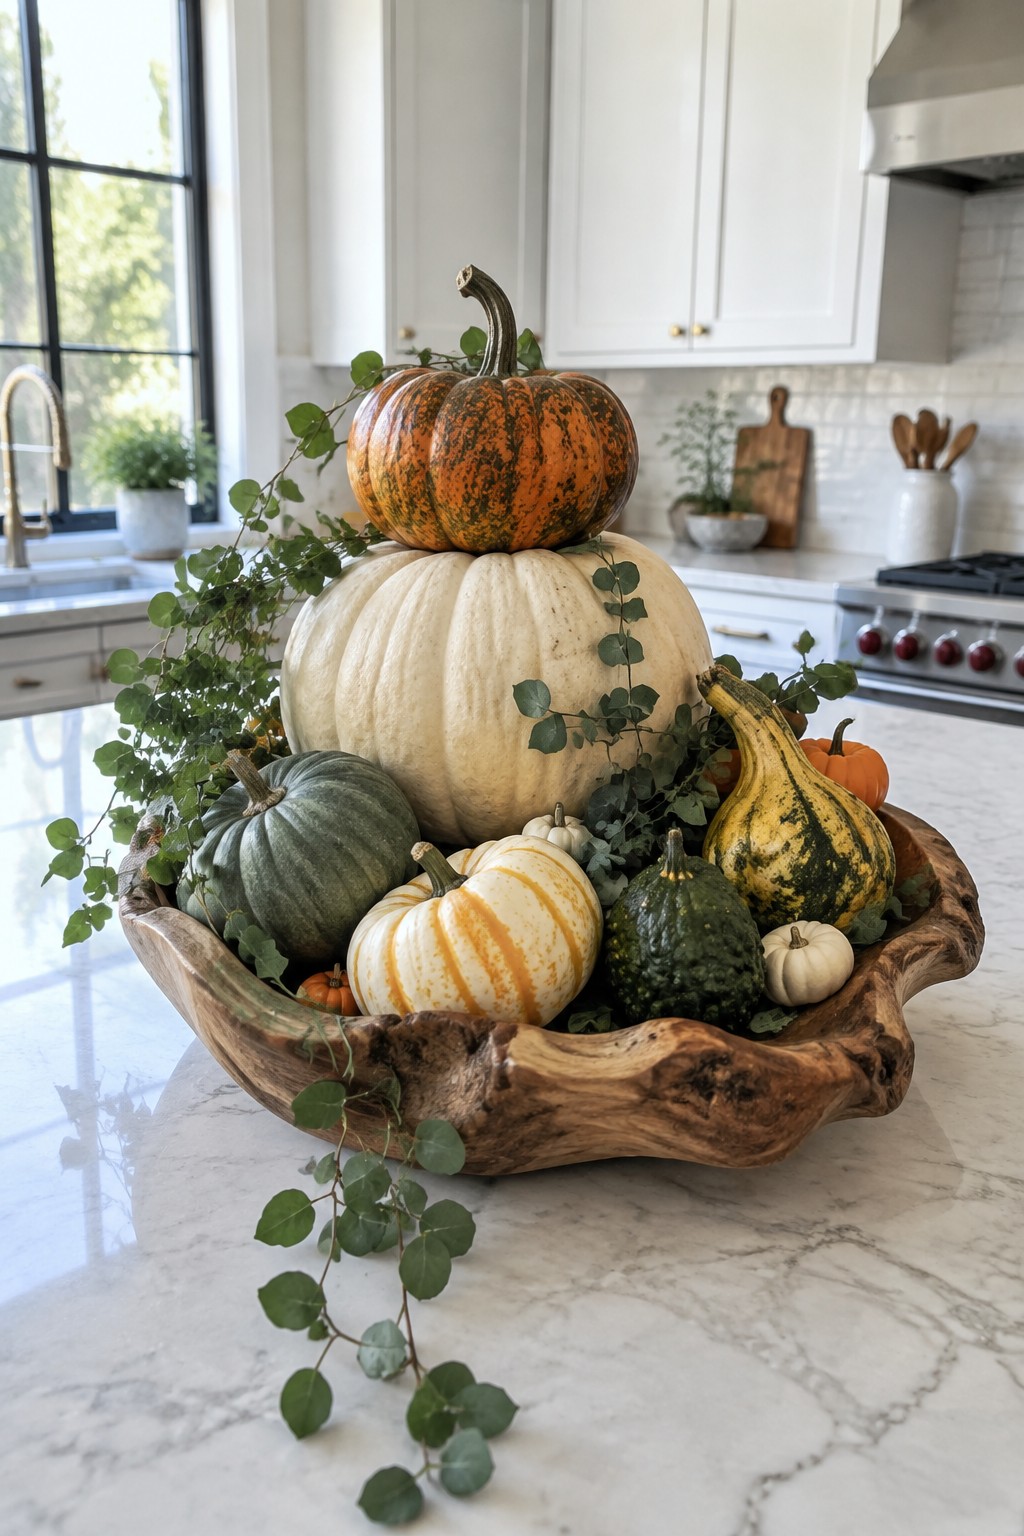
A big rustic bowl filled with pumpkins of different sizes, colors, and shapes makes an easy no-carve display for a kitchen counter. The mix of white, green, orange, and striped varieties creates interest without needing any carving or extra props.
Place the bowl on an island or countertop where it can be seen from the main work area. Use whatever pumpkins you already have or pick up a few different types at the store. Add a few sprigs of greenery if you want, but keep the focus on the pumpkins themselves.
Group Pumpkins Along The Mantel
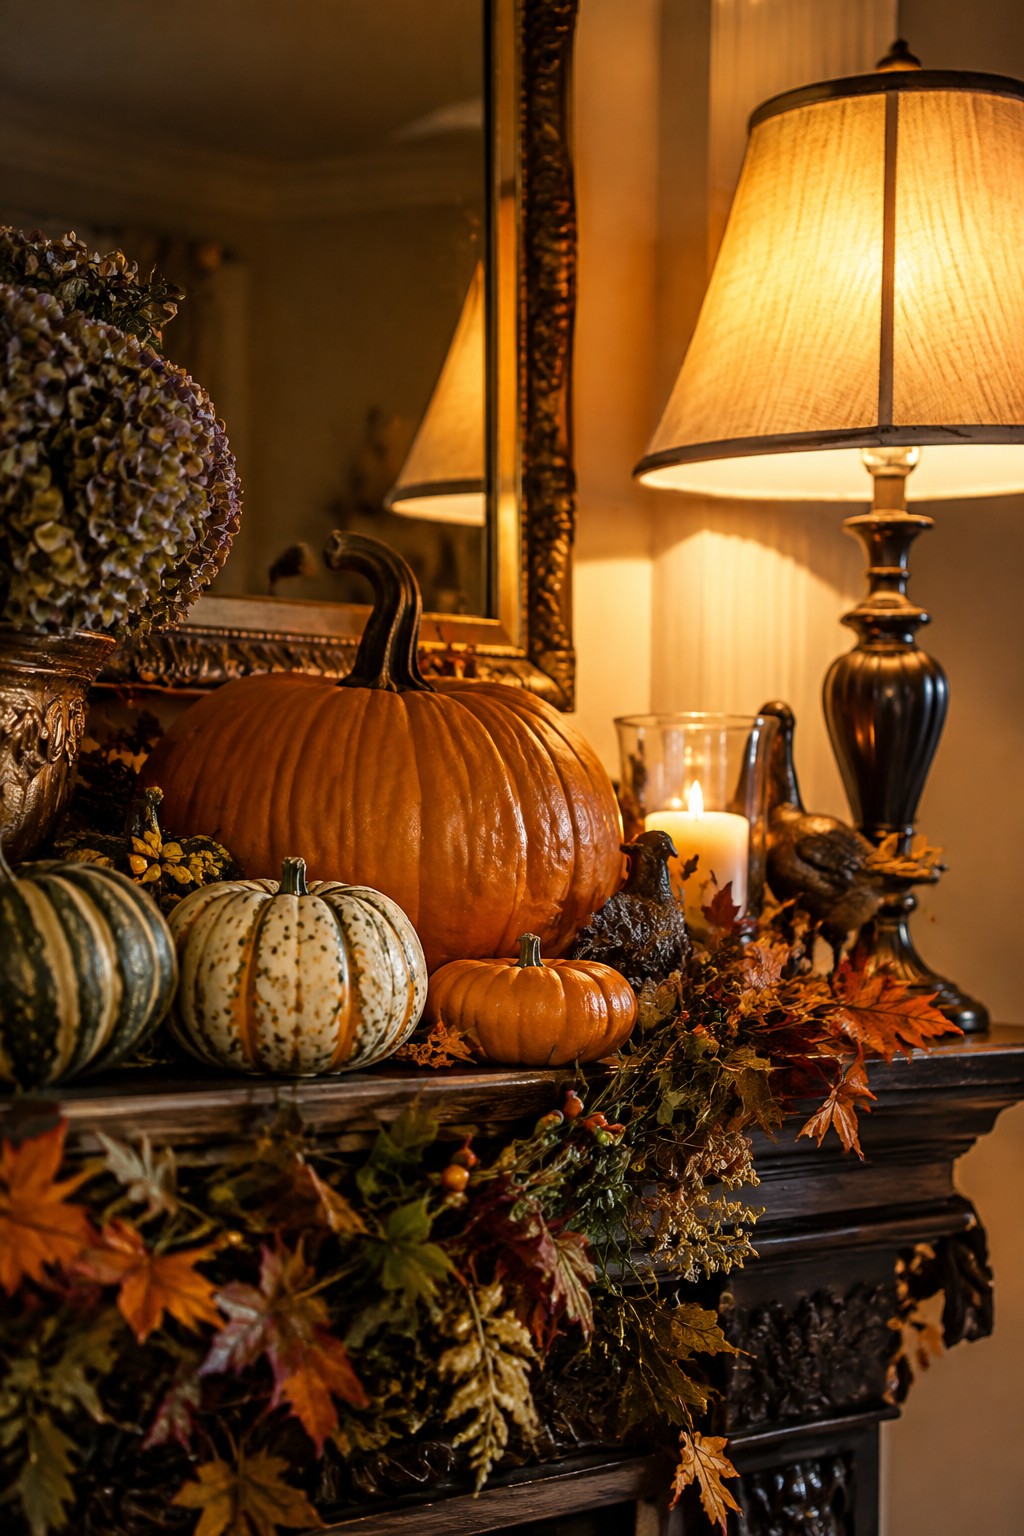
One simple no-carve idea is to line up several pumpkins of different sizes and colors across a mantel. The mix of a large smooth orange pumpkin with smaller striped and speckled ones creates enough variety to feel intentional without any extra carving or painting.
This works best when you keep the rest of the mantel fairly quiet. Add a short garland of leaves underneath and maybe one or two small accents like a candle, then stop there. The pumpkins do the main work and the whole setup stays easy to change after the season.
Create A Pumpkin Basket Display
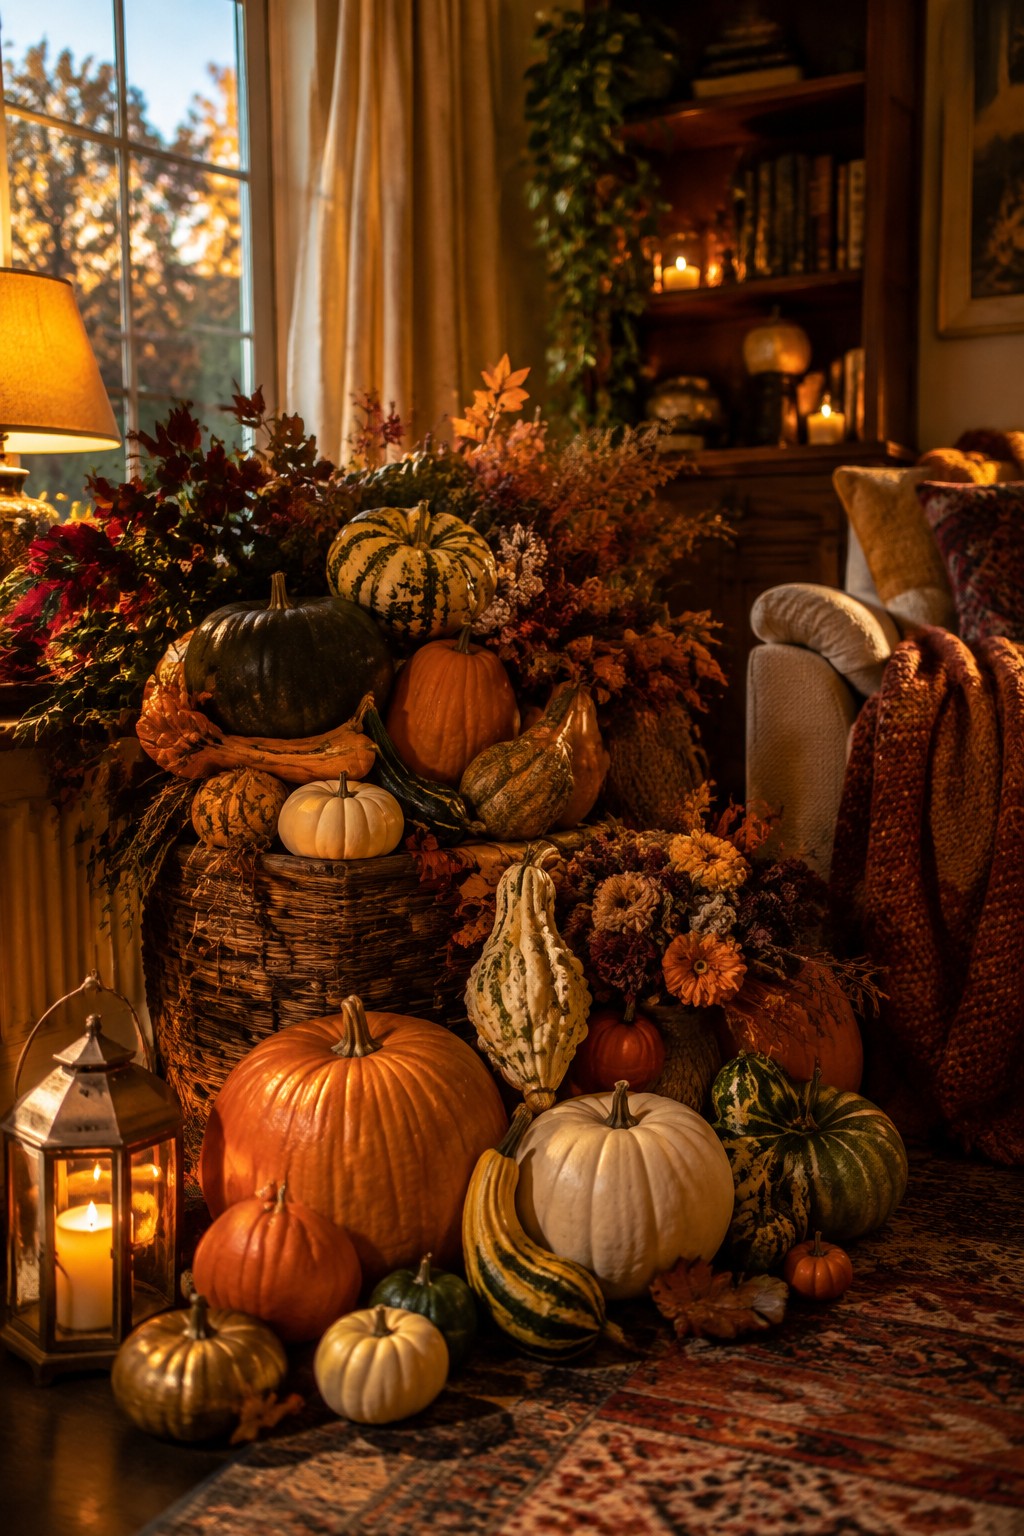
A big basket filled with pumpkins of different sizes, shapes, and colors makes an easy focal point for a living room corner. The mix of orange, white, green striped, and bumpy gourds gives the display variety without any carving, and the basket keeps everything contained while still looking full.
Place the basket near a window or beside a chair so the pumpkins stay visible from the room. Add just a few small ones on the floor around the base if you want more coverage. This works well when you want a simple, seasonal look that still reads as Halloween.
Frequently Asked Questions
Q: How do I stop the paint from peeling off after a few days outside?
A: Wipe the pumpkin clean and let it dry fully before you start. Add a light layer of clear sealant once the paint sets. That step locks everything in place without extra fuss.
Q: Can my kids join in without turning the kitchen into a disaster zone?
A: Give them stickers or pre-cut paper pieces instead of loose glitter or beads. They press those down with a glue stick while you handle anything sharp. The projects stay fun and the mess stays small.
Q: Do these ideas work on those cheap foam pumpkins from the store?
A: They do. The surfaces take paint and glue just fine.
