

I enjoy starting my Halloween decorating with carved pumpkins because they add personality without requiring much space.
Whimsical carving patterns help the display feel inviting instead of dramatic.
Over time I have learned that keeping the rest of the area simple lets the pumpkins stand out more clearly.
A few well placed carvings can change the mood of an entryway or mantel in minutes.
Trying new ideas each year keeps the tradition fresh for me.
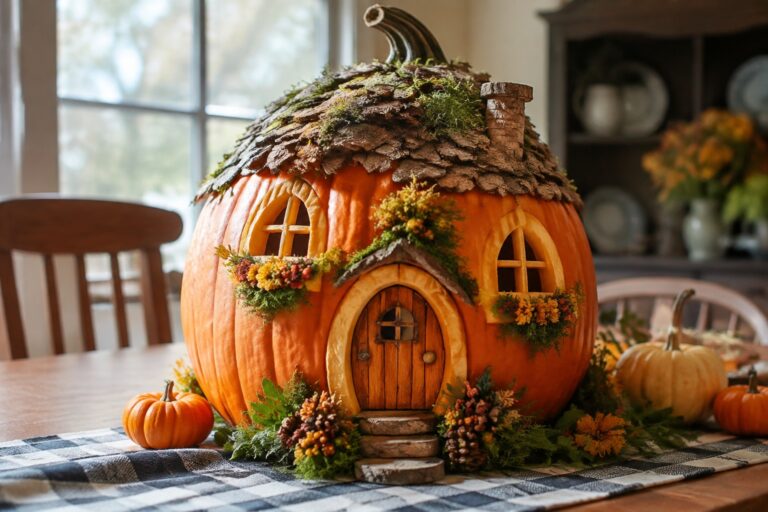
Carve A Pumpkin Into A Tiny House
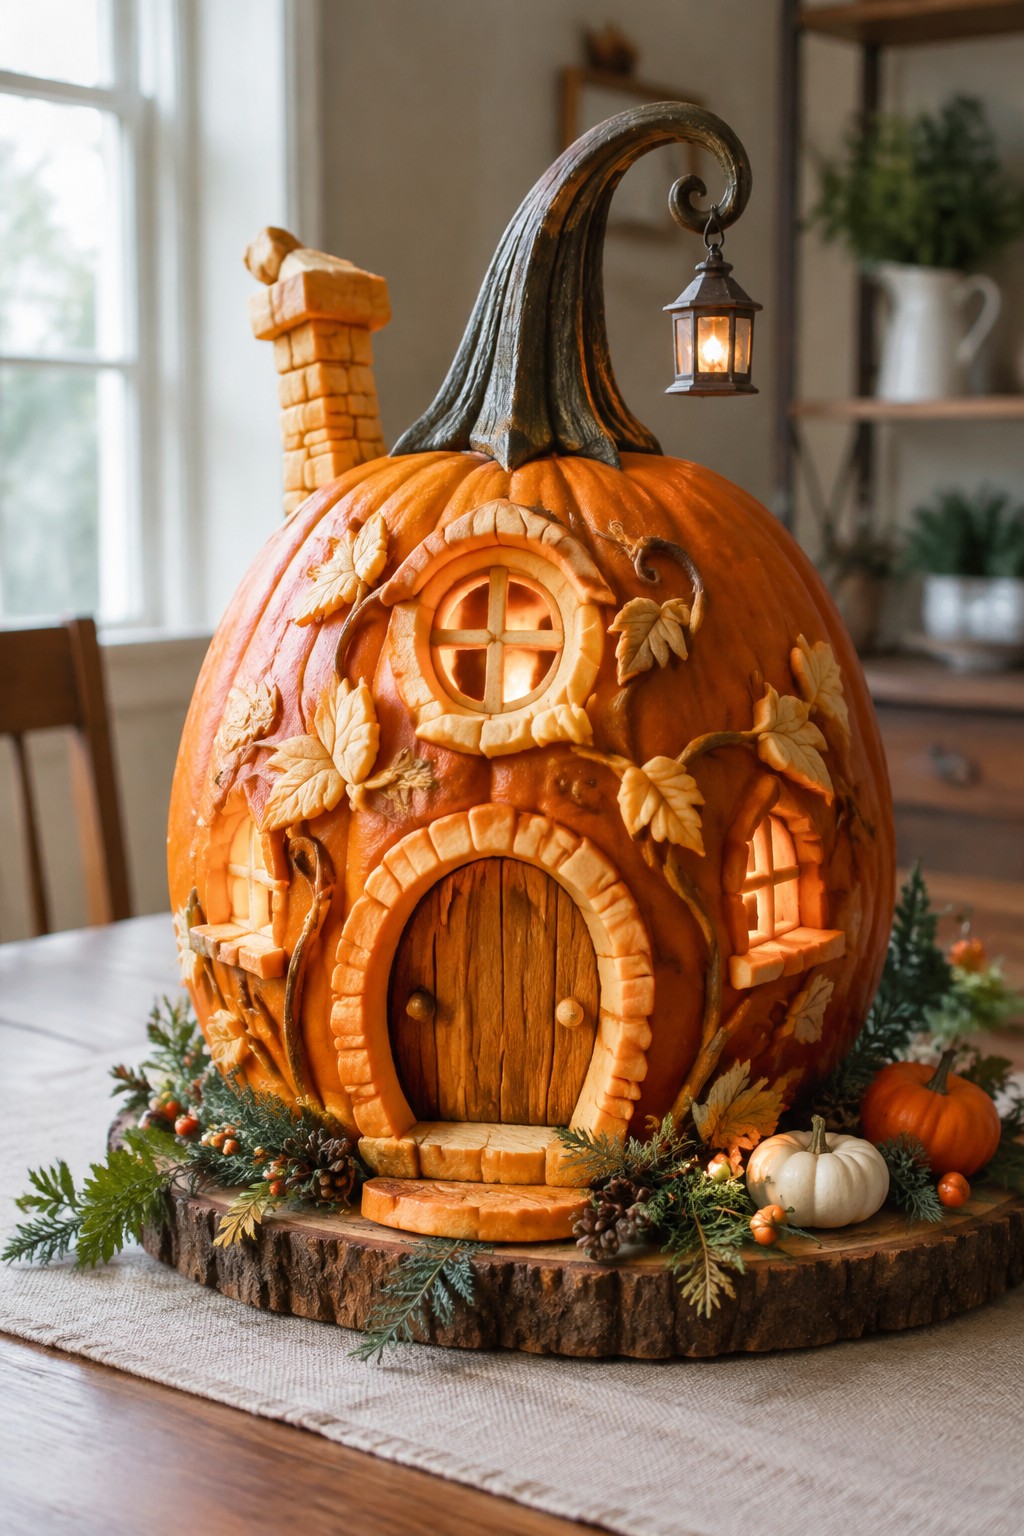
Carving one pumpkin into a full little house gives you a strong whimsical focal point without needing a whole group of pumpkins. The round window with cross panes, arched door, and chimney turn the gourd into something that feels like a storybook scene rather than a standard jack o lantern.
Set the finished pumpkin on a wooden slice or tray in the middle of a table. Keep the surrounding decorations light so the carved house stays the main attraction. A few small gourds and greenery around the base are enough to finish the look.
Carve A Cute Cat Face On Your Pumpkin
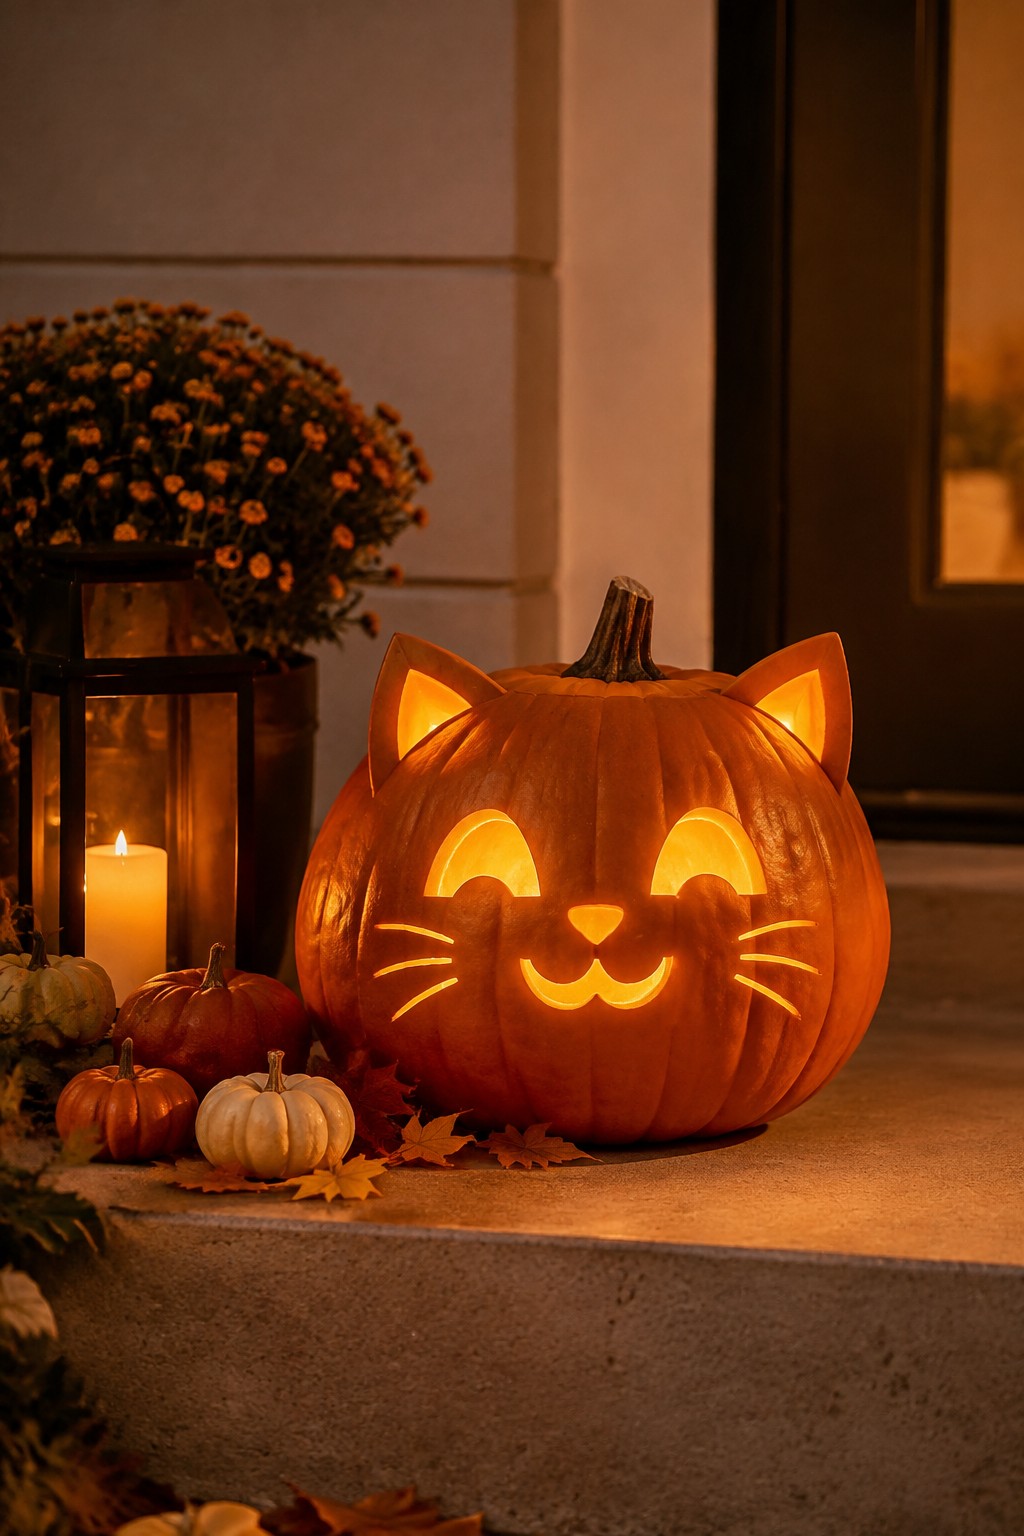
A carved pumpkin with a smiling cat face makes a friendly focal point for a porch or entry. The simple curved eyes and whiskers give it a playful look that fits the whimsical theme without any scary details.
Place the carved pumpkin on your front steps with a few smaller pumpkins around the base. Add a lantern nearby if you want extra glow once the sun goes down. This setup stays easy to put together and takes down just as quickly.
Carve A Pumpkin Into A Little House
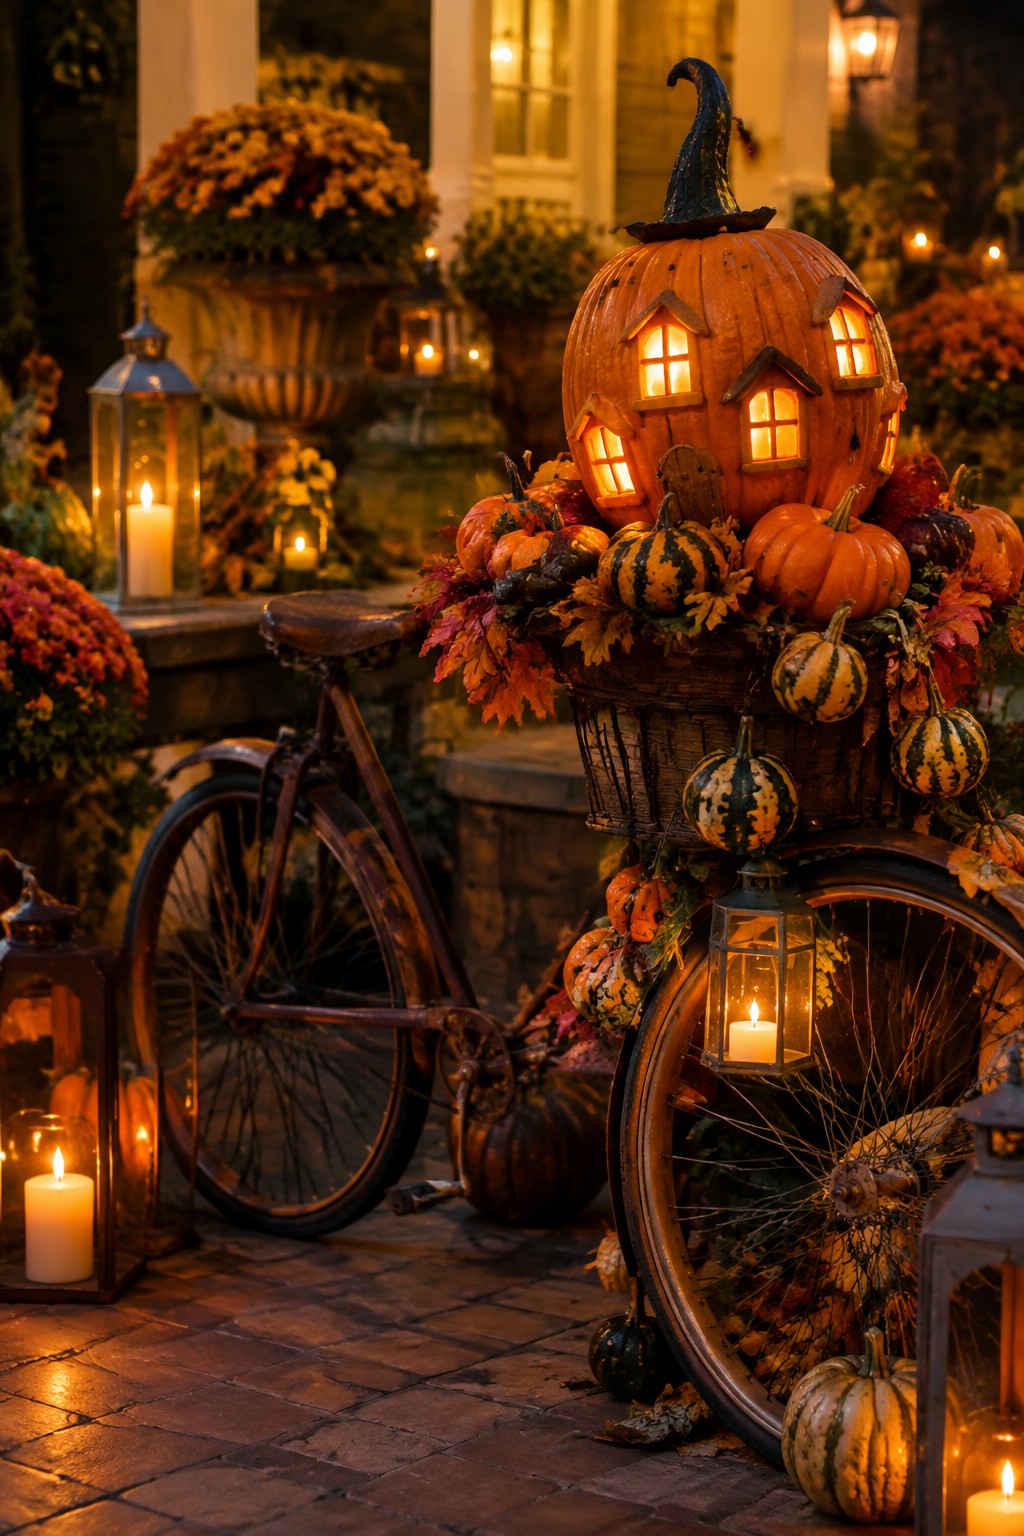
A large pumpkin carved with multiple glowing windows and topped with a witch hat makes a charming focal point when set in a bicycle basket. The house shape turns an ordinary jack o lantern into something playful and storybook like, especially when the warm light shines through the cutouts at night.
Place the carved pumpkin on a vintage bike or similar stand near your front steps, then add a few smaller gourds and lanterns around the base. Keep the rest of the display simple so the carved house stays the main attraction.
Group Whimsically Carved Pumpkins On The Porch
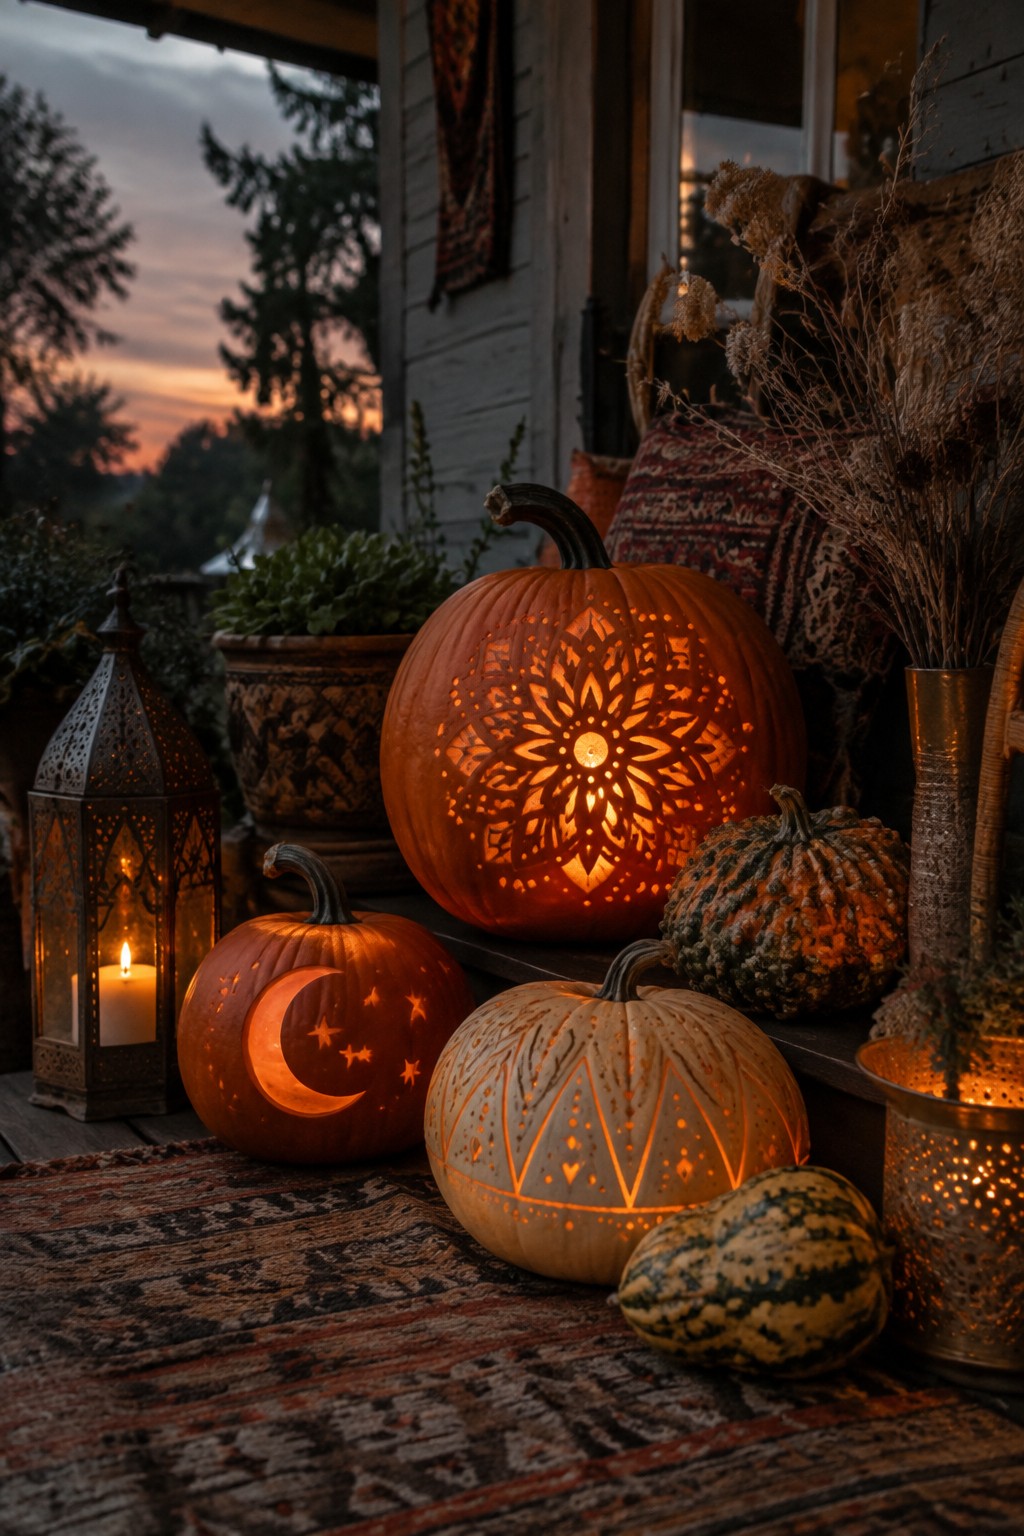
Carving pumpkins with simple but charming patterns gives a porch display real personality. Moon and star cutouts, along with soft geometric shapes, keep the look light and friendly instead of scary. Placing several lit pumpkins together on the steps makes the whole grouping easy to notice at dusk.
Start with three or four pumpkins in different sizes. Sketch a few basic motifs on paper first so the carvings stay balanced, then use a small saw or drill for the details. Set them on a doormat or low step and add a couple of lanterns nearby for extra glow without crowding the space.
Carve A Pumpkin Into A Tiny Cottage
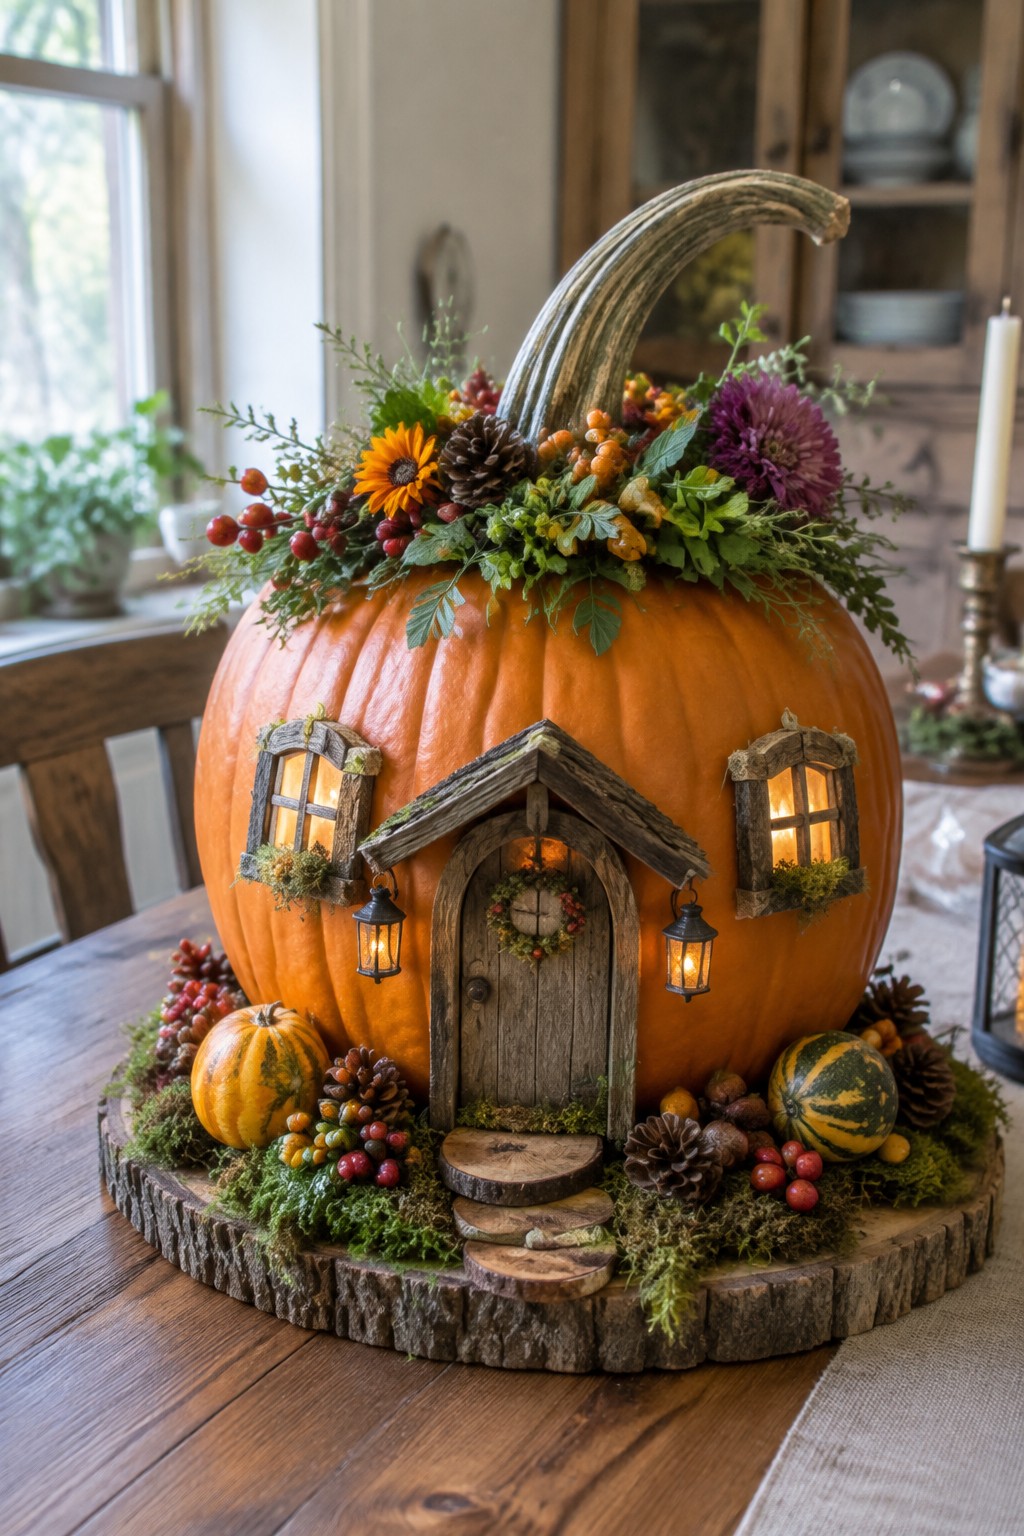
This idea turns one large pumpkin into a glowing little house by cutting out small windows and a door. The carved openings let light through, and simple wooden trim plus tiny lanterns make the house feel complete and friendly.
Set the pumpkin on a wood slice base, add moss around the bottom, and tuck in a few smaller gourds nearby. It works well as a tabletop centerpiece and needs only the one main pumpkin to look finished.
Carve A Smiling Face On Your Pumpkin
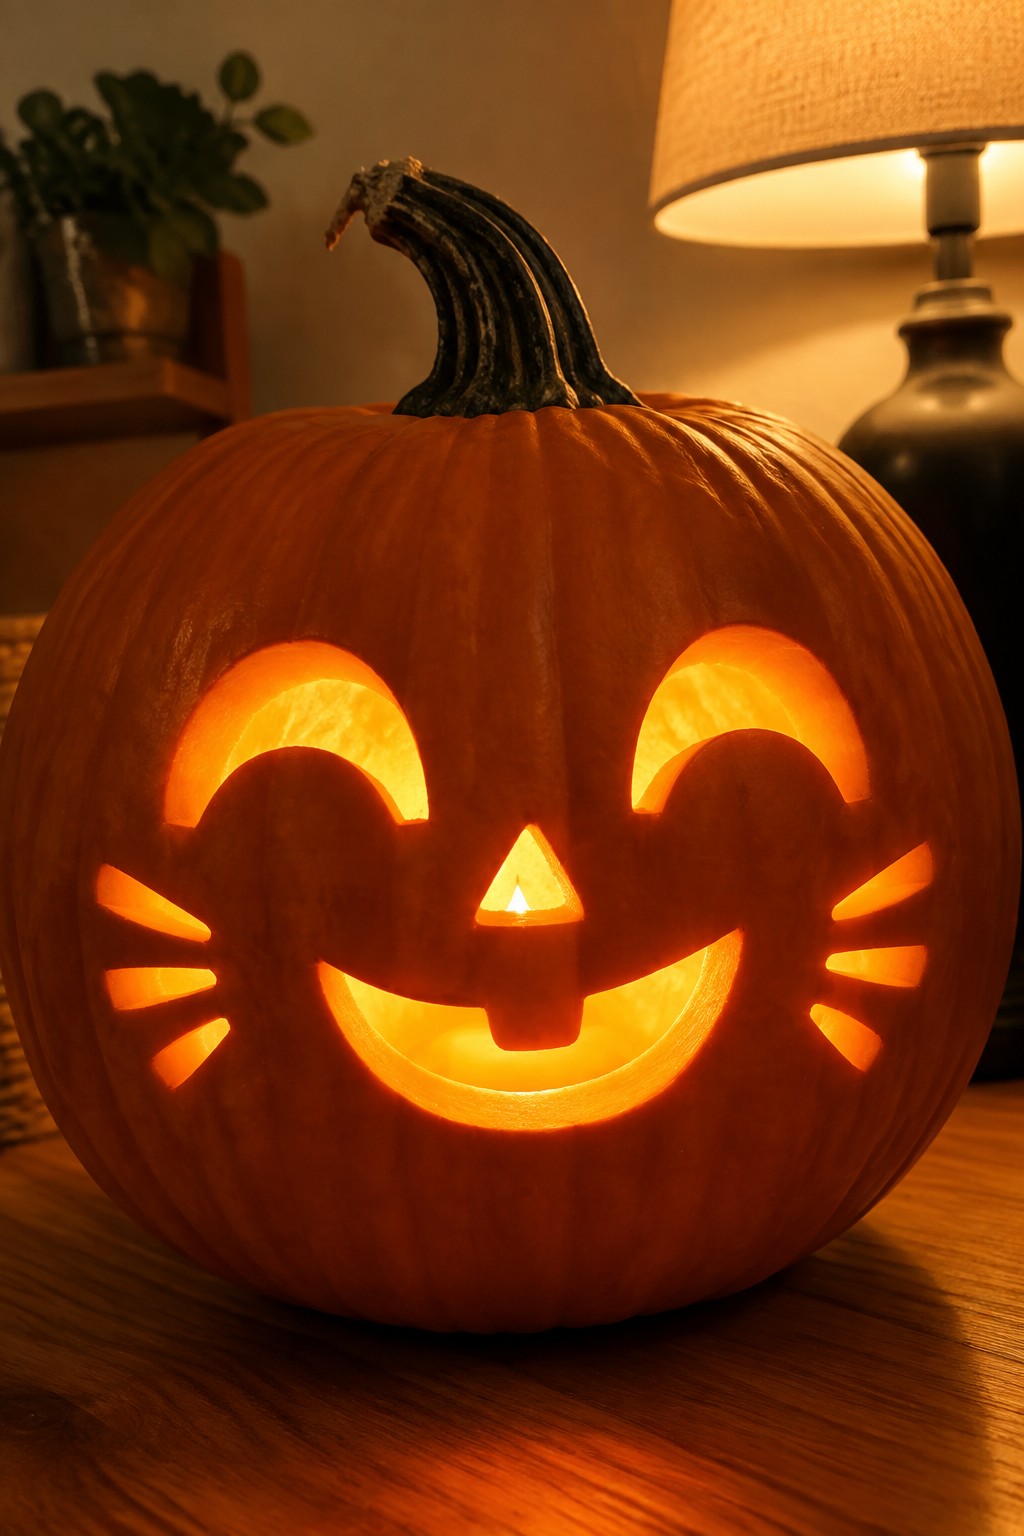
A single pumpkin with a wide grin and whiskered cheeks makes a friendly Halloween accent that feels light and fun. The carved details catch the light nicely once the candle is lit inside, turning the face into the main point of interest without needing extra pieces around it.
Set the pumpkin on a table or low surface where people can see the expression clearly. One carved pumpkin is often enough, especially if the rest of the space stays simple so the face stays the focus.
Carve A Whimsical Wolf Scene Into Your Pumpkin
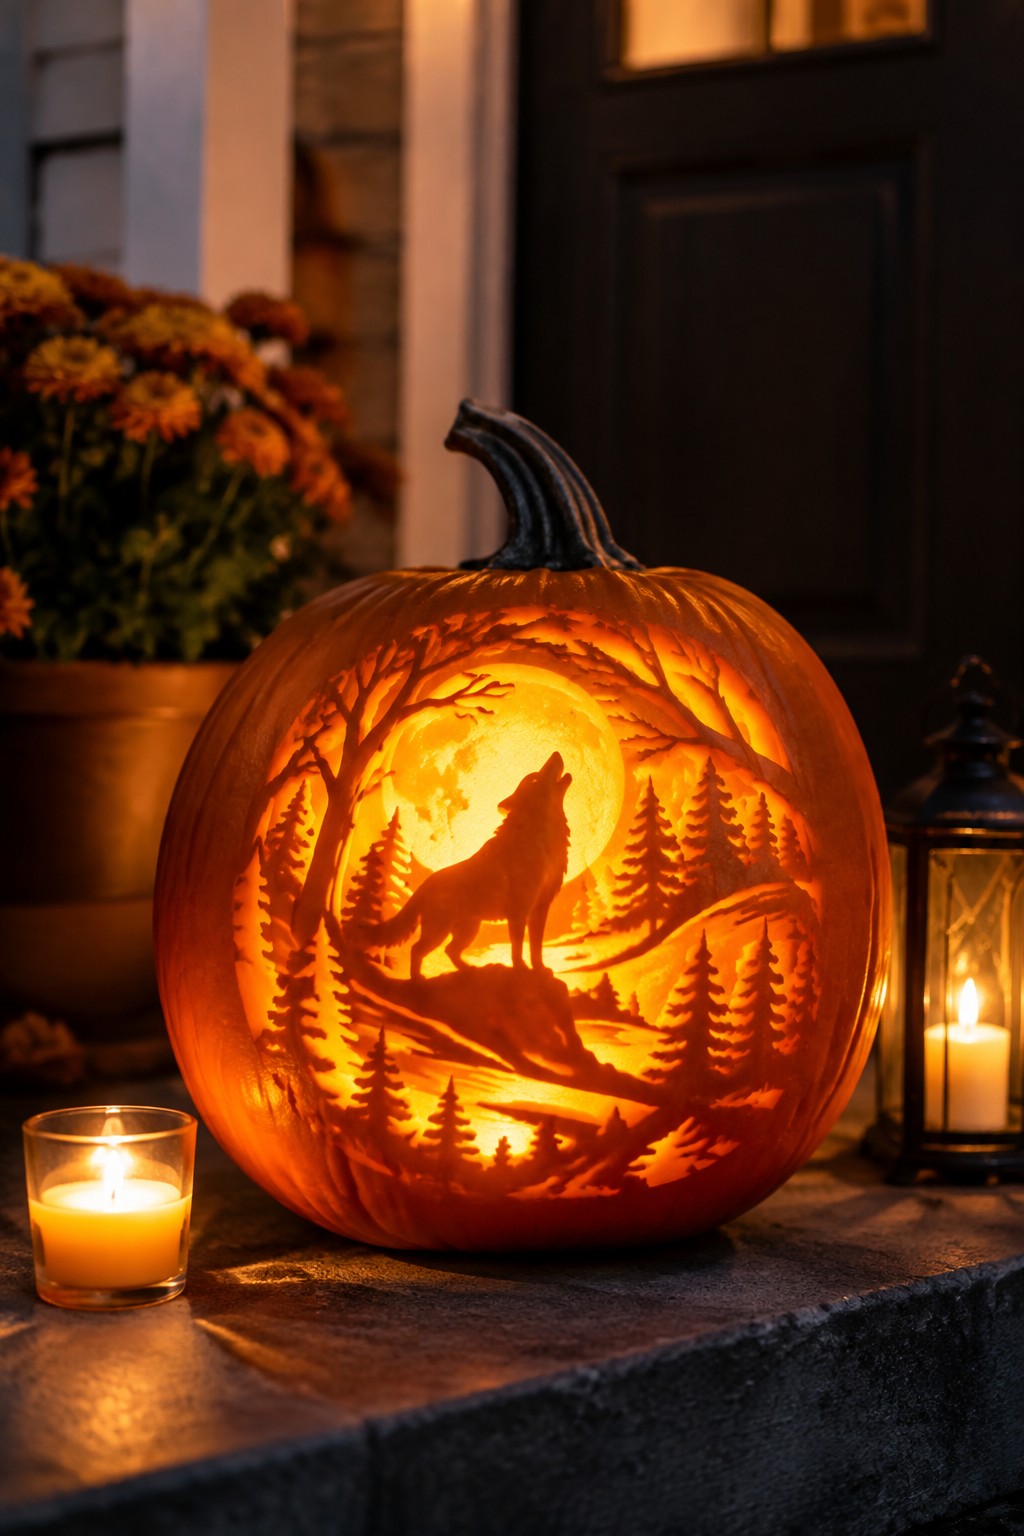
A carved pumpkin showing a wolf howling at a full moon surrounded by trees makes a charming focal point. The glowing details stand out nicely at night and give the display a storybook feel without being too scary.
Place the finished pumpkin on your front steps with a couple of small candles nearby. Keep the rest of the area simple so the carving stays the main attraction. This style works well if you like outdoor displays that feel friendly and a little magical.
Carve A Window Into A Large Pumpkin
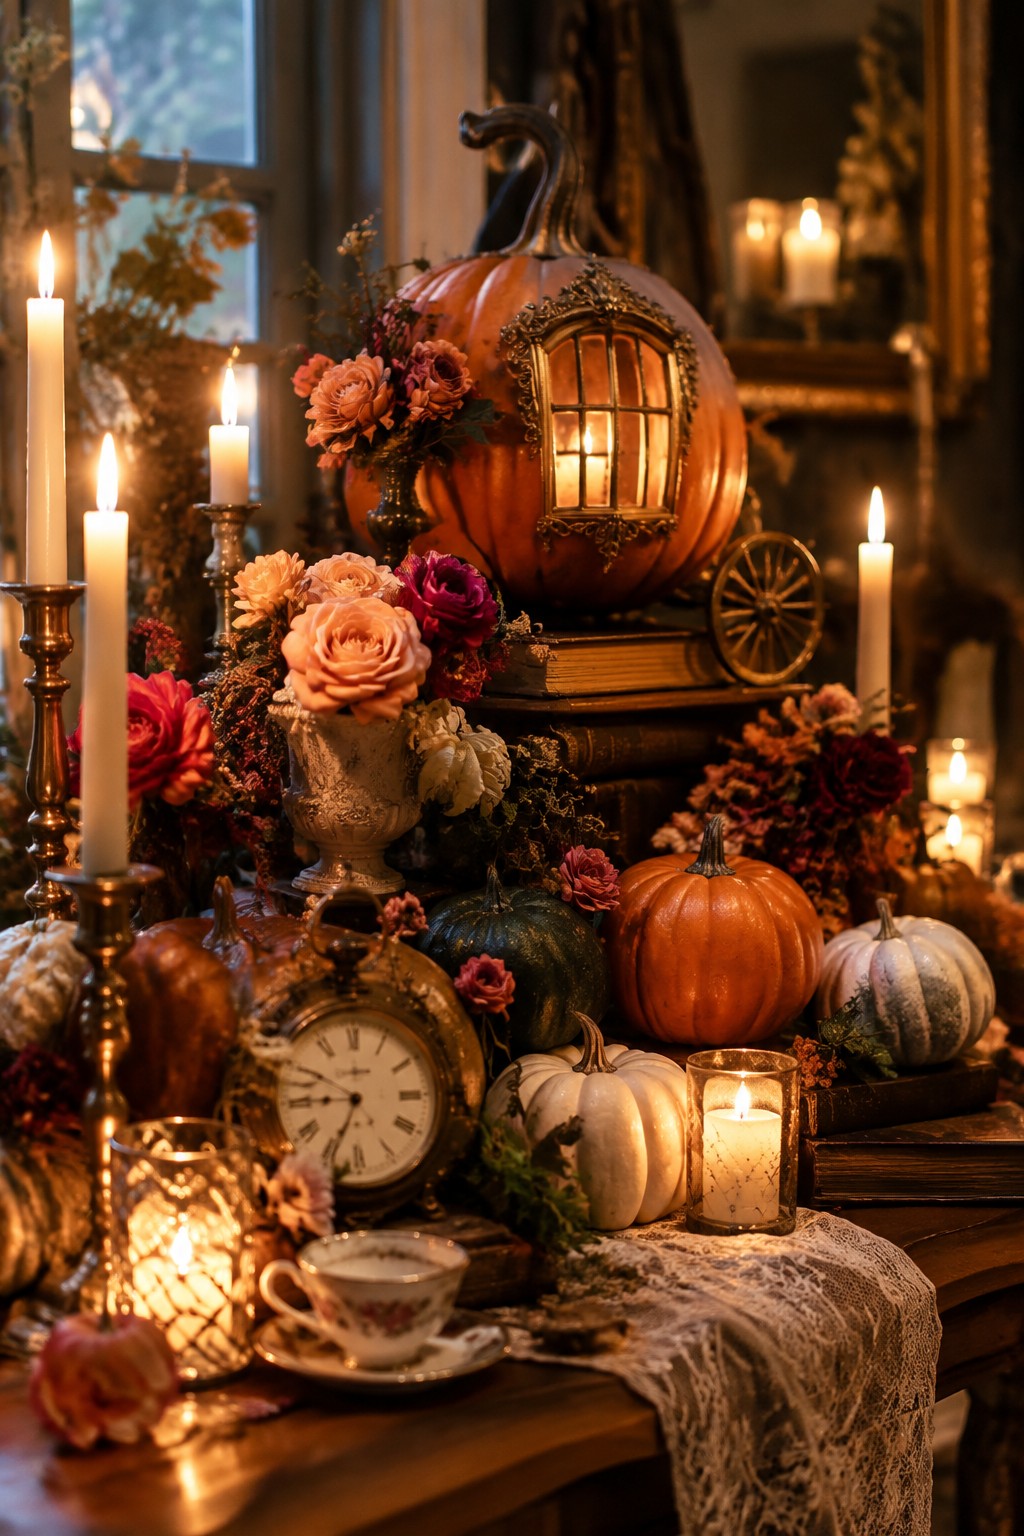
Carving a small glowing window into a pumpkin turns it into a storybook carriage. The lit opening gives the pumpkin a warm, friendly feel that fits right into a whimsical Halloween setup. It stands out without needing extra props or complicated shapes.
Place the carved pumpkin on a stack of old books and add a few smaller pumpkins around the base. Keep the rest of the table simple with candles and flowers so the window stays the main focus. This idea works best on a dining table or entry console where the light can show through.
Group Pumpkins By Size For A Whimsical Porch Display
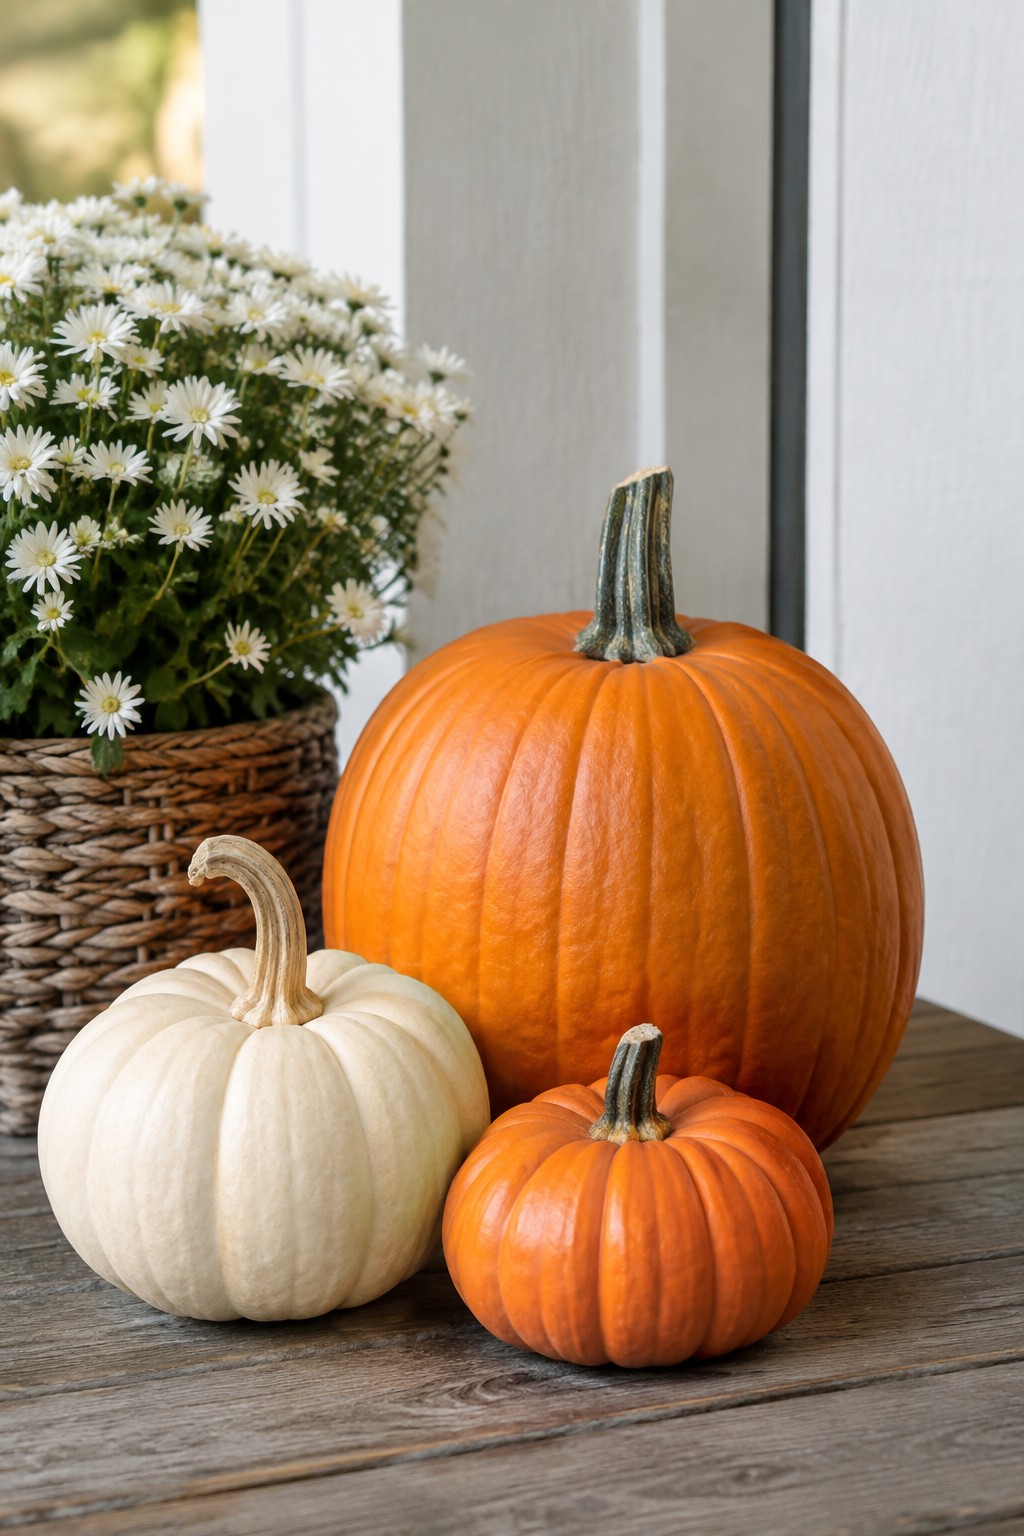
Mixing pumpkins in different sizes and colors gives a porch a friendly, lighthearted Halloween feel. The large orange one paired with the smaller orange and white versions creates an easy focal point that reads as playful without extra decorations.
Set the group on a wooden surface or step near the door so the shapes stand out against the background. Use just three or four pumpkins total and let the natural stems add character.
Carve A Pumpkin Into A Tiny Cozy House
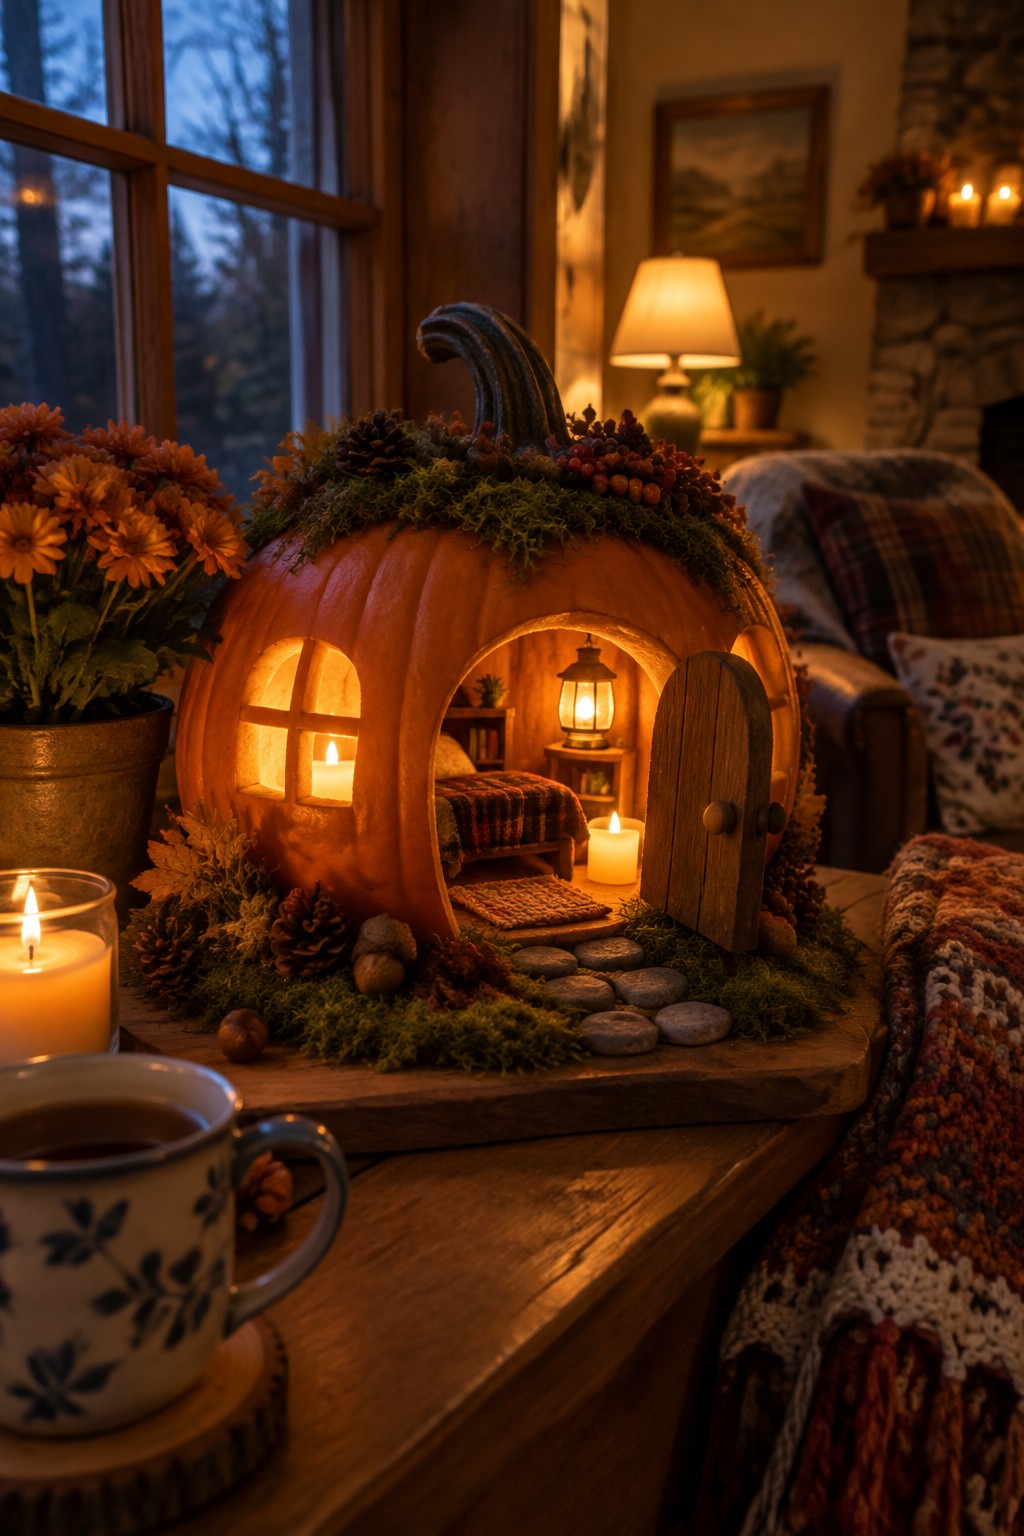
A carved pumpkin shaped like a miniature house makes a charming Halloween display that feels playful instead of spooky. Cut a rounded door, add small paned windows, and hollow out the inside enough to fit a battery candle or lantern so the light glows through the openings at night.
This idea works well on a tabletop or windowsill where the details stay visible. Keep the top simple with a bit of moss or pinecones so the carved house remains the clear focus without extra clutter around it.
Style A Pumpkin With Flowers And Beads
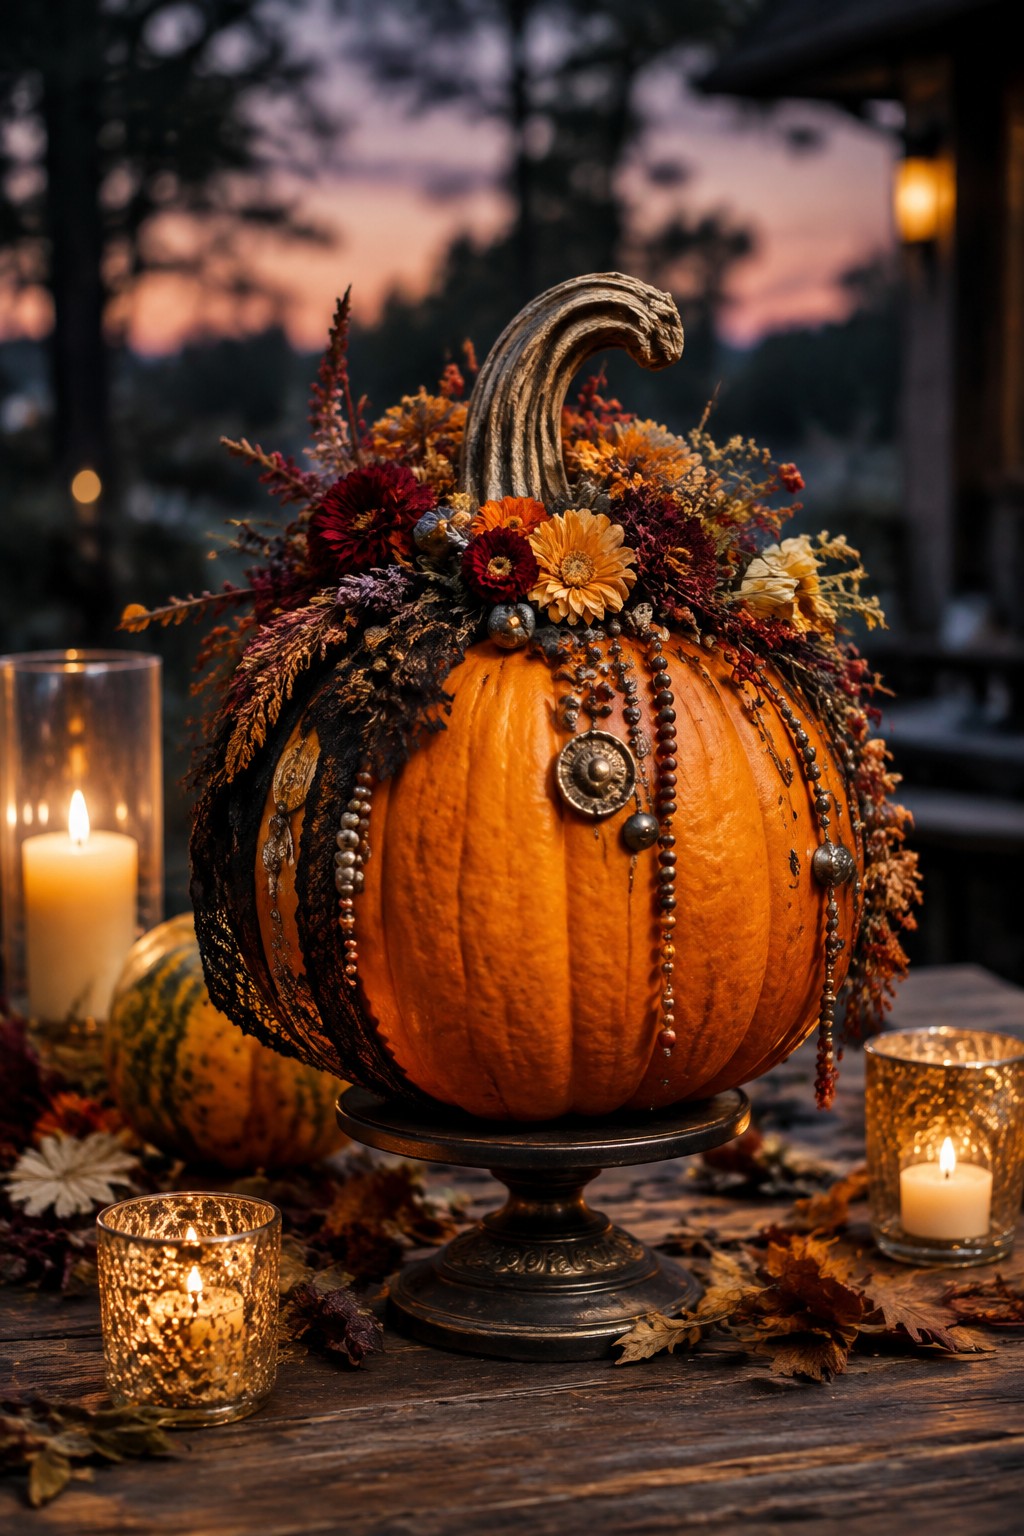
A single large pumpkin can become the star of a table when you cover the top with dried flowers and let strands of beads and lace drape down the sides. The mix of warm blooms and dark accents keeps the look playful rather than scary, which fits right into a whimsical Halloween setting. It draws the eye without needing any carving at all.
Place the pumpkin on a low stand or cake plate so the details show clearly, then add a few small candles nearby. Use whatever flowers and beads you already have on hand and keep the rest of the table simple so the decorated pumpkin stays the focus. This works well for an indoor dinner table or a covered porch surface.
Stack Pumpkins For A Whimsical Centerpiece
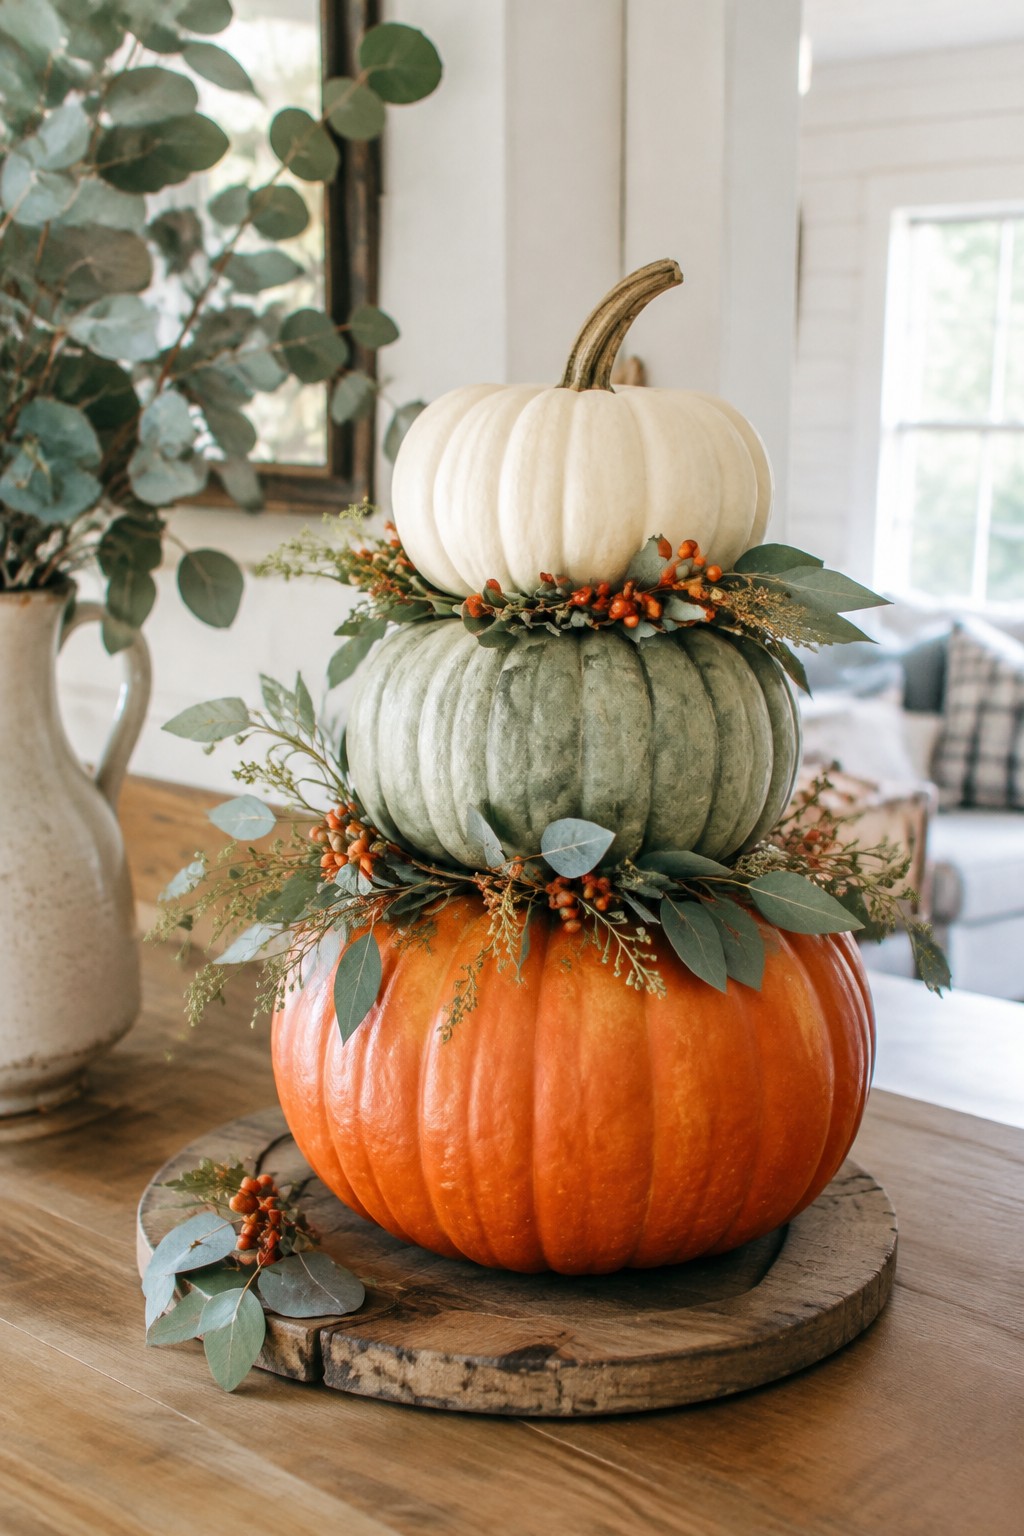
Stacking pumpkins of different sizes and colors gives you a simple way to create height without much effort. The mix of an orange base, a muted green middle, and a white top keeps the look light and friendly while still reading as Halloween.
Place the stack on a wooden tray or board so it stays steady, then tuck in a few sprigs of greenery and small berries around the middle. This works best on a dining table or kitchen island where guests can see it from all sides.
Carve A Pumpkin Into A Whimsical Carriage
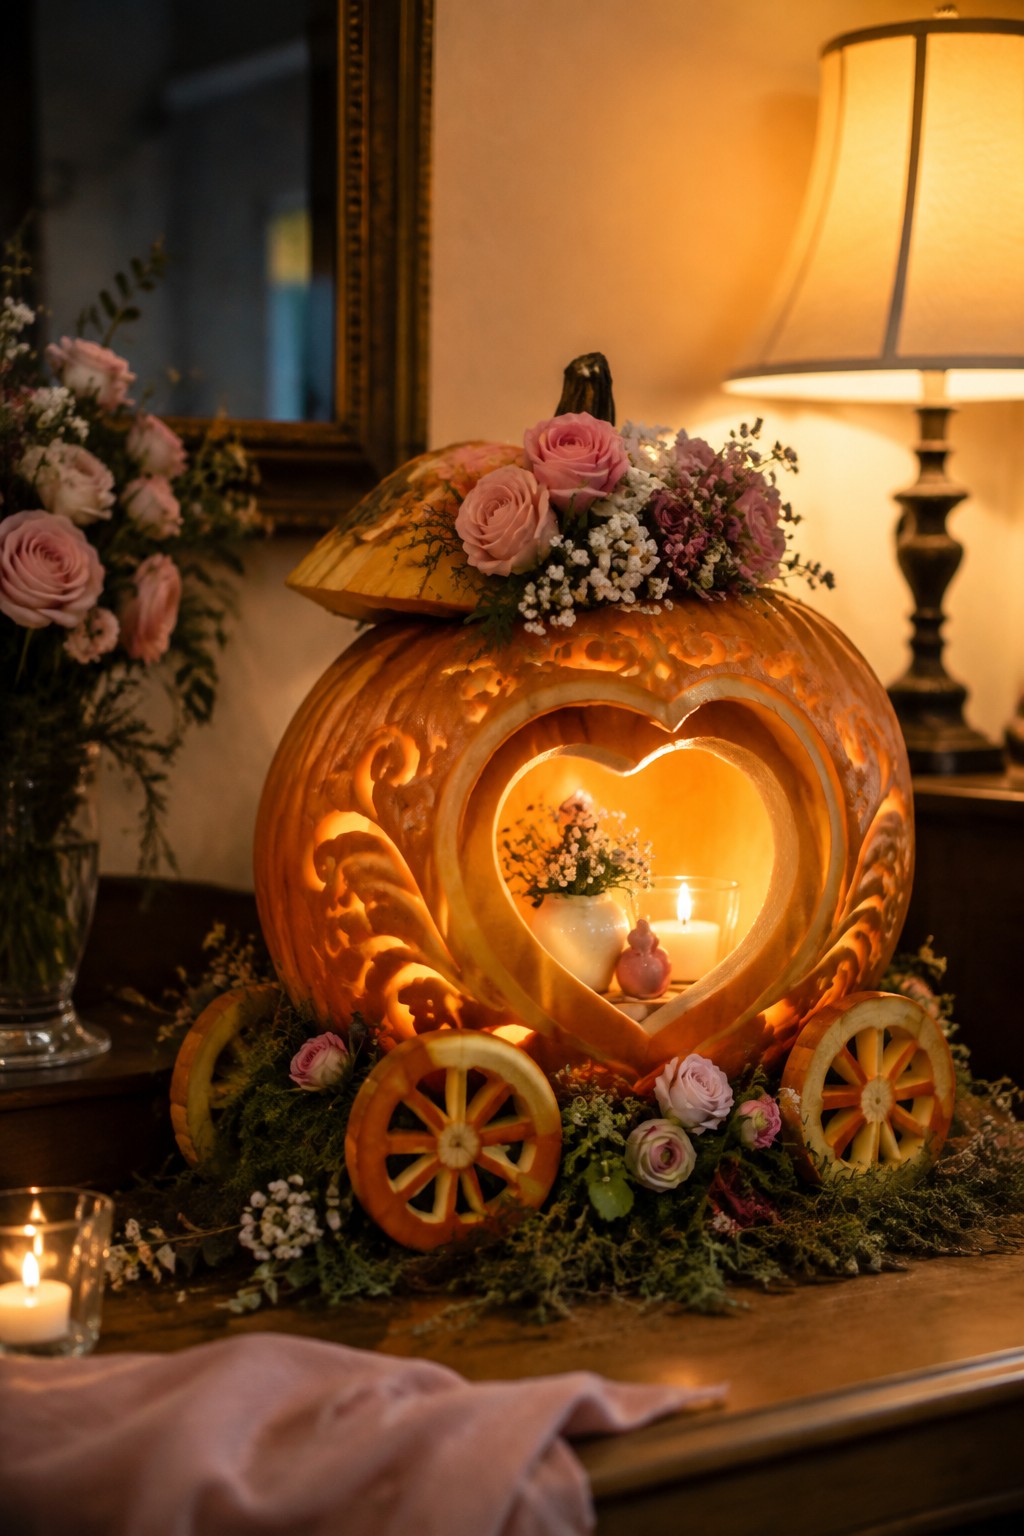
A carved pumpkin shaped like a carriage gives a classic fairy tale feel without needing much else. The heart shaped opening lets the light glow through nicely and makes the whole piece feel light and playful instead of heavy or spooky.
Place the finished carriage on a table with a bit of moss underneath and a couple of small pumpkin slice wheels on the sides. Add a few flowers on top if you want extra color. This works best as a single focal point rather than mixing it with lots of other carved pumpkins.
Carve A Smiling Pumpkin With Rosy Cheeks
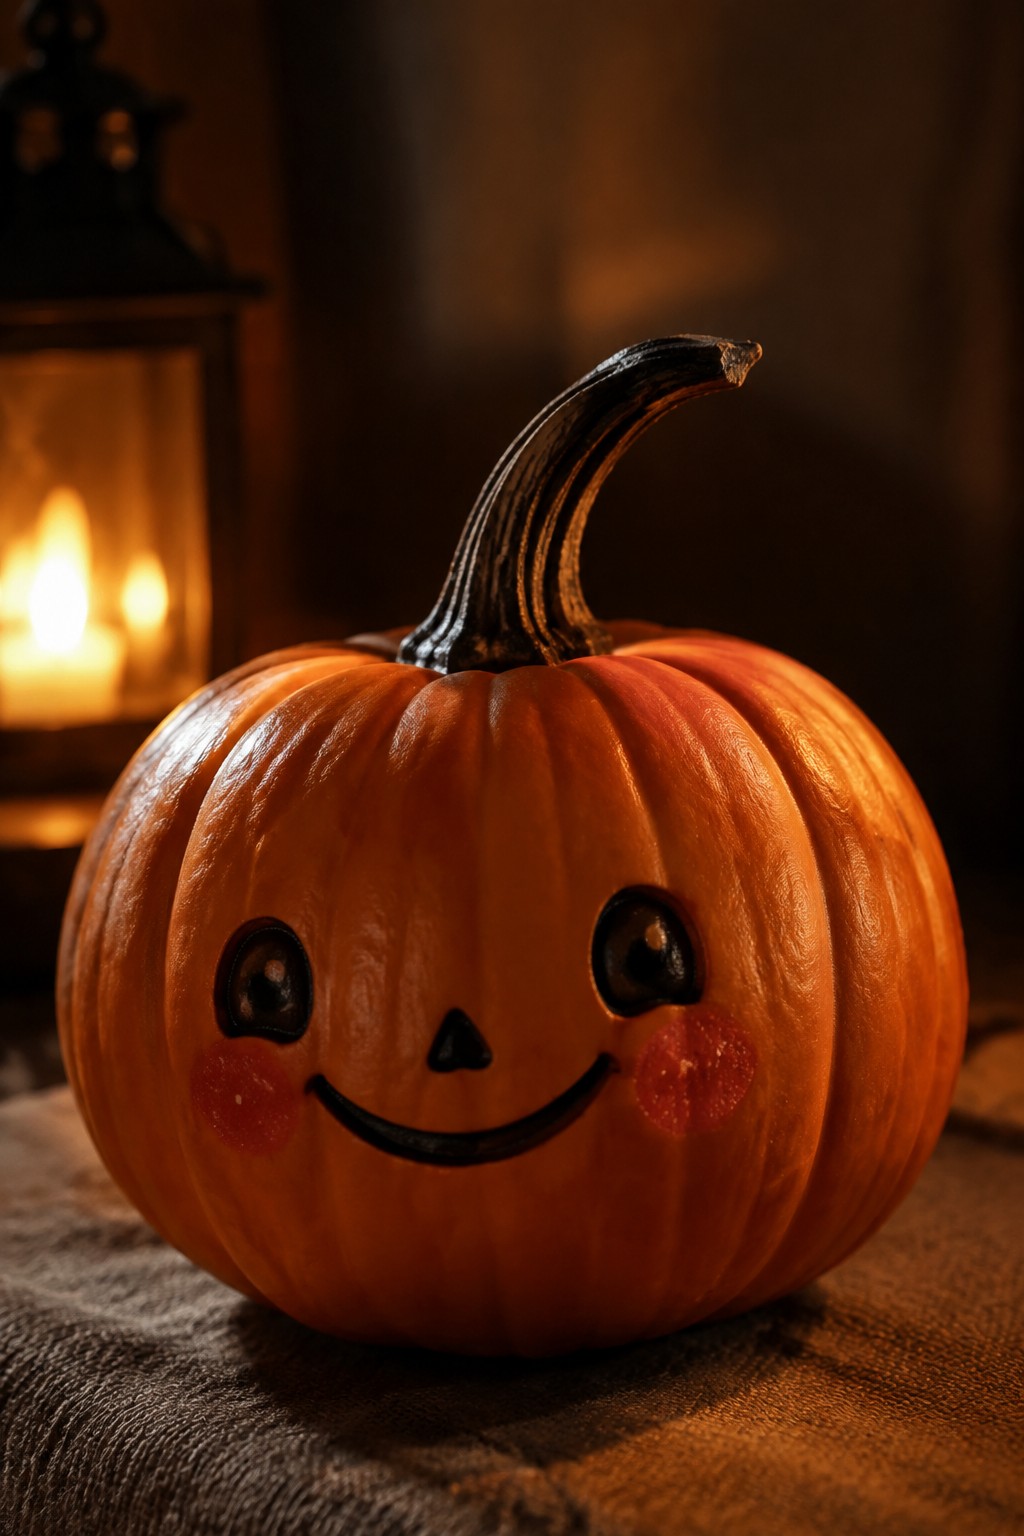
This carved pumpkin stands out because of its friendly curved smile and big round eyes. The painted blush on the cheeks turns a basic jack o lantern into something playful and lighthearted.
Try sketching the face lightly first so the mouth stays even. Cut simple shapes for the eyes and mouth, then dab on a bit of red paint for the cheeks. It works well on a table or near a doorway where the expression can be seen up close.
Style A Cute Jack O Lantern With A Hat And Scarf
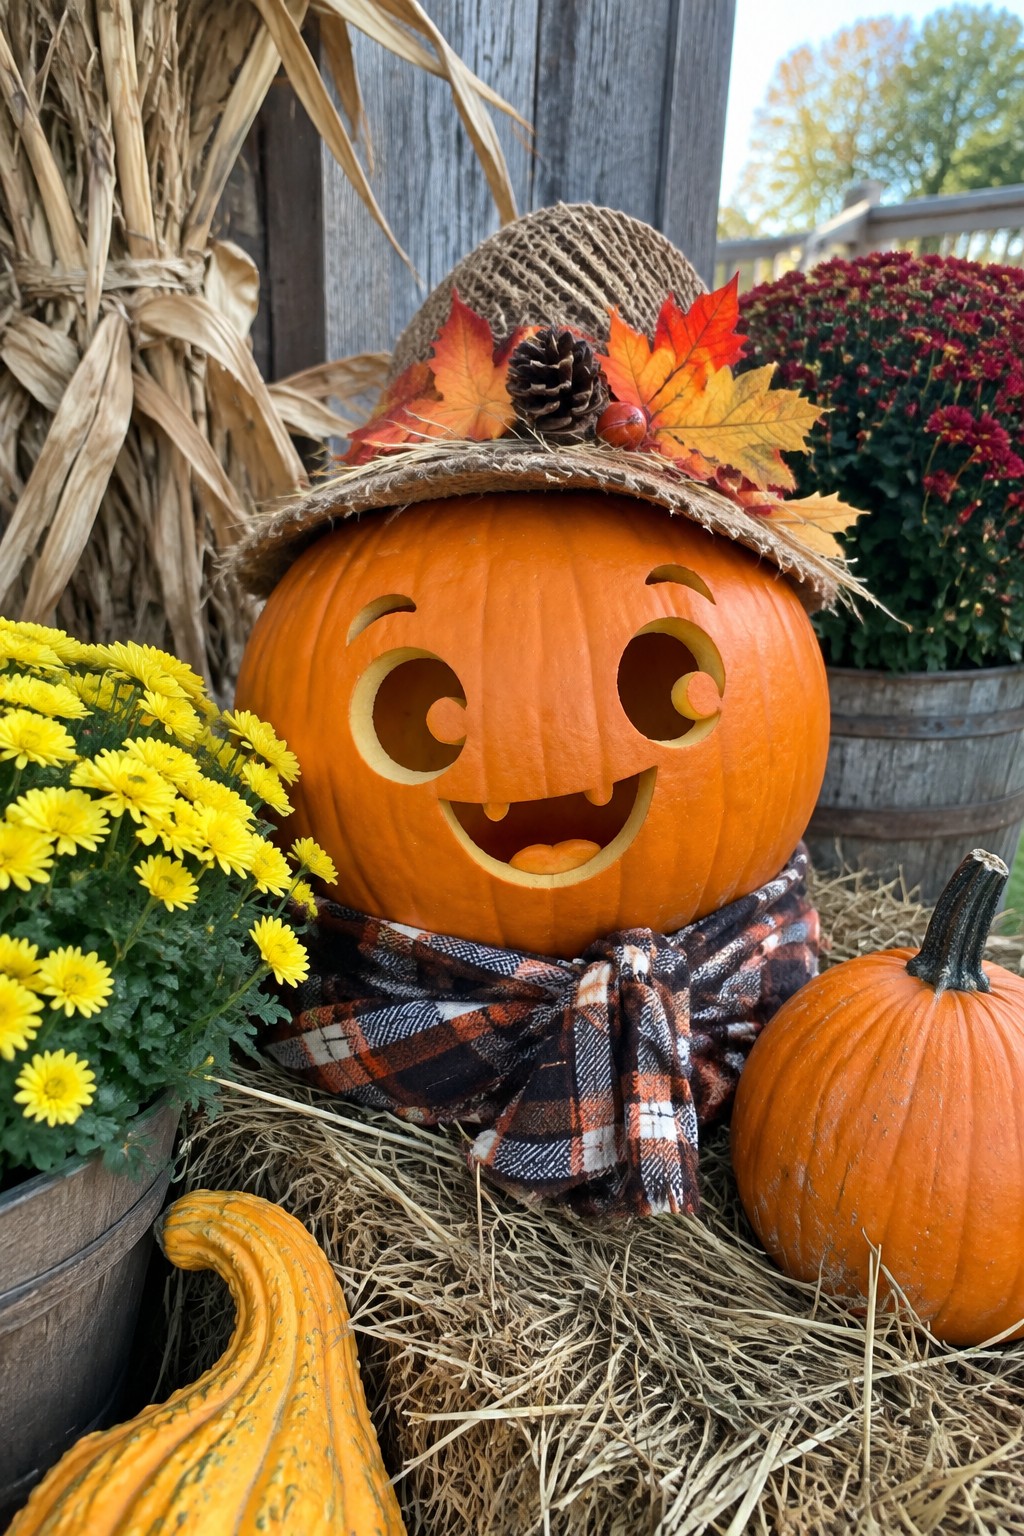
A carved pumpkin with a big smiling face becomes more whimsical when you add a simple hat and scarf. The friendly expression and the burlap hat with a few leaves keep the look playful and light instead of spooky.
Set the pumpkin on straw near the front door or on porch steps. Add one or two smaller uncarved pumpkins beside it so the carved one stays the clear focal point without needing extra pieces.
Style A Whimsical Pumpkin Tray
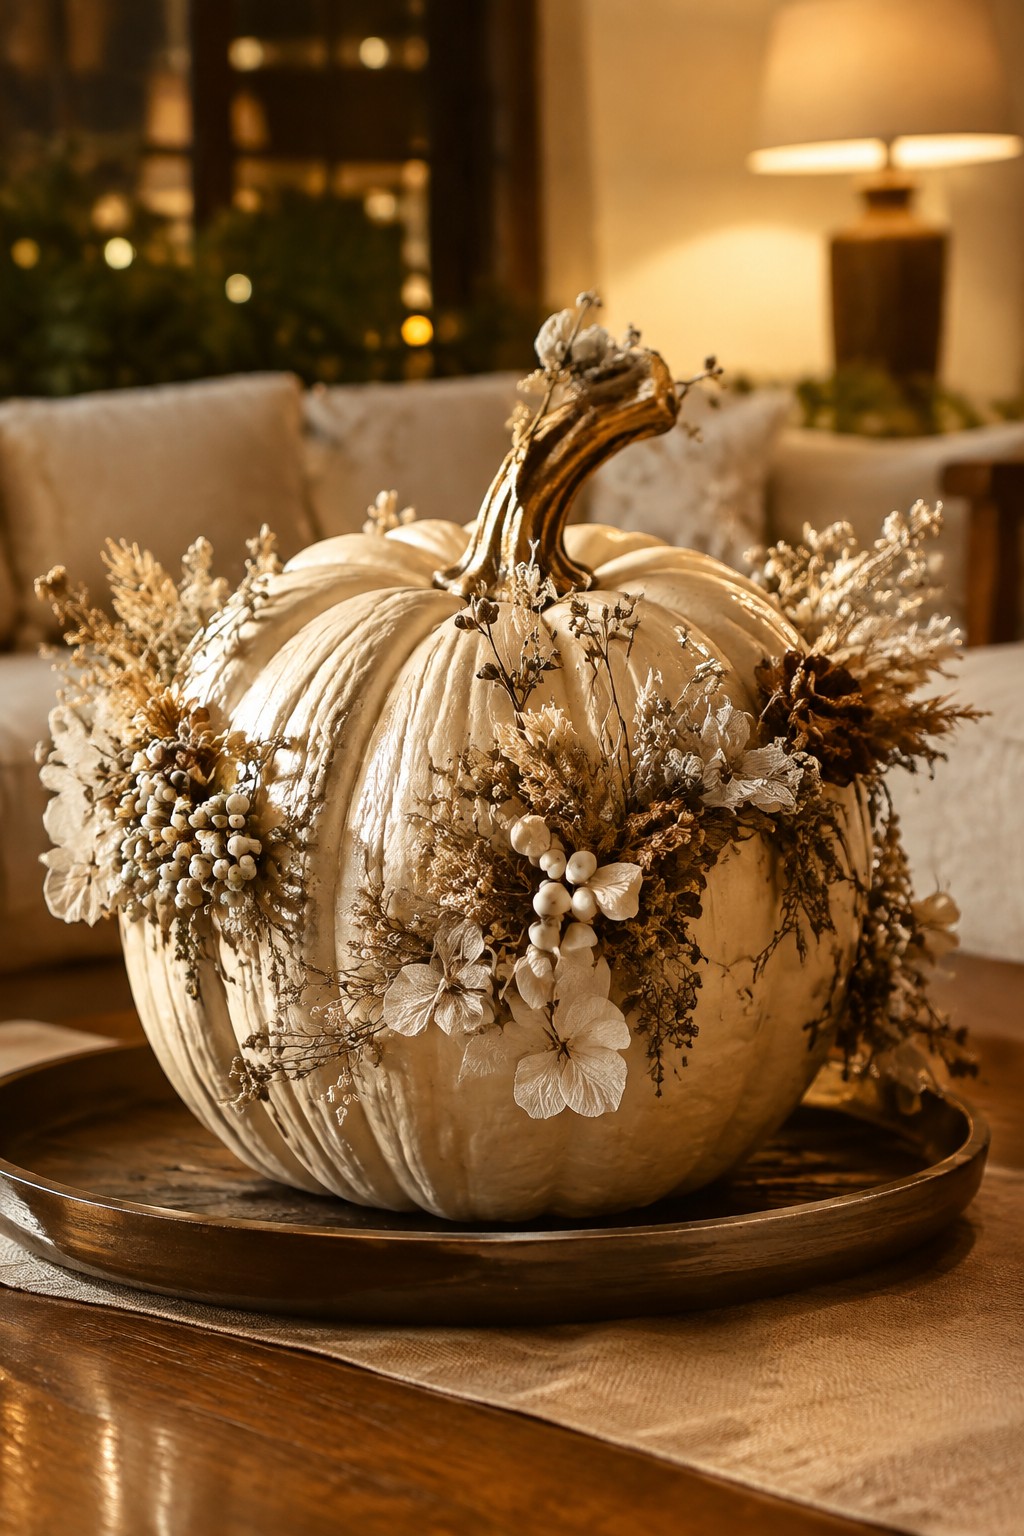
A plain white pumpkin gets a soft lift when you add dried flowers and berries around the base. The neutral tones keep the look friendly and light instead of heavy, which works well for a subtle Halloween touch inside the house.
Set the pumpkin on a simple wooden tray and place it on a coffee table or side table. Use just a few floral pieces so the pumpkin stays the main focus, and you can move the whole tray easily when the season changes.
Carve A Cute Black Cat Into Your Pumpkin
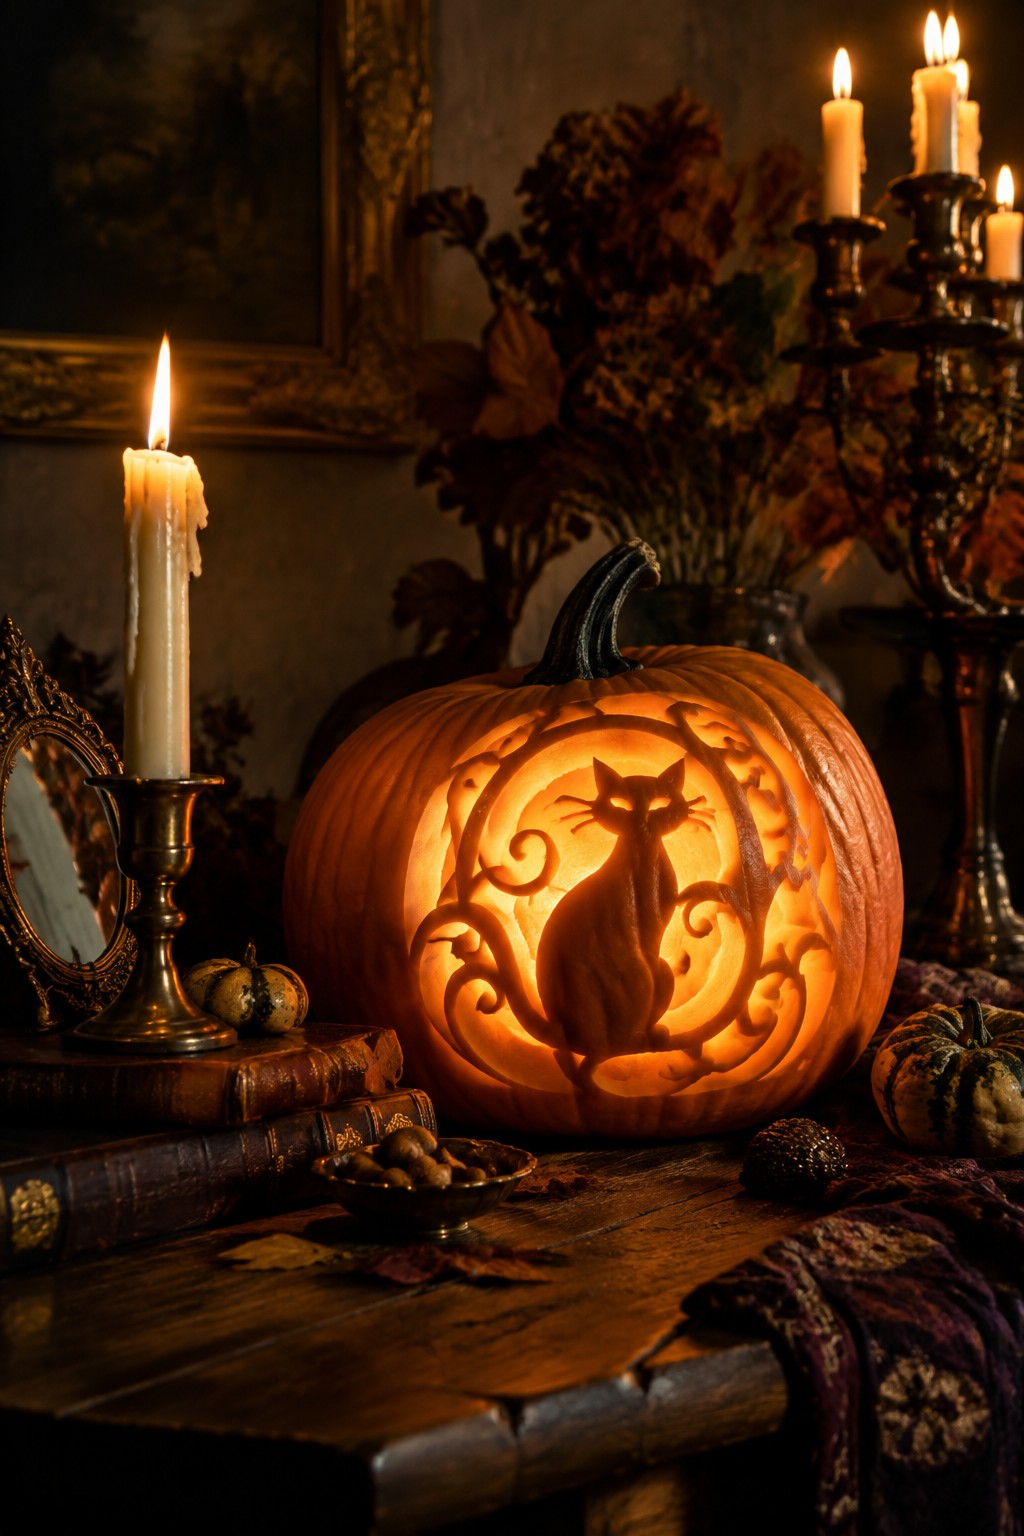
A black cat silhouette carved into a pumpkin makes a simple and friendly Halloween accent. The clean outline stands out nicely once the candle is lit inside, and the swirling details around it keep the whole look light instead of heavy.
Set the finished pumpkin on a tabletop or mantel and add a couple of plain candles nearby. The carving does most of the work, so you only need a few supporting pieces to keep the display balanced and easy to notice.
Carve A Pumpkin Into A Tiny House
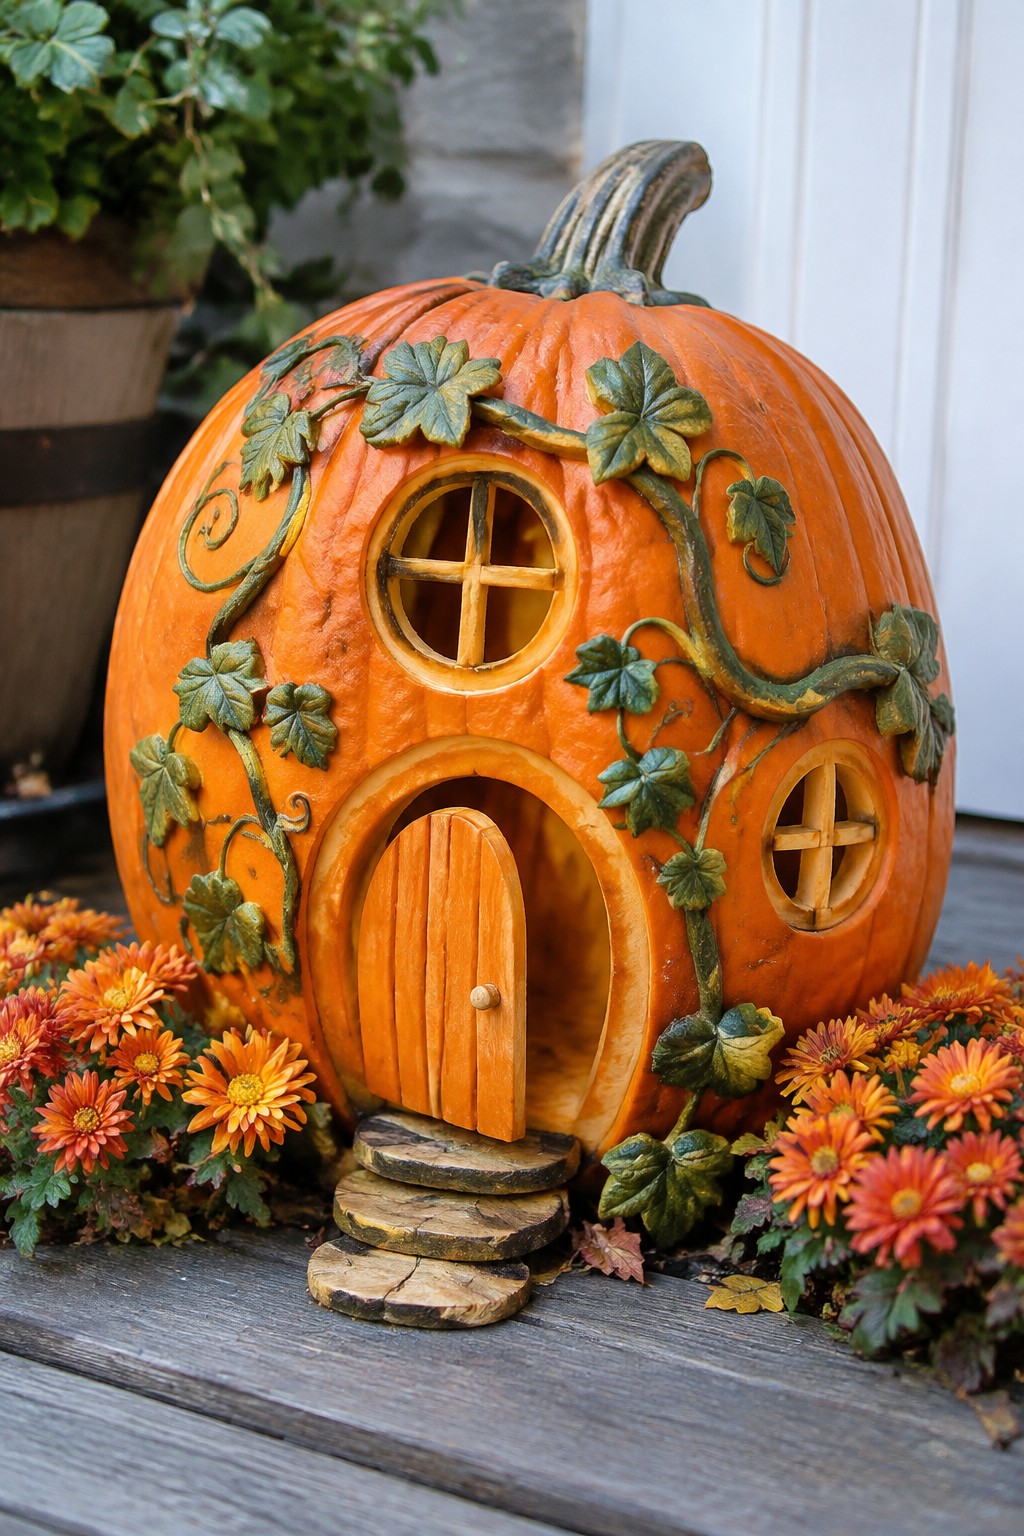
Turning a large pumpkin into a miniature house gives you one of the sweetest carved displays for the season. The rounded shape already feels like a cozy cottage, so adding a simple arched door, round windows with cross bars, and a few leafy vines makes the whole thing look like a storybook scene without much extra work.
Start with a firm pumpkin and sketch the door and windows first so the cuts stay clean. A few wood slices stacked as steps and some artificial ivy tucked around the edges finish the look, and the whole setup works nicely on a porch table or near the front steps where people can see the details up close.
Frequently Asked Questions
Q: What kind of knife works best for these whimsical designs?
A: A small serrated knife gives you more control on curves and details. Start by tracing your pattern lightly with a marker before cutting. This way the shapes stay clean without slipping.
Q: Can I use these ideas with kids around?
A: Sure, just pick simpler patterns like faces or stars for little ones. Let them scoop out the insides while you handle the carving.
Q: How long will these pumpkins stay fresh on my porch?
A: Most last about a week outside before they start to soften. Keep them in a cool spot to make them last longer.
